by Trenda
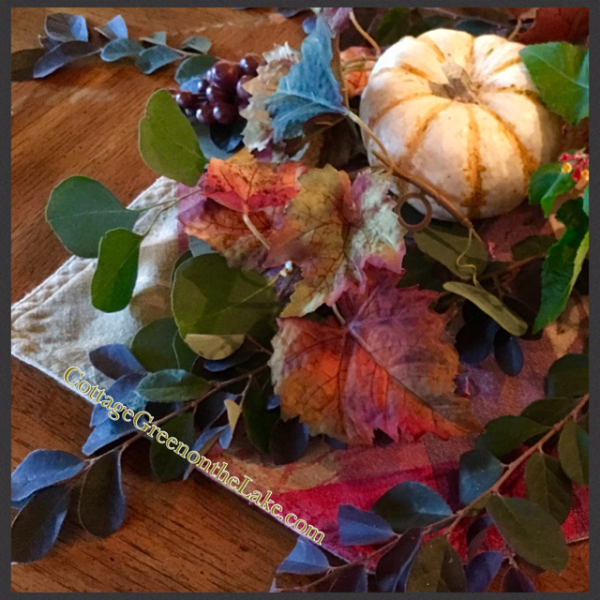
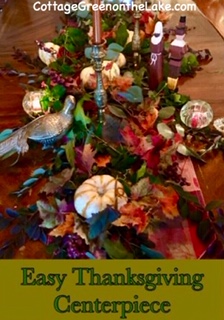
Today was a cool day with gray skies that made the autumn colors so vivid, they almost glowed! I went outside to “gather” some cuttings from our yard to make our Thanksgiving Centerpiece and afterwards, I walked around just taking pictures of beautiful Autumn in November at Cottage Green on the Lake! (: And those yard “gatherings” I clipped and snipped from our yard made a lovely and grand arrangement on the dining room table that only took minutes to make; my only cost was the fresh Eucalyptus I bought from Trader Joe’s, for $2.99!

If you want to keep this arrangement on your table throughout the Thanksgiving season you will need to use soaked floral foam (protect your table by placing the floral foam in a container!) or use floral vials to insert your live clippings into. Both the floral foam and the arrangement vials are available at your florist or any craft store on the flowering arranging aisle. However, this arrangement is so easy to assemble, you can do it the day of your Feast!

Much like setting out and marking your serving dishes with what you will be serving in them … set the preliminary stages of your arrangement. I placed my table runner down the length of the table, set my candlesticks where I wanted them, then interspersed my pheasant and pumpkins down the length of the runner so I could easily come back and tuck in my Loropetalum and Eucalyptus, later. 
Any time you want to make an arrangement like this, just clip your branches the morning of “your event” and keep any live branches or flowers in a vase of water until you are ready to make your arrangement. Then dry the ends of your branches before placing and tucking them along your table runner and light your candles!
Fresh Eucalyptus in a vase filled with water awaiting placement on table runner. 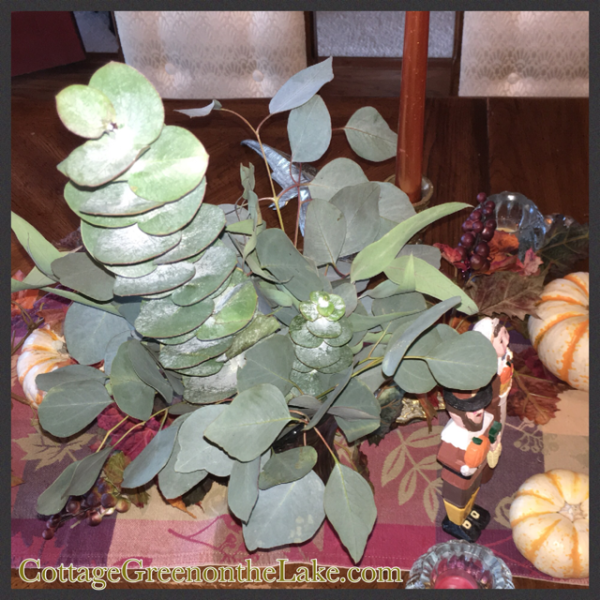
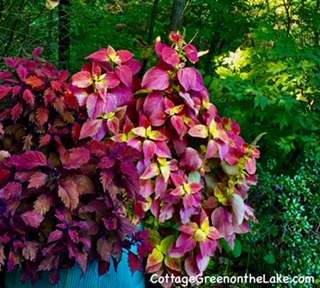
Here is a great picture showing how I mixed the “faux” garland with autumn leaves with the live burgundy leaves and branches of the Loropetalum and the fresh Eucalyptus. Even as I look at this picture I have a hard time distinguishing what leaves are real and fake! I love making arrangements and since we serve our Thanksgiving meal buffet style, we only need enough room on our table for the plates and glasses, our Fitz and Floyd Pilgrim salt & pepper shakers, a basket full of yeast rolls, and a beautiful Golden Carnival Glass compote filled with ruby colored Apple-Cranberry Salad

A brass pheasant matches the brass candlesticks I used in my arrangement and looks at home among the autumn foliage.

Tiger striped miniature pumpkins are nestled among the burgundy foliage of the Loropetalum branches.
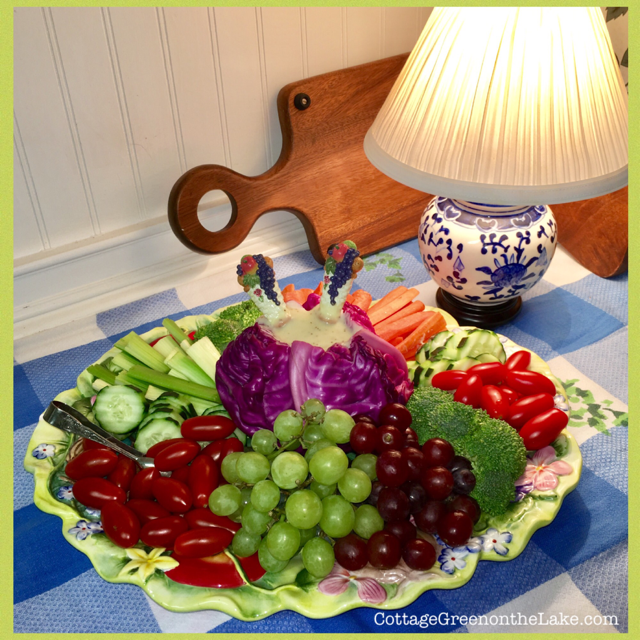
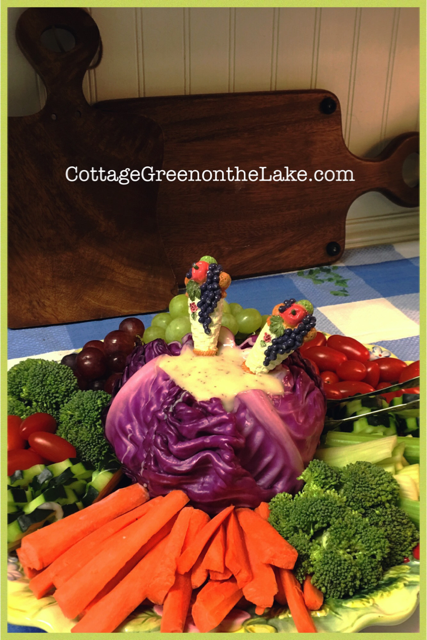
Carved wooden pilgrims bring gifts of vegetables to the gathering.

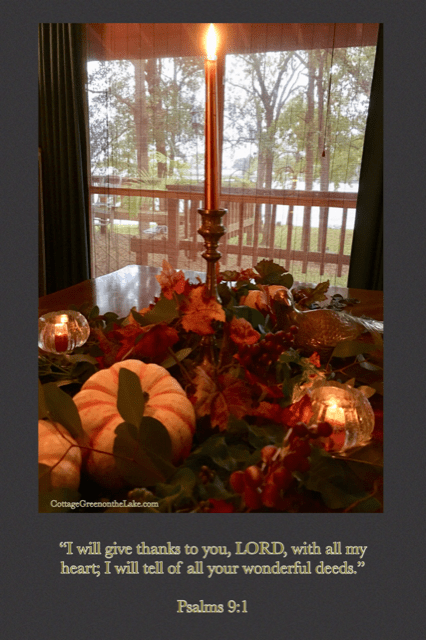
Nestled among the real and “faux” flora and fauna, this miniature pumpkin looks so perfect, it almost looks unreal and reminds me again what a Master Artist and Creator the Lord is!

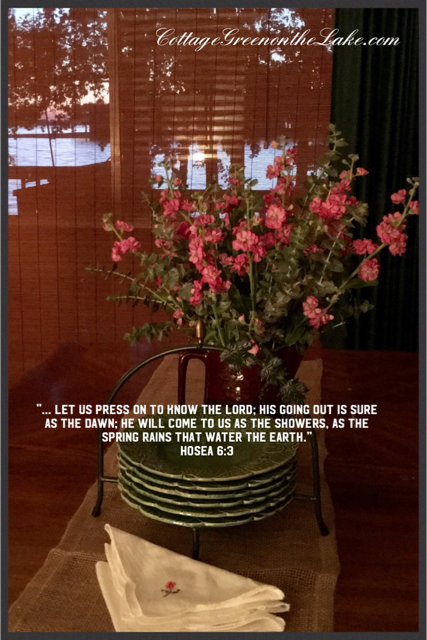
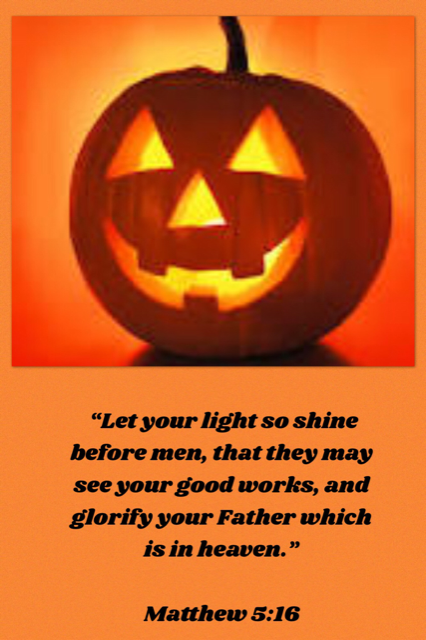
Candles glow in the lengthening shadows and “I will give thanks to you, Lord, with all my heart.” <3
AND those pictures I told you I took after gathering my clippings for my Thanksgiving centerpiece … I’ll share with you in my next blog, but here’s one I particularly love, this sweet moss-covered cherub pondering in our birdbath.

From my cottage to yours ~ Trenda
Thank you for reading my blog! To have all my posts delivered directly to your email address, just click FOLLOW in my post above … or click on my site: cottagegreenonthelake.com
FOLLOW ME on PINTEREST!
Trenda@cottagegreenonthelake.com
This week I’m joining:
Carol from The Red Painted Cottage
Courtney with Feathered Nest Friday


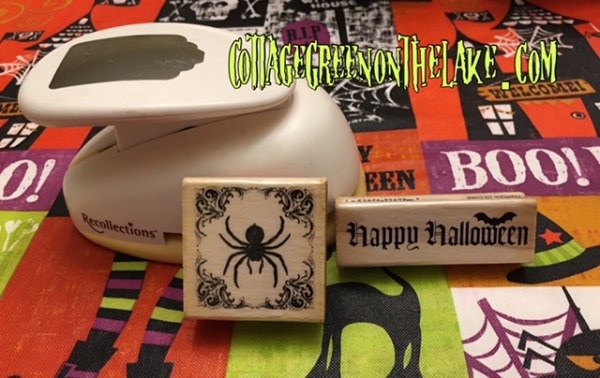

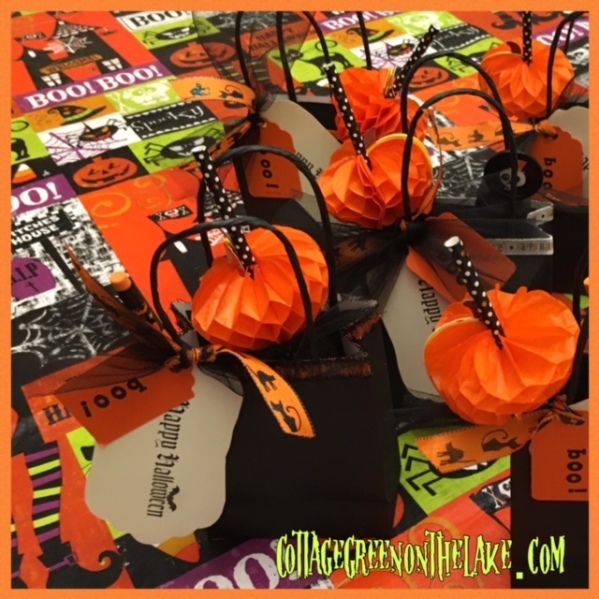
 5. Cut a 9″ length of tulle and a 8″ length of Halloween ribbon. Place the tulle and the ribbon together.
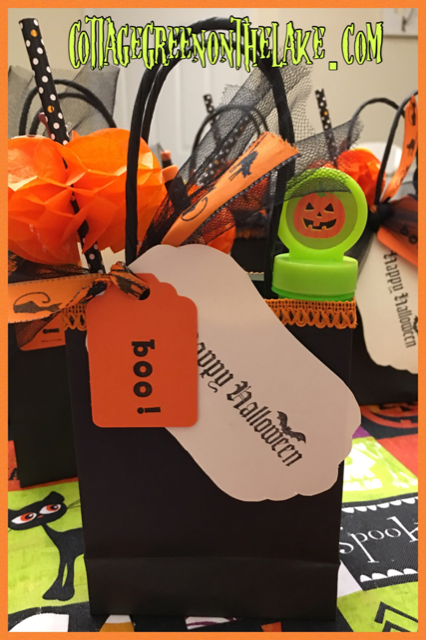


 And for lunch …


 Instructions:


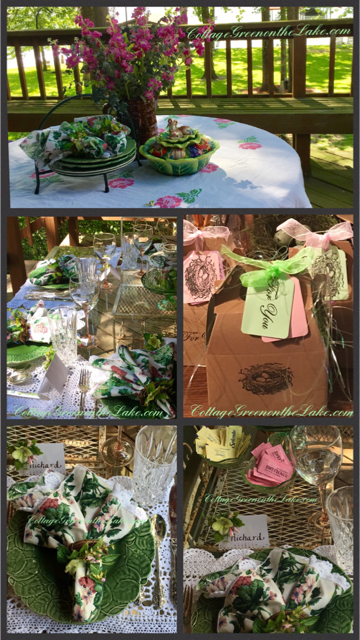


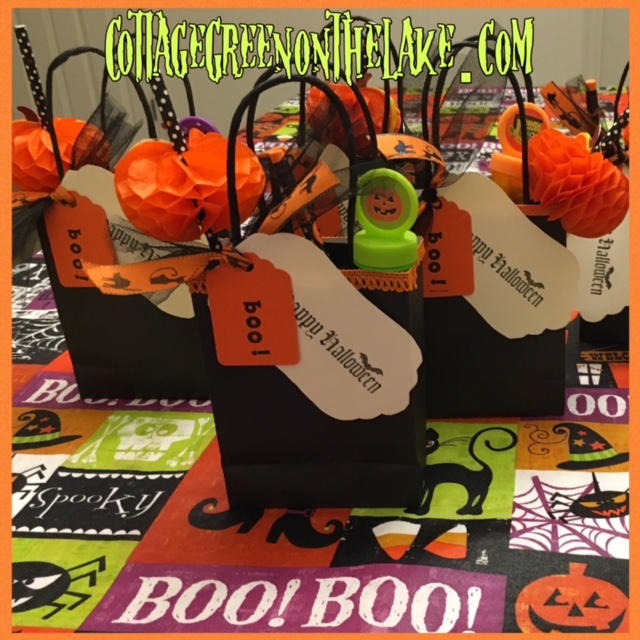
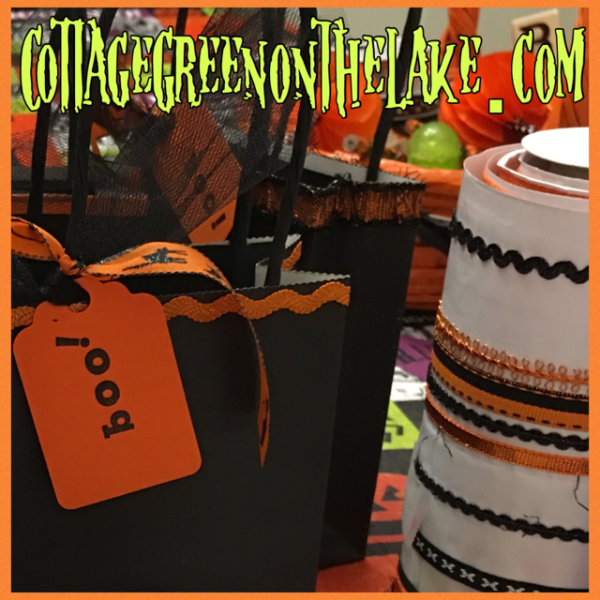
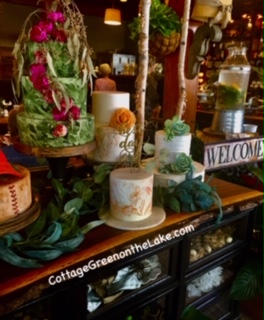
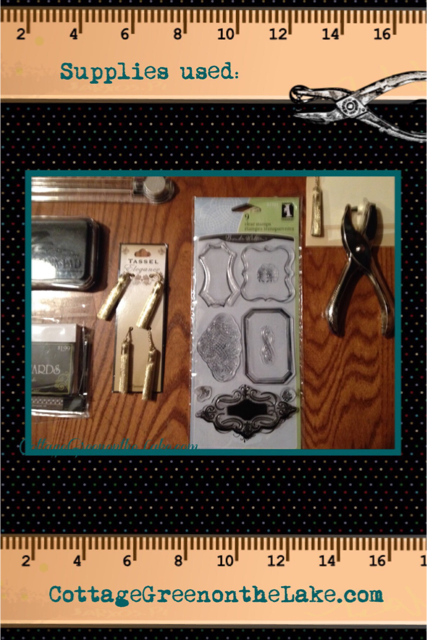
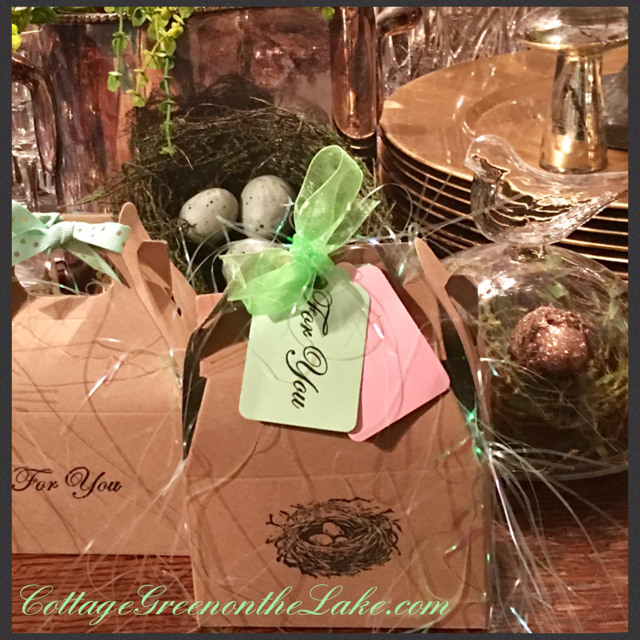 I bought a package of these little boxes at Hobby Lobby on the party aisle where the crepe paper and favor bags are. They are called Gable boxes and they come 12 to a package for only $3.99. (Download the Hobby Lobby App to get 40 percent off on one regular priced, that can be used each time you shop at Hobby Lobby!) Using my Recollection tag die-cutter, I punched out tags from stock card in a variety of Spring colors and stamped them with bird nests, “For You” and a filigree frame (I wrote each guest’s name inside the frame) and used my hole puncher to punch a hole in each colored tag. Then, I filled each favor box with a fine sparkly shredded grass, nestled in some individually wrapped chocolates, tied a ribbon around each box and added a “set” of tags (1 of each … a bird nest tag, a “For You” tag and a filigree frame with the guest’s name on it) and tied them on to the ribbon of each favor.


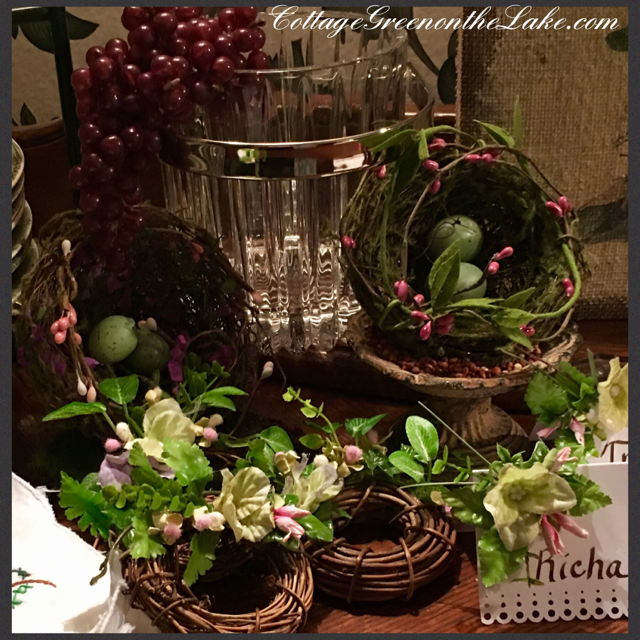
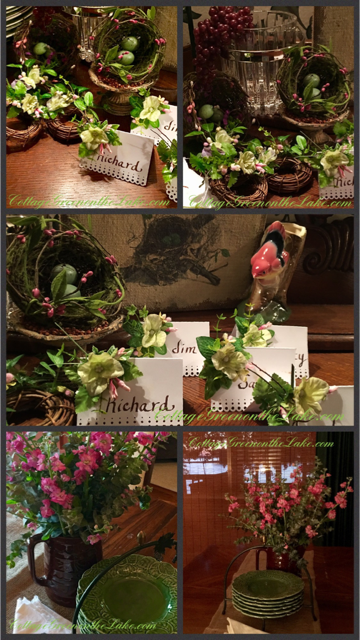
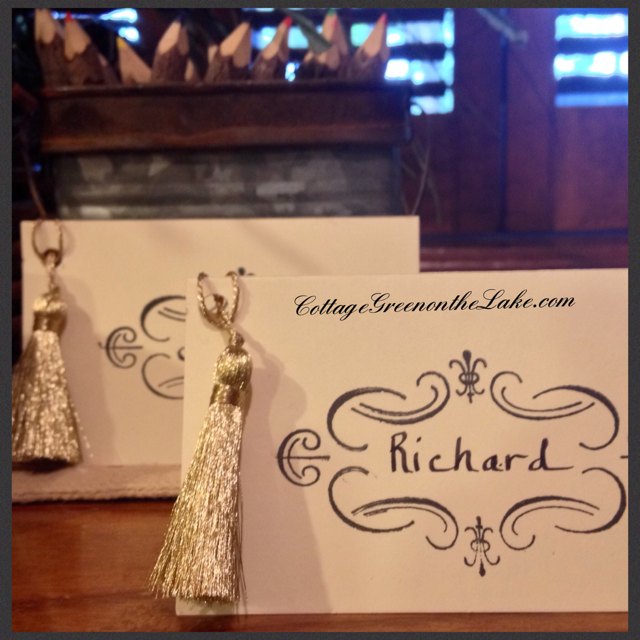
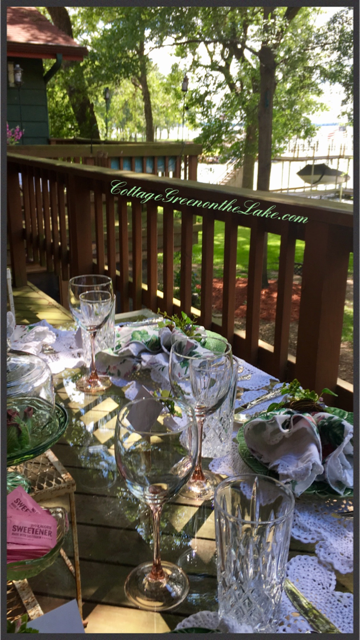
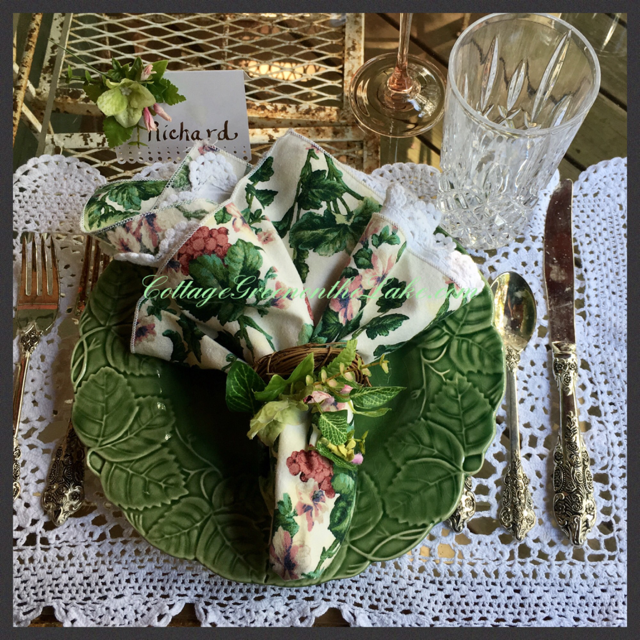
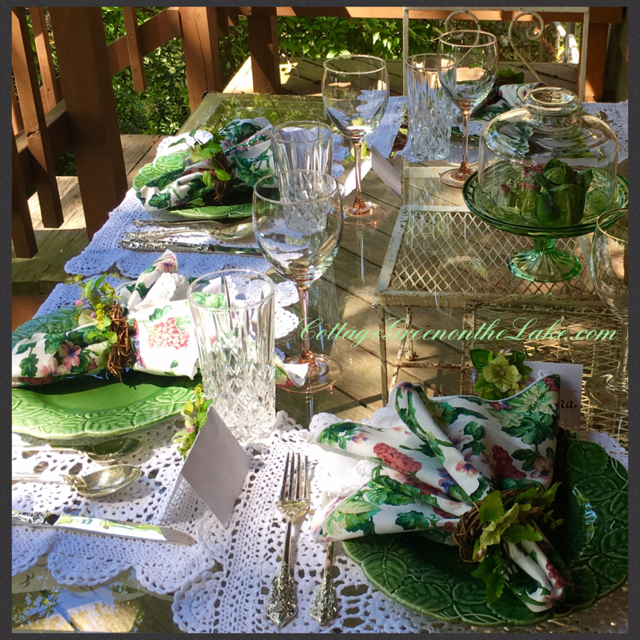
 “Tra la! It’s May! The lusty month of May!” Vanessa Redgrave sang in the Broadway musical, CAMELOT. The charming but now archaic definition of lusty, according to Merriam-Webster is merry and joyous. Looking out our open screen door to blue skies and hearing the birds joyously “tra-la’ing” as they go merrily about picking up choice “bits and pieces” to line and feather their nests, it is definitely “the lusty month of May!” The month of May is filled with promise, celebrations and events. One of the preparations I enjoy the most before any holiday or get together is getting the table ready and “dressed” for the occasion. Look at these darling place cards I made with matching grapevine napkin rings; perfect for a woodland theme Bridal shower, a Spring Tea Party or Mother’s Day Brunch!