It’s almost here … the most “spook-tacular” evening of the year! The days in October have slowly “peeled off the calendar” until finally, to the children’s delight, the “countdown” and last preparations for this very special night of costumes, late-night curfews, lots of candy, and fun are winding down.

It’s Halloween Night!
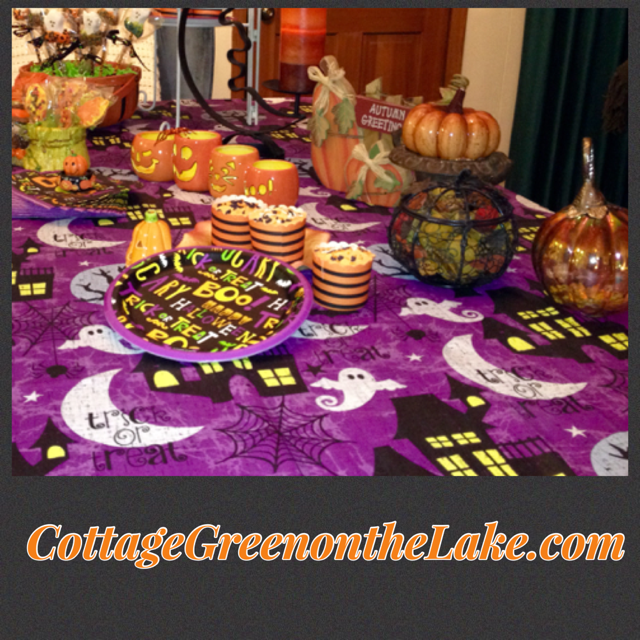
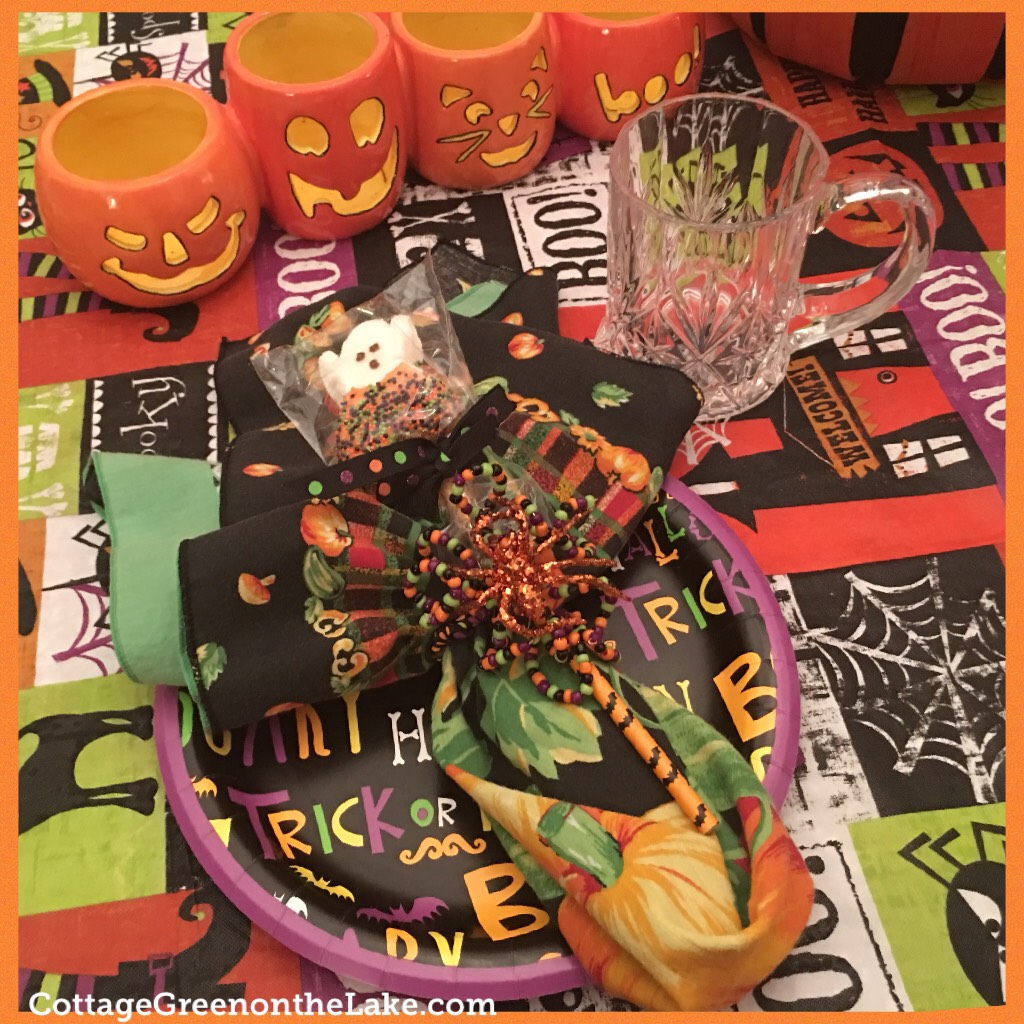
Unfurl the tablecloth, set out the plates,
put out the punch bowl, if tarnished, that’s great!
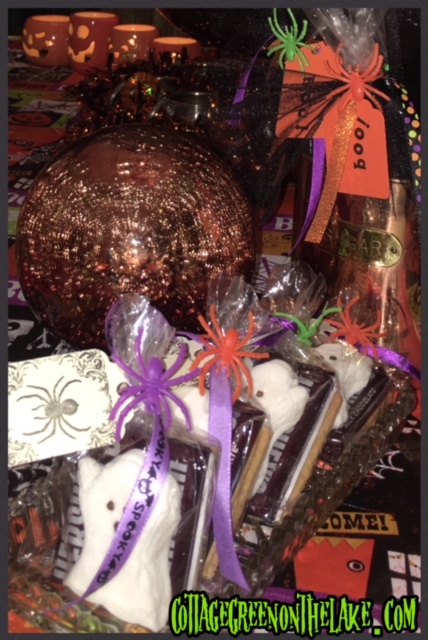
Pumpkins by moonlight, a cauldron of sweets!
There’s Reese’s, and candy corn, Kit’s Kat’s galore!
If there’s not plenty, the ghosts are forlorn!
C’mon, let’s hurry … it’s Halloween night!
Giggles and doorbells, signal the start.
Small faces peering ‘neath masks, some quite scary!
Proffer bags, shouting, “Boo … trick or treat!”
by Trenda
![PicCollage[608].png](https://cottagegreenonthelake.com/wp-content/uploads/2016/10/piccollage608.png)
Getting the “table set” for our traditional family chili dinner and desserts (before all the hay rides, dunking booths, bounce houses, and slides …at the Harvest Festival, held at our church. It’s a “Happy Halloween” indeed when I get to see all our family and grandchildren! (:
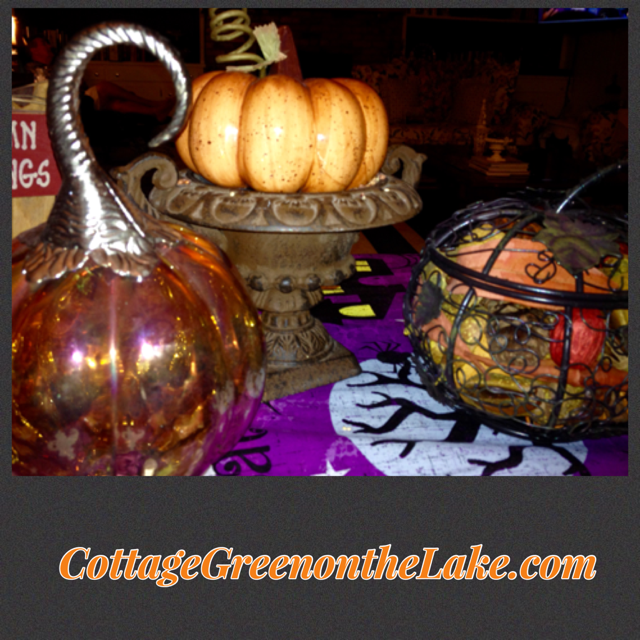
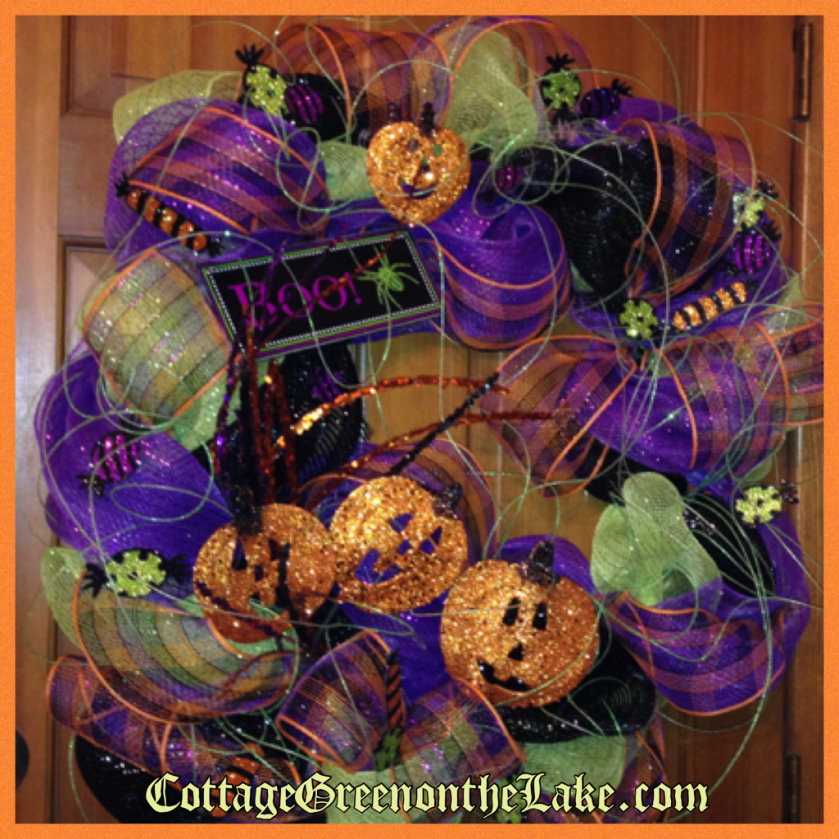
Pumpkins, pumpkins, pumpkins …
I LOVE everything about these cupcake liners “Simply Baked – elegant entertaining everyday by Christy Designs, LLC.” … the playful design with scalloped edges and black stripes against the orange background; how sturdy they are compared to traditional cupcake liners, how easy it was to pour the batter in these little baking cups … and the easy clean up. My cookie sheet was clean after baking my cupcakes! I bought my Baking Cups (20 paper baking cups per container) at Home Goods for only $1.99! Here they are setting on my cookie sheet, when I was filling them. Directions on the clear plastic sleeve they are packaged in, says to fill each baking cup, 1/2 full. Tip: One of my favorite time savers and tricks is to use a baking funnel (I bought mine at a Kitchen Supply shop) to fill my baking cups and cupcake liners!
![PicCollage[614].png](https://cottagegreenonthelake.com/wp-content/uploads/2016/10/piccollage614.png)
Here are the cupcakes after baking, frosted with vanilla frosting and topped with miniature bats and ghost sprinkles. Tip 2: When in a hurry, use your favorite tub of frosting. Add 1 teaspoon of vanilla extract to the tub of frosting for a homemade flavor, stir well to combine. To color white frosting, use food coloring (I use Wilton’s concentrated gel for coloring my frosting, to create the bold orange color I wanted, without thinning my icing.)
Halloween sweets … Chocolate cupcakes with vanilla frosting and “Cake Mix” Candy Corn Cookies![PicCollage[612].png](https://cottagegreenonthelake.com/wp-content/uploads/2016/10/piccollage612.png)
Our Traditional Halloween Dinner Menu
Chili con Carne with toppings … Fritos, shredded cheese, sour cream, chopped onions, and diced jalapenos (recipe in subsequent post)
Tossed Salad with Iceberg Lettuce and Fresh Spinach, diced red onions, chopped celery, chopped red onions, sliced radishes and peperoncini
Desserts: Chocolate Cupcakes w/vanilla buttercream frosting and “Cake Mix” Candy Corn Cookies (recipe in subsequent post)
![PicCollage[618].png](https://cottagegreenonthelake.com/wp-content/uploads/2016/10/piccollage618.png)
” … the moon and the stars to govern the night; His love endures forever …” Psalms 136:9
![PicCollage[620].png](https://cottagegreenonthelake.com/wp-content/uploads/2016/10/piccollage620.png)
Hope you have a safe and fun-filled day and evening with those that make your face and heart smile!
From my cottage to yours ~ Trenda
Thank you so much for spending some time with me today! I’d love to hear from you and I am truly delighted, reading what you have to say. Please leave any questions you may have or comments, below. Don’t be dismayed if you don’t see your comment “appear” right away. Word Press checks everything I receive for SPAM and all have to be approved, before posting.


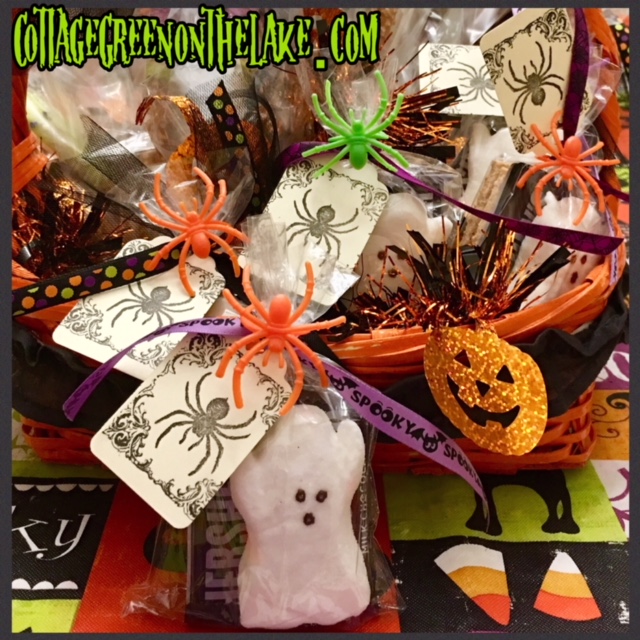


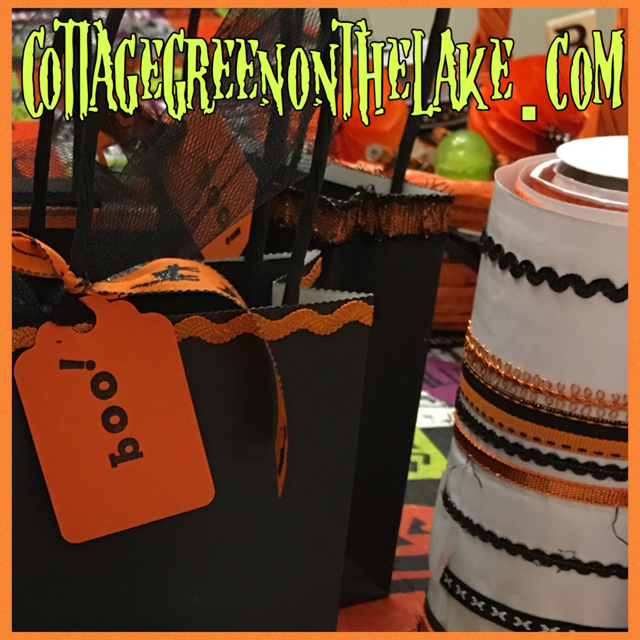
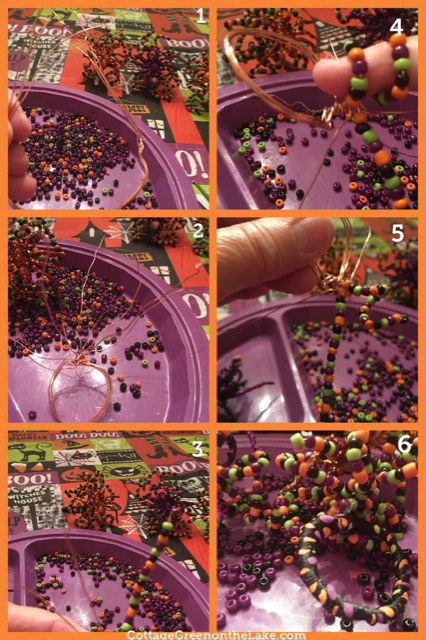
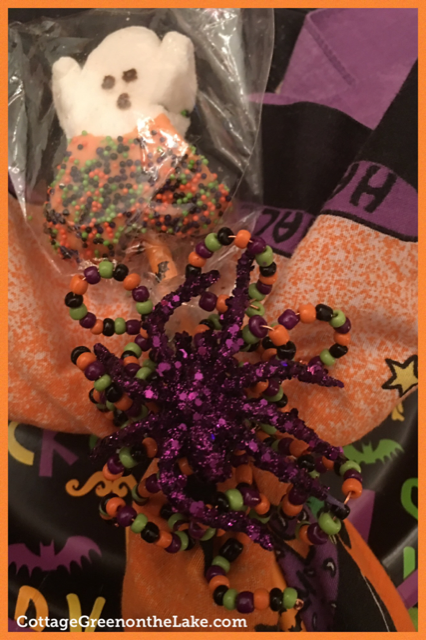
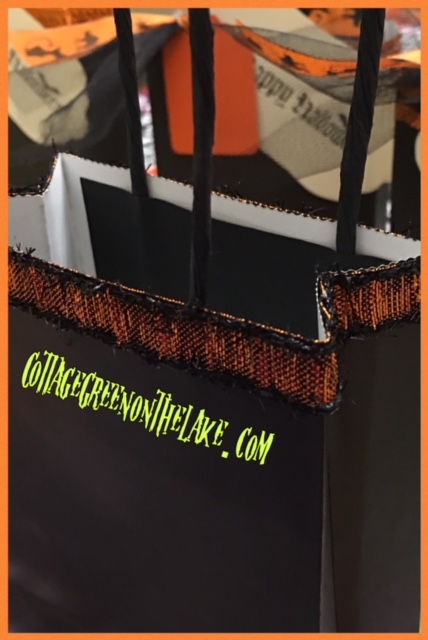 5. Cut a 9″ length of tulle and a 8″ length of Halloween ribbon. Place the tulle and the ribbon together.


 For us … yesterday was a carefully orchestrated frenzy of driving to different places in 4 different cities and spending time with all of our family. Adding to the enjoyment of all our Halloween activities, it was also Grandparent Day at our granddaughter’s school! (: We were finally able to relax a while when our son, daughter-in-law and little grandson came over, that evening, and we all sat down together for our traditional Halloween family dinner, getting ready and “fueled” for the rest of the evening’s activities.
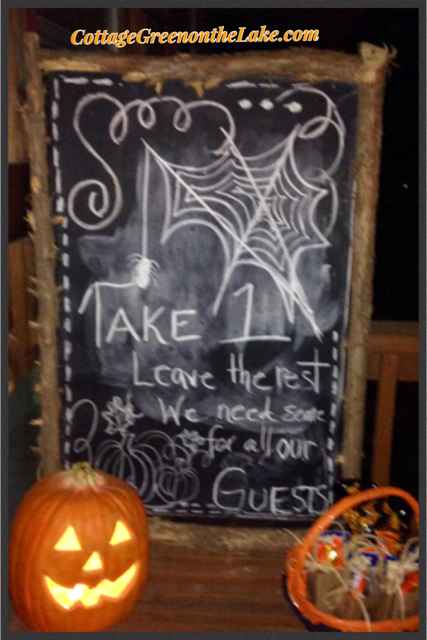


![PicCollage[556].png](https://cottagegreenonthelake.com/wp-content/uploads/2016/10/piccollage556.png)


![PicCollage[515].png](https://cottagegreenonthelake.com/wp-content/uploads/2016/10/piccollage515.png)
![PicCollage[521].png](https://cottagegreenonthelake.com/wp-content/uploads/2016/10/piccollage521.png)
![PicCollage[518].png](https://cottagegreenonthelake.com/wp-content/uploads/2016/10/piccollage518.png)
![PicCollage[520].png](https://cottagegreenonthelake.com/wp-content/uploads/2016/10/piccollage520.png)
![PicCollage[522].png](https://cottagegreenonthelake.com/wp-content/uploads/2016/10/piccollage522.png)
![PicCollage[528].png](https://cottagegreenonthelake.com/wp-content/uploads/2016/10/piccollage528.png)
![PicCollage[530].png](https://cottagegreenonthelake.com/wp-content/uploads/2016/10/piccollage530.png)
![PicCollage[532].png](https://cottagegreenonthelake.com/wp-content/uploads/2016/10/piccollage532.png)
![PicCollage[535].png](https://cottagegreenonthelake.com/wp-content/uploads/2016/10/piccollage535.png)

![PicCollage[544].png](https://cottagegreenonthelake.com/wp-content/uploads/2016/10/piccollage544.png)

![PicCollage[548].png](https://cottagegreenonthelake.com/wp-content/uploads/2016/10/piccollage548.png)

