DIY Halloween Treat and Favor Bags

by Trenda

trick or treat

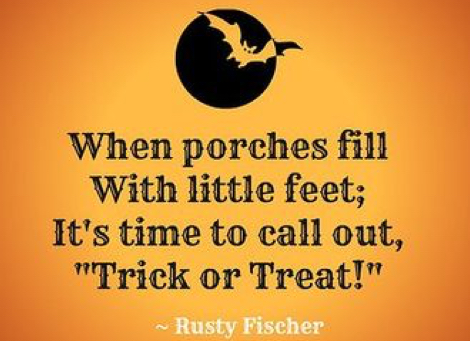
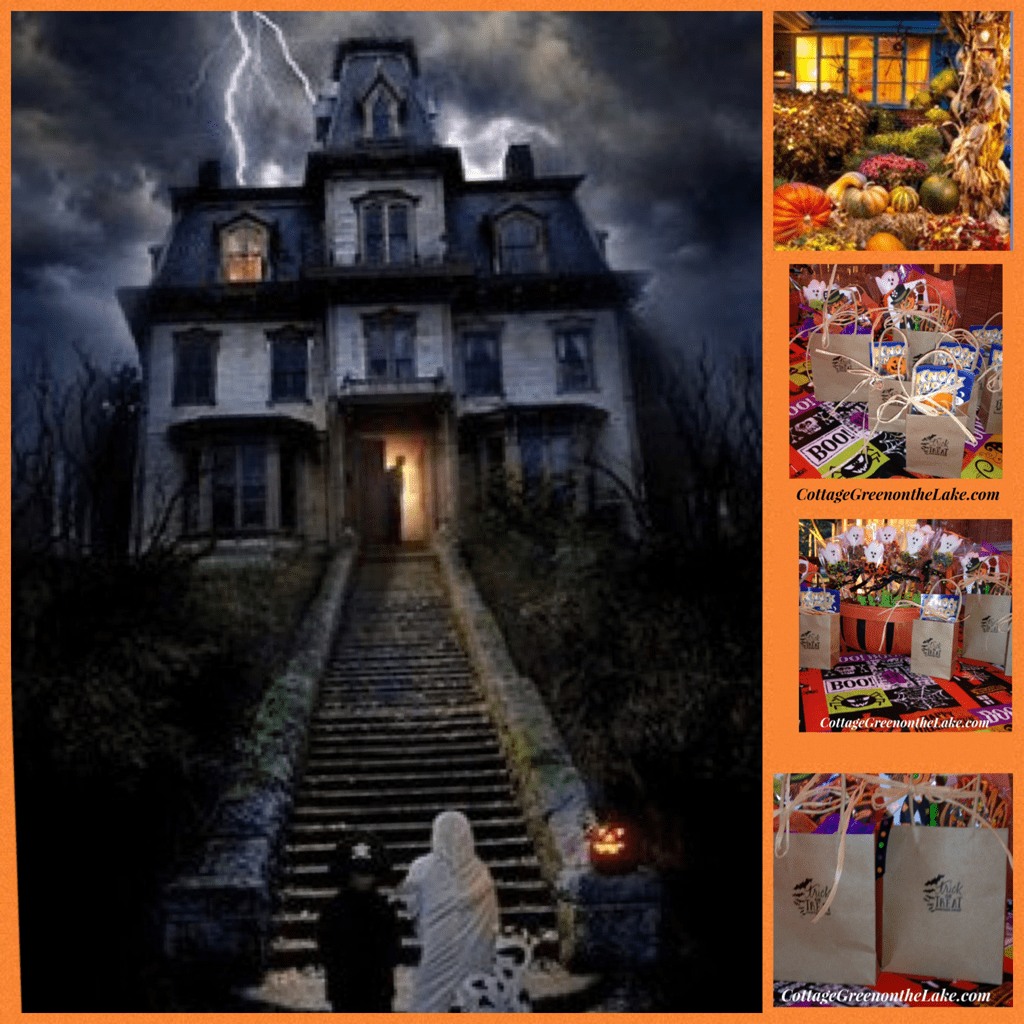
It’s almost time for our porch to be filled with ‘little feet’ and I always enjoy making special treats for everyone that ‘calls out, “Trick or Treat!”  These cute Halloween favors are fun to make and should cause all your little ghosts and goblins to break out in toothy grins that would rival any jack-o-lantern! (:

all treat bags


Supplies Needed:

  • Treat bags
  • Roll of “Cling Ons” (*picture below) assorted holiday trims w/self-adhesive backs on a spool 
  • Black tulle
  • Assorted Halloween ribbons
  • tag punch or a package of plain tags
  • standard hole puncher
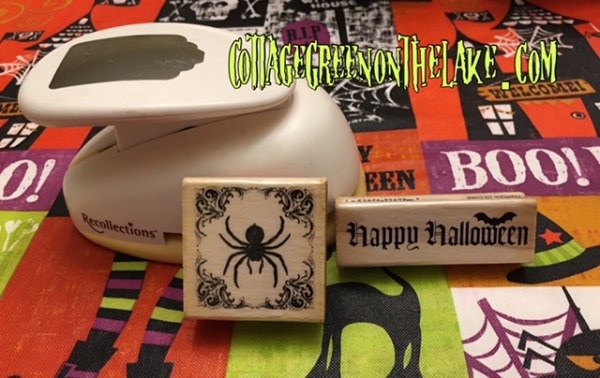
  • Assorted Halloween stamps
  • alphabet stamps or black marker for lettering
  • black ink pad
  • scissors

Recollection tag punch and Halloween stamps …

pics of punch


Directions:

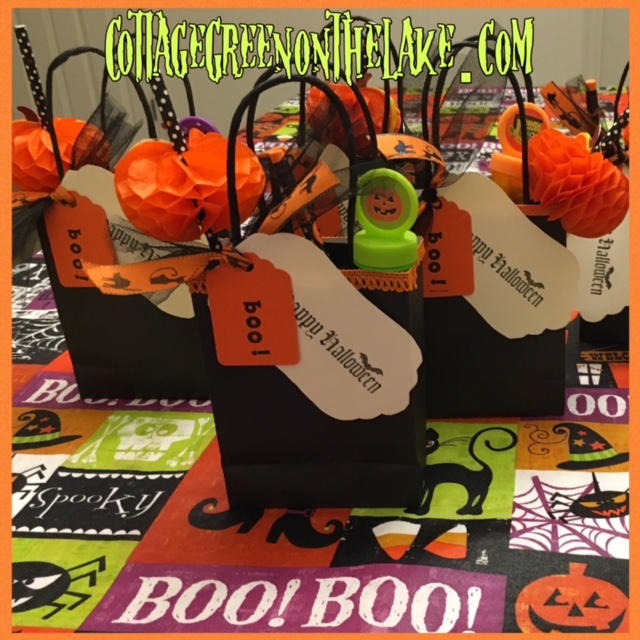
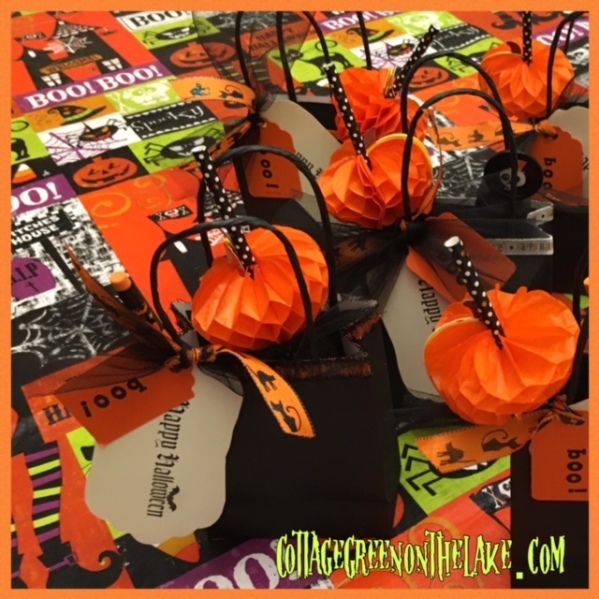
  1. If you are making your own tags, punch out gift tags using a die-cut punch or use a pattern to trace a tag for your treat bag.  I used a Recollection punch for my smaller tag and I traced a pattern out to make my larger tags.  Each of my treat bags had 2 tags; a larger white tag and a smaller orange tag.
  2. Stamp or write the words or design on your tags.  I stamped the word “BOO!” on each of my smaller, orange tags and I stamped “Happy Halloween” on the larger tag.

patterm

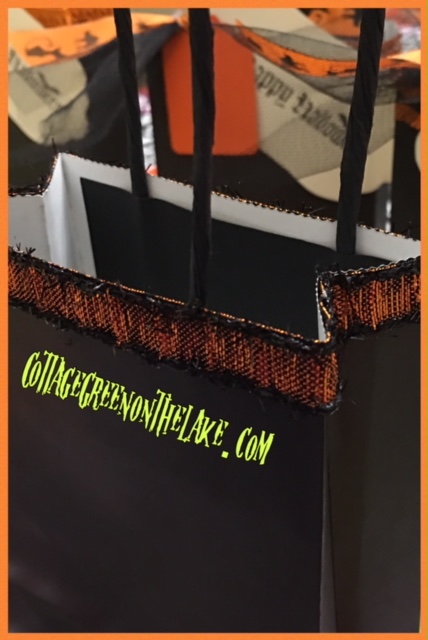
3. Choose the trim *(“Cling On”) that you want to decorate your bag.  I used a different trim for each treat bag.

cling on.png

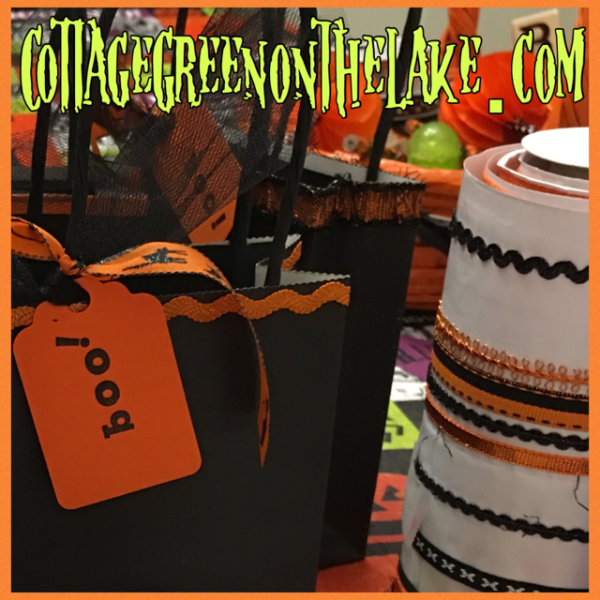
4. Adhere the trim to the top of your favor bag.  Begin on the side so the final cut and matched ends will not show.

trim 5. Cut a 9″ length of tulle and a 8″ length of Halloween ribbon.  Place the tulle and the ribbon together. 

6. Slip both stamped tags onto the tulle and the ribbon (the larger tag beneath the smaller tag.)

7. Tie the tulle and ribbon into a simple knot on the left, front handle of the treat bag.

treat bag

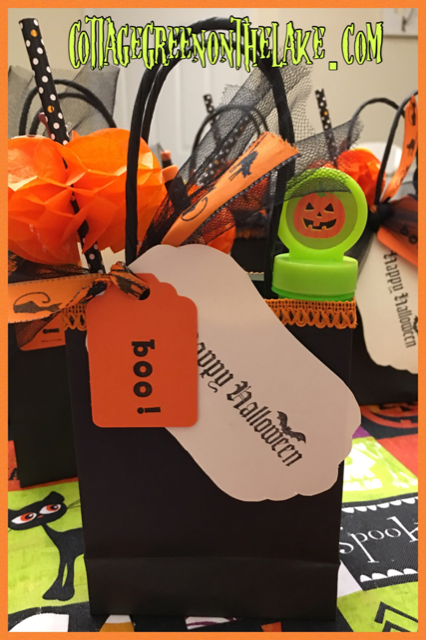
8. Stuff treat bags with Halloween candy and favors.

all treat bags

I had fun stuffing my treat bags with Halloween candy, “Boo” notepads, pencils, and erasers, bubbles, playing cards, and stickers.  For more treats (click here for “No Tricks just Treats”)

final treat bags

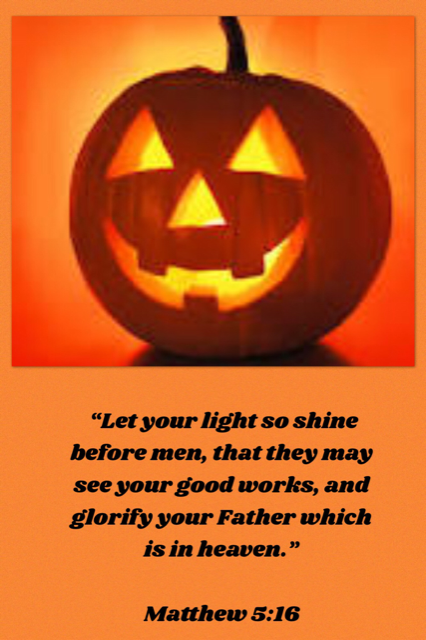
“Let your light so shine before men, that they may see your good works, and glorify your Father which is in heaven.”  Matthew 5:16

Let your light so shine


From my cottage to yours  ~  Trenda

img_0452

  Thank you for taking some time to read my blog today!  To have all my posts delivered directly to your email address, just click FOLLOW in my post above … or click on my site: cottagegreenonthelake.com

FOLLOW ME on PINTEREST!

Trenda@cottagegreenonthelake.com


Halloween DIY Treat Bags and Candy-Coated Ghost Peeps …….. by Trenda from Cottage Green on the Lake

Part 2 of “A Halloween of Memory Past” (Click on Part 1 of … A Halloween of Memory Past from previous post “Jolly Jack-o-Lantern Halloween Wreath” by Trenda)

PicCollage[439].pngHalloween of Memory Past by Trenda ~ cont’d from previous post “DIY Jolly Jack-o-Lantern Halloween Wreath”

As we walked up the sidewalk, I would size up each house, trying to determine if first … anyone was home and would answer the door and second … what kind of treat would be handed out.  My experiences had already taught me that behind the door of an unwelcoming house, there always seemed to be a stale bit of peanut butter taffy wrapped in orange or black paper.  Whereas, the brightly lit homes with welcoming porch lights and cheer-y doorbells seemed to house people who would fane surprise that there were spooks at their door and would generously grab into their bowl of treats and distribute a handful of goodies!  …………………………… by Trenda

PicCollage[437].png

Recalling my memories of Halloween’s Past, I love making special treats and stuffing little treat bags for each of the masquerader’s coming to 0ur home!  Look at these cute little Halloween bags.  They were so easy and fun … to make and fill!  My treat bags are filled with a little trac of Knock-knock jokes, vampire teeth (complete with a packet of red watermelon-flavored goo, to squish out like blood!) Halloween candies, and Jack-o-Lantern rings.  I also made some bigger sized bags for our own precious goblins (a cheerleader and a vampire!) and concocted these extra-special treats … Candy-Coated Ghost Peeps and Harvest Moon Pies

PicCollage[484].png

I bought the larger sized handled Kraft bags at Hobby Lobby, 5 for $1.99 and the smaller ones at Michael’s, 6 for $2.99.  I stamped each bag with black ink from my “Pigment” black ink pad and used 2 cute stamps I “found” on sale at Hobby Lobby!   To dress up my little bag, but wanting to keep it, simple … I tied a piece of raffia into a bow on each handle.  I love the “scarecrow-look” of this rustic little bag with the straw bow!

PicCollage[486].png

Now, for some fun and easy treats to make and put into each treat bag!  These darling little Ghost Peeps are dressed for Halloween with a “coat” of candy (;  and are adorned with bright polka dots, sprinkles, nonpareils’ and a fun assortment of Halloween pumpkins, bats, and mini ghosts. 

PicCollage[481].png

Pictured below are all the supplies needed to make the Ghost Peep Pops Tip: I melted my candy melts in tea cups so I wouldn’t have to use so many melts, but would have enough “candy depth”  to coat the bottom of each ghost.

PicCollage[490].png

Then I inserted a Halloween straw (I bought mine from Home Goods) into the bottom of each ghost and propped the chocolate coated Ghost Pops up, while the candy hardenedTip:  I found that my toaster made a perfect drying rack! (:  I made sure my toaster was unplugged and then inserted each Ghost Peep Pop into the toaster slots.  The candy hardened up perfectly, without having any side flattened.

PicCollage[491].png

After the candy hardened, I wrapped each ghost in a cellophane candy bag and tied it with a brightly colored polka dot ribbon.

PicCollage[495].png

piccollage500

PicCollage[502].png

From my cottage to yours  ~  Trenda


Thank you so much for spending some time with me today!  I’d love to hear from you and I am truly delighted, reading what you have to say.  Please leave any questions you may have or comments, below.  Don’t be dismayed when your comment doesn’t “appear” right away.  Word Press checks everything I send or receive for SPAM and all have to be approved, before posting.

%d bloggers like this: