
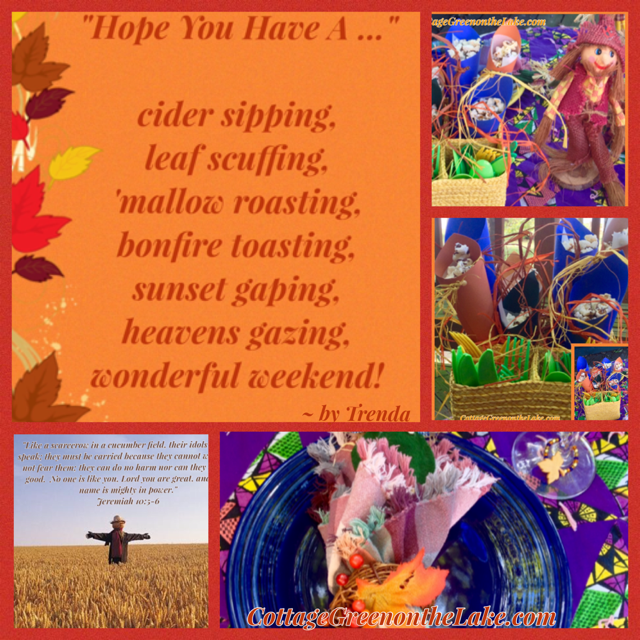
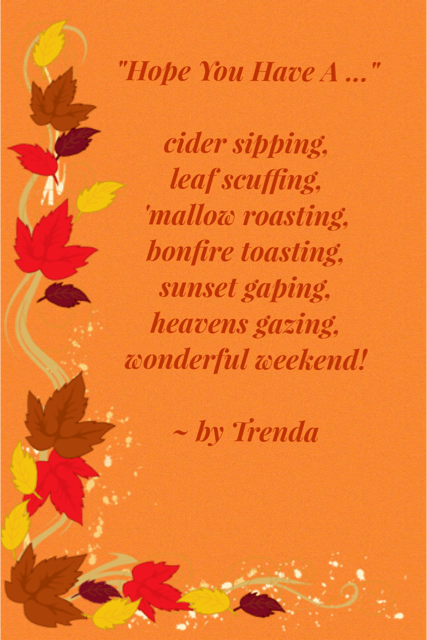
~ Trenda

“The stars at night are big and bright” ‘we Texans love to sing … look below the Red, Lone Star, your egg should be in sight!’ This is a clue from our Annual “Clan” Easter Egg Hunt that all of our family participates in! Each family member is assigned a particular color of egg and gets a sheet of numbered clues directing them to where their eggs are hidden. The eggs must be “gathered” in the same order that the clues are given. Each “participant’s clue sheet is in different order, so everyone is running to different locations at different times and can only pick up their color of egg. For our littlest ones, I have easier clues and pictures or numbers, marking where their eggs are! The first one to find all their eggs, gets the grand prize and our Family Egg Trophy to take home and display until the following year.
 ~Holly Pond Hill
Now, for this special Egg Hunt …. our picnic fare and ware has to be as “fun” as the occasion! (: Look at this bunny caddy crate! It looks darling loaded with bright green polka dotted plates, lime colored cutlery wrapped in orange napkins and tied with raffia (to look like carrots!) and tucked into this fun carrot vase, befitting any Bunny Picnic!

For each set of “carrot” tableware … place a green spoon, a green fork, and a green knife on top of an orange paper napkin; roll up so that the cutlery “peeks” out of the top of the napkin, like carrot tops and tie a raffia bow around each set of tableware.

A little whimsy and favor “For you!” … Slender orange bubble wands look like a bunch carrots – especially after I added a bit of gauzy green ribbon and a lime green label to each “carrot top!” To make my tags, I used my Recollections over-sized “punch” die-cutter (I bought mine from Michael’s) and stamped each label with the words “For You.” A little bubble fantasy and favor for each “participant.” (:

The Menu …
- Grilled bratwurst
- Potato Salad
- Mr. McGregor’s Carrot & Celery Sticks served in a dipping cup with Ranch dressing
- Peter Rabbit Carrot Cake Cookies w/Cream Cheese Frosting

Our Annual Clan Easter Egg Hunt has become one of our favorite family traditions with shouts of laughter and a special camaraderie and competition between the children and the adults! I love making up the little “sing-song” clues each year -like the sample above (; … that sends everyone scurrying all over the yard, out on the dock, and up the deck stairs looking for their eggs! From the pictures I take while everyone is dashing about, our son makes a video of the whole event complete with music, captions and headlines for everyone which becomes another treasured volume in our set of “family times.” <3
![PicCollage[4624].png](https://cottagegreenonthelake.com/wp-content/uploads/2017/04/piccollage4624.png?w=601&h=1068)
P. S. I already heard that 2 of our Clan are wearing competition tee-shirts they’ve made in keeping with “the spirit of the day!” (: I can’t wait to see them!

I’d love to hear about some of your family traditions and hope you’re enjoying this glorious season of the year with loved ones and friends!
From my cottage to yours ~ Trenda


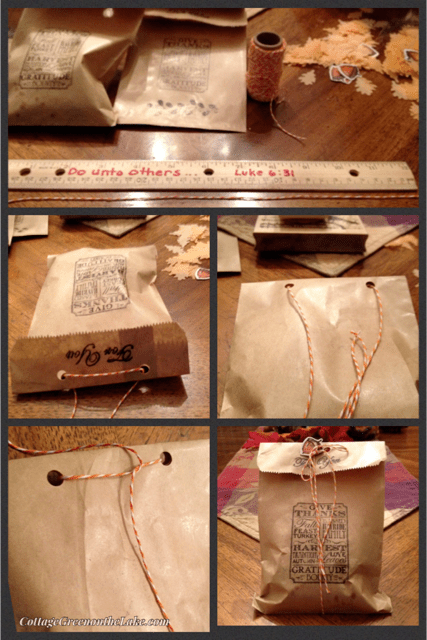
 Simple Bow instructions:
 To complete my Bunny Treat Bags I “stuffed” each bag with bunny ears made from gift wrap tissue paper. I cut one sheet of white tissue paper in half and formed a “bunny ear” by grasping the 1/2 sheet of tissue paper in the center. Then, while holding the center portion of the paper in one hand, I ran my other hand up over the tissue, while grasping it lightly to make loose folds. Then, I stuffed my “ear” into the treat bag so that the pointy ends of the tissue were sticking out to resemble a long ear. I repeated the entire process for the 2nd bunny ear, using the other 1/2 of the tissue paper. To form the pink “interior ears” I used my pink or my gingham gift tissue. Again, I cut each piece of gift tissue in half, “fluffed” my tissue and inserted into the bag, in front of the white outer ears. Use your imagination, they do look like Easter bunny ears!(;
 Last touch … I “stuck” one more felt heart on the back of my Bunny Treat Bag (I used the same color heart as I used for the bunny’s nose) and placed it near the bottom of the treat bag. Then I glued a little pom pom on the heart to make a fuzzy little bunny tail! (:


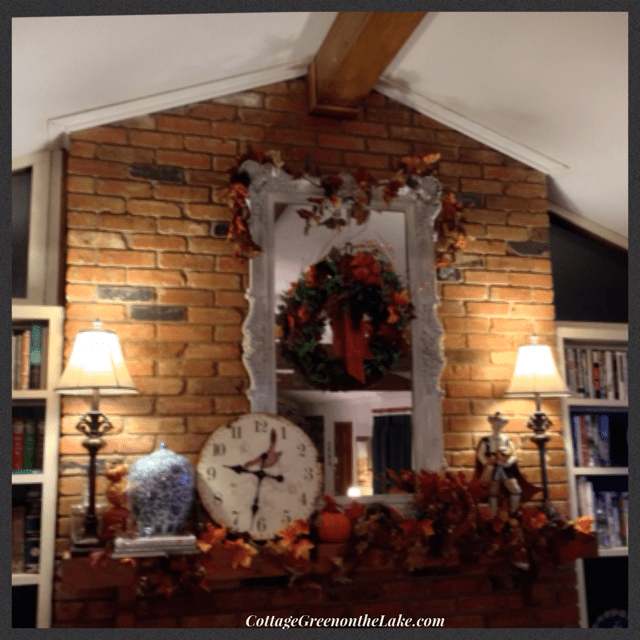
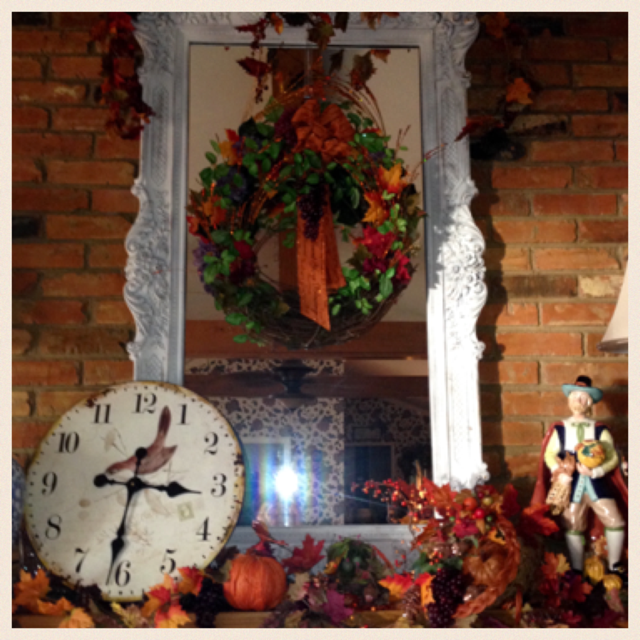
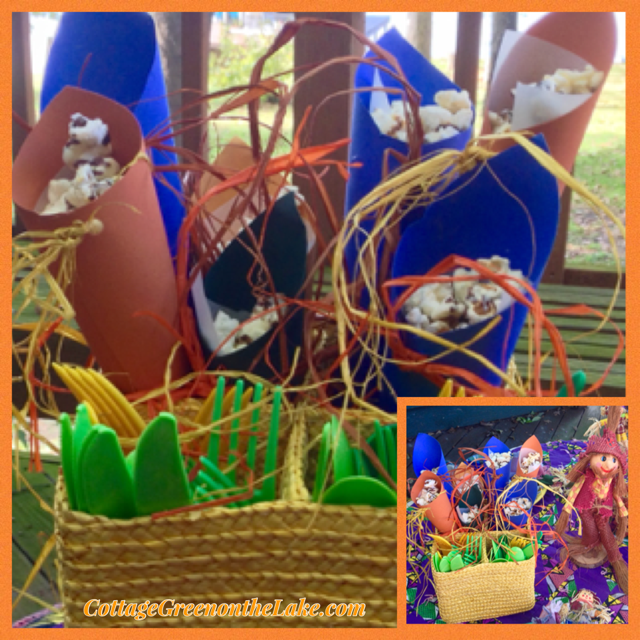
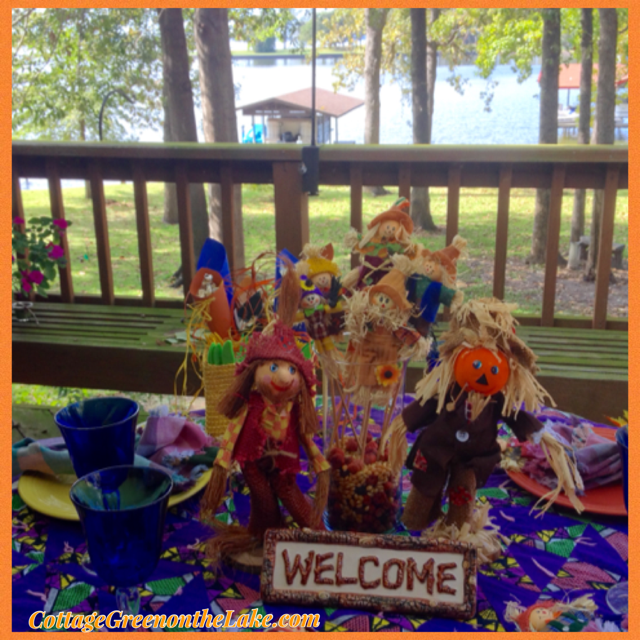
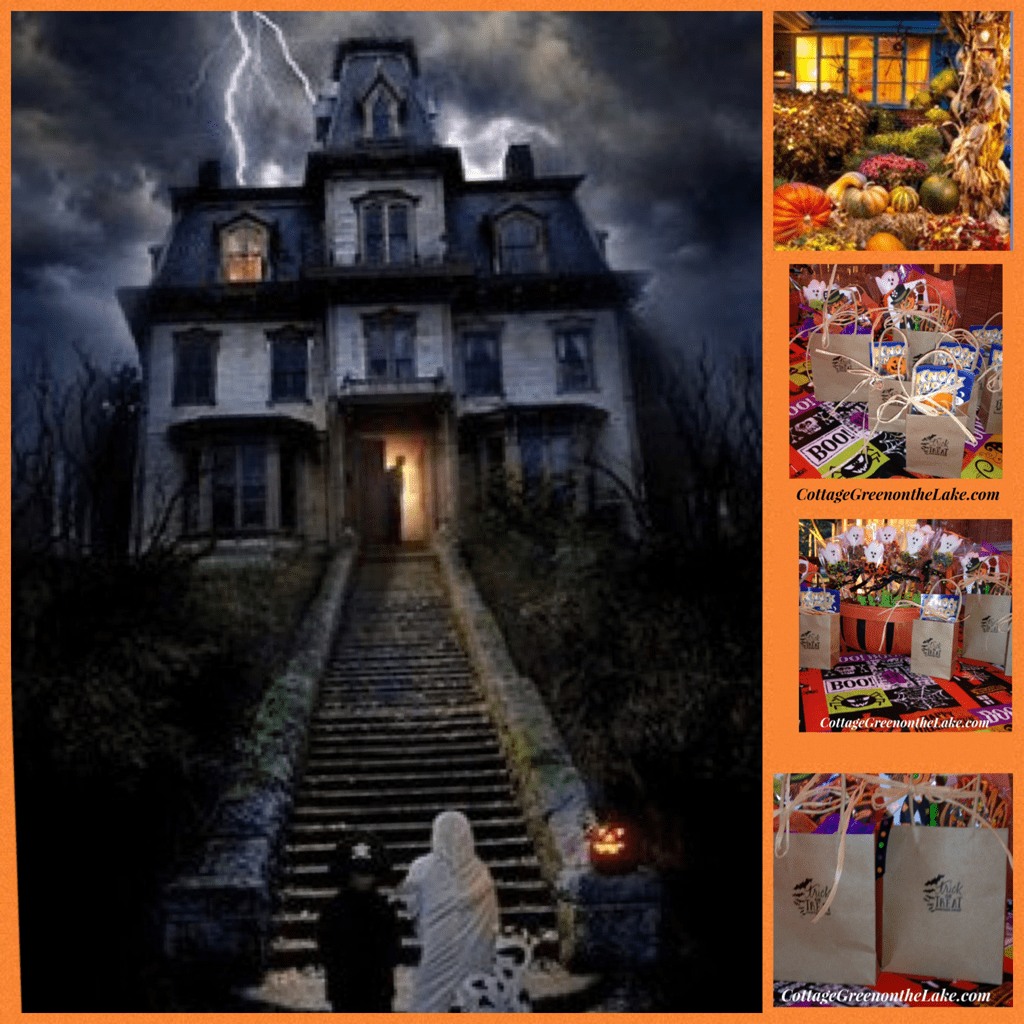
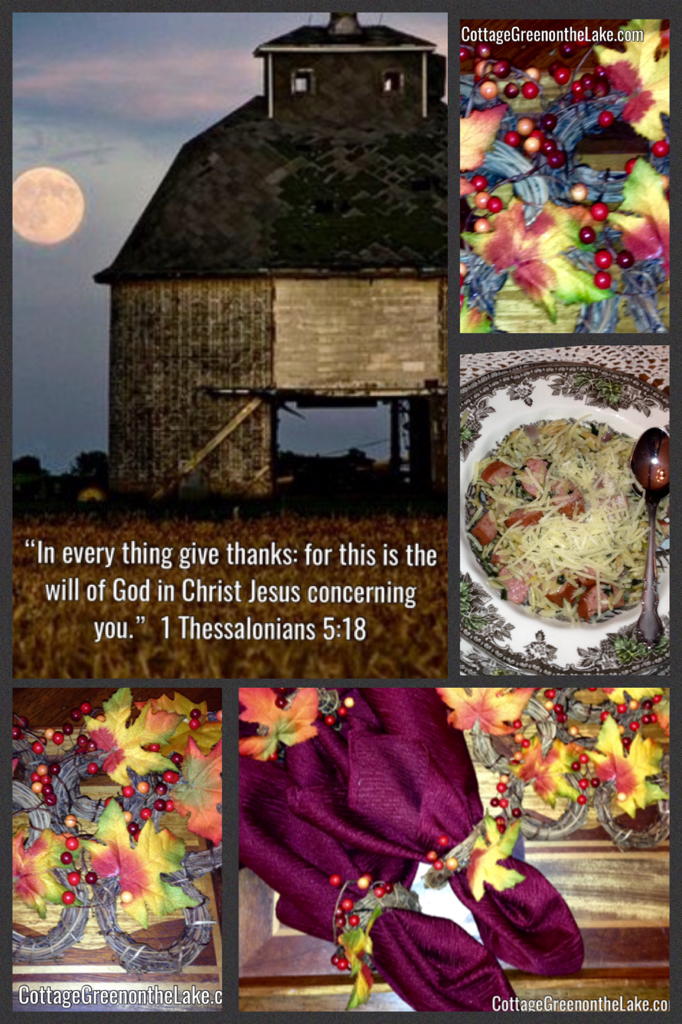
 Our “Beau” Pilgrim (I told you we like to name things around here!) made by Fitz and Floyd resides over the Mantle Harvest and has his own thanksgiving offerings … some maize and a pumpkin, in his hands.
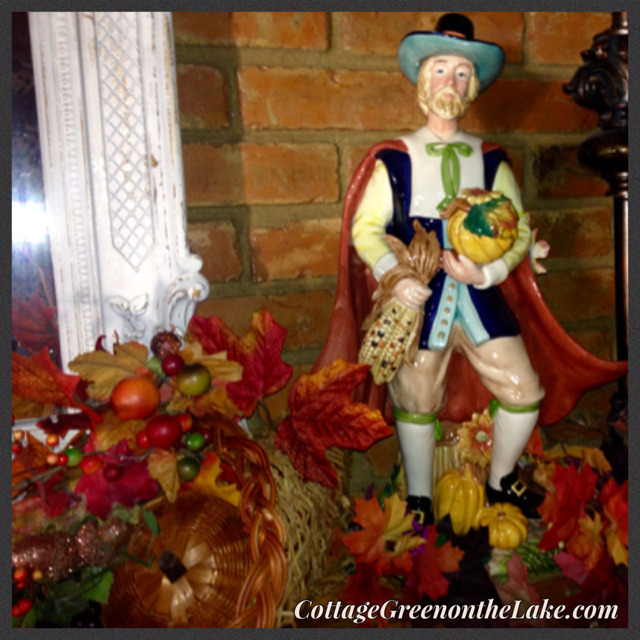


![PicCollage[439].png](https://cottagegreenonthelake.com/wp-content/uploads/2016/10/piccollage439.png?w=840)
![PicCollage[437].png](https://cottagegreenonthelake.com/wp-content/uploads/2016/10/piccollage437.png?w=840)
![PicCollage[484].png](https://cottagegreenonthelake.com/wp-content/uploads/2016/10/piccollage484.png?w=840)
![PicCollage[486].png](https://cottagegreenonthelake.com/wp-content/uploads/2016/10/piccollage486.png?w=840)
![PicCollage[481].png](https://cottagegreenonthelake.com/wp-content/uploads/2016/10/piccollage481.png?w=840)
![PicCollage[490].png](https://cottagegreenonthelake.com/wp-content/uploads/2016/10/piccollage490.png?w=840)
![PicCollage[491].png](https://cottagegreenonthelake.com/wp-content/uploads/2016/10/piccollage491.png?w=840)
![PicCollage[495].png](https://cottagegreenonthelake.com/wp-content/uploads/2016/10/piccollage495.png?w=840)

![PicCollage[502].png](https://cottagegreenonthelake.com/wp-content/uploads/2016/10/piccollage502.png?w=840)


![PicCollage[453].png](https://cottagegreenonthelake.com/wp-content/uploads/2016/10/piccollage453.png?w=840)
![PicCollage[449].png](https://cottagegreenonthelake.com/wp-content/uploads/2016/10/piccollage449.png?w=840)
![PicCollage[451].png](https://cottagegreenonthelake.com/wp-content/uploads/2016/10/piccollage451.png?w=840)
![PicCollage[463].png](https://cottagegreenonthelake.com/wp-content/uploads/2016/10/piccollage463.png?w=840)
![PicCollage[457].png](https://cottagegreenonthelake.com/wp-content/uploads/2016/10/piccollage457.png?w=840)
![PicCollage[465].png](https://cottagegreenonthelake.com/wp-content/uploads/2016/10/piccollage465.png?w=840)


![PicCollage[412].png](https://cottagegreenonthelake.com/wp-content/uploads/2016/10/piccollage412.png?w=840)
![PicCollage[414].png](https://cottagegreenonthelake.com/wp-content/uploads/2016/10/piccollage414.png?w=840)
![PicCollage[417].png](https://cottagegreenonthelake.com/wp-content/uploads/2016/10/piccollage417.png?w=840)
![PicCollage[424].png](https://cottagegreenonthelake.com/wp-content/uploads/2016/10/piccollage424.png?w=840)
![PicCollage[429].png](https://cottagegreenonthelake.com/wp-content/uploads/2016/10/piccollage429.png?w=840)

![PicCollage[434].png](https://cottagegreenonthelake.com/wp-content/uploads/2016/10/piccollage434.png?w=840)
![PicCollage[432].png](https://cottagegreenonthelake.com/wp-content/uploads/2016/10/piccollage432.png?w=840)

