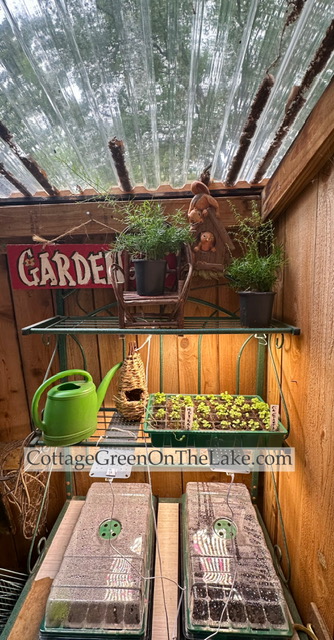
The seeds I planted in April are almost ready to be planted in their new homes outside! The little seeds have spent a cozy Spring on warm heat mats and cosseted under cozy moisture domes. Now the last step I need to do is to thin out the seedlings and harden off the plants before they’re transplanted outside.
Continue reading “Spring Gardening in the Cottage Greenhouse: How to Prepare Seedlings for Outdoors”Tag: lake

DIY Homemade Seed Packets: A Fun Gardening Project
“What a playhouse is to a child, a potting shed is to a gardener”
~ Unknown
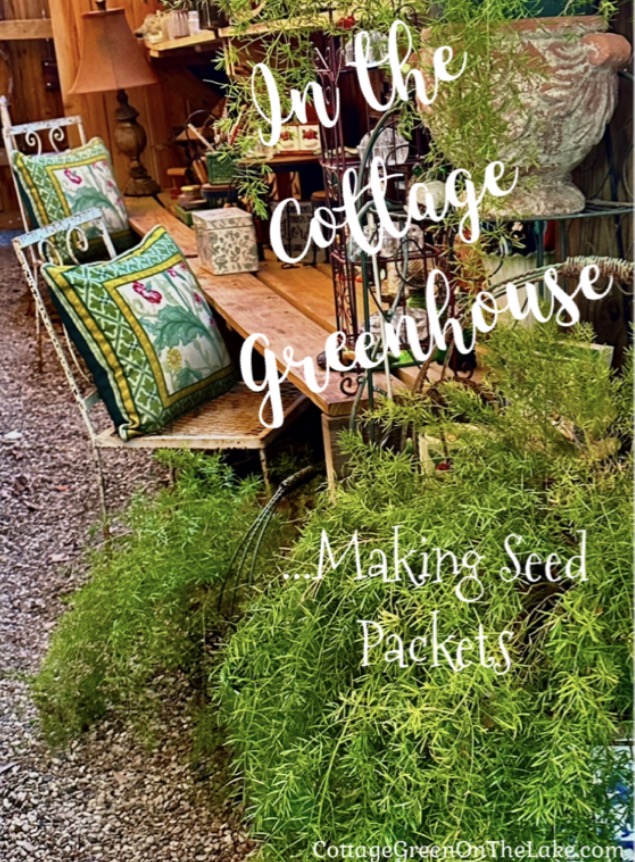
After days of colder-than-normal temperatures, the sunshine beckoned and it seemed like a good day to “go outside and play”…in the greenhouse. It was still chilly outside, but the temperature in the Cottage Greenhouse was 72 degrees…and a perfect day for dreaming of Spring flowers.
Continue reading “DIY Homemade Seed Packets: A Fun Gardening Project”One must maintain a little bit of summer, even in the middle of winter.” ~ Henry David Thoreau
Share this:

Winter Celebrations and Tablescape

Setting a pretty tablescape after the Christmas decorations are put away can be challenging, but with 2 very special birthday celebrations this month, I wanted the table to glow and set about creating an enchanting woodland tablescape that would be fitting, “In the Bleak Midwinter.”
Continue reading “Winter Celebrations and Tablescape”Share this:

How to Make Succulent Arrangements…Summer Project in the Greenhouse

During these hot, summer months this garden project allows you to “get your hands in the dirt” without much exertion…and even if you don’t feel like you “have a green thumb” you’ll find making these succulent arrangements, easy and rewarding.
Continue reading “How to Make Succulent Arrangements…Summer Project in the Greenhouse”There’s something satisfying about getting your hands in the soil.”
~ E. A. Bucchianeri
Share this:

Sitting on the Dock of the Bay…Dockside Tablescape and Picnic
The lake looked so cool and inviting; the waters kept “waving” at us, beckoning us to come out and enjoy… “Sittin’ on the dock of the bay.”

If you are like me, as soon as you read the title of this post, you began whistling Otis Redding’s famous song, “(Sittin’ On) The Dock of the Bay.” Friday was a beautiful, hot summer day and our daughter and granddaughter were over visiting. The lake looked so cool and inviting; the waters kept “waving” at us, beckoning us to come out and enjoy…”Sittin’ on the dock of the bay.”
Continue reading “Sitting on the Dock of the Bay…Dockside Tablescape and Picnic”Share this:

In the Cottage Greenhouse…Setting Up a Flower Apothecary
As I looked around the greenhouse, my idea began to grow; my warm, little hovel filled with plants, paintings, antique glassware, forgotten bird nests, flower frogs, and lichen covered bark, would be a delightful place for mixing potpourri…an apothecary of sorts.
During this time of the year, “all is calm, all is quiet” on the lake and it’s a lovely time of year for playing in the cottage greenhouse. Not only did my plants need watering, but I had come out to the greenhouse to check on the roses and statice I’d left hanging upside down from the greenhouse rafters to dry.
Continue reading “In the Cottage Greenhouse…Setting Up a Flower Apothecary”Share this:

Fish Camp Tablescape and Recipe for delicious “Cajun Beans”
Oh, I love summer nights! The deep blue of twilight makes the lake almost glow in the distance and the stars grow brighter and brighter as nightfall deepens. Great blue heron squawk farewells when they fly by going to roosts high up in the treetops, ducks murmur goodnight as they come gliding by, and the tree frogs sing a craggy lullaby.

Continue reading “Fish Camp Tablescape and Recipe for delicious “Cajun Beans””Oh, the summer night, has a smile of light, and she sits on a sapphire throne."Bryan Procter
Share this:

Summertime at the Lake and Easy Rice Krispie Favors
Family vacation…swimming and lazy afternoons on the dock…watermelon and water guns…cookouts and ice cream…July 4th and fireworks…corn hole and fishing…it’s summertime at the lake!

Share this:

A Tablescape and Spring Buffet Plus, Decorating Tips for your Home
“See! The winter is past; the rains are over and gone. Flowers appear on the earth; the season of singing has come, the cooing of doves is heard in our land.” Song of Solomon 2:11-12
Brilliant blue skies, birds in construction mode flying back and forth with building materials in their beaks, Mourning Doves cooing, Barn Swallows swooping, Mockingbird’s singing, beautiful wisteria, azaleas, and roses blooming in all shades of pretty…it’s Spring!
Continue reading “A Tablescape and Spring Buffet Plus, Decorating Tips for your Home”“Adopt the pace of nature: her secret is patience.”
Ralph Waldo Emerson
Share this:

Springtime in the Cottage Greenhouse…planting flower seed trays and vegetables
It was a delightful day to be working outside in the Cottage Greenhouse. In my cozy shelter, I was protected from the cool, north wind…surrounded by smells of earth and growing things, soothed with a background of birdsong, and the greenhouse door was opened to the lake beyond.

It was one of those March days when the sun shines hot and the wind blows cold: when it is summer in the light, and winter in the shade.”
Charles Dickens
It was a delightful day to be working outside in the Cottage Greenhouse. In my cozy shelter, I was protected from the cool north wind…surrounded by smells of earth and growing things, soothed with a background of birdsong, and the greenhouse door was opened to the lake beyond.


