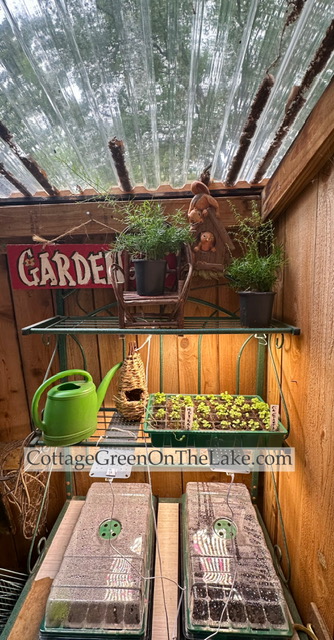
The seeds I planted in April are almost ready to be planted in their new homes outside! The little seeds have spent a cozy Spring on warm heat mats and cosseted under cozy moisture domes. Now the last step I need to do is to thin out the seedlings and harden off the plants before they’re transplanted outside.
Continue reading “Spring Gardening in the Cottage Greenhouse: How to Prepare Seedlings for Outdoors”Tag: cottage

Cottage Core Decorating Ideas for a Cozy Home
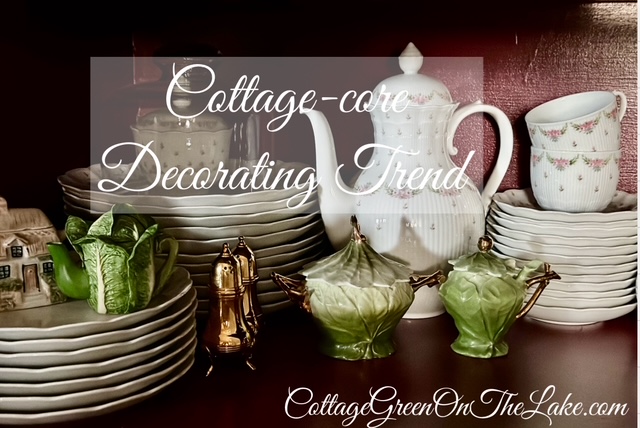
If you have been reading any magazines, ordering things on-line, or seeing ads on TV, you may have noticed a new term, “cottage core decorating” or “cottage core decorations.” You might have asked yourself, “What is cottage core?”
One description of cottage core decorating is…
“Decorating in such a way that evokes romance, whimsy or nostalgia using items or decorations that make you feel like you are in a cozy cottage.”
People are veering away from the stark, black and white, cookie cutter style of the Modern Farmhouse decorating trend and are wanting their homes to reflect more of their personality and charm.
Continue reading “Cottage Core Decorating Ideas for a Cozy Home”Share this:

DIY Homemade Seed Packets: A Fun Gardening Project
“What a playhouse is to a child, a potting shed is to a gardener”
~ Unknown
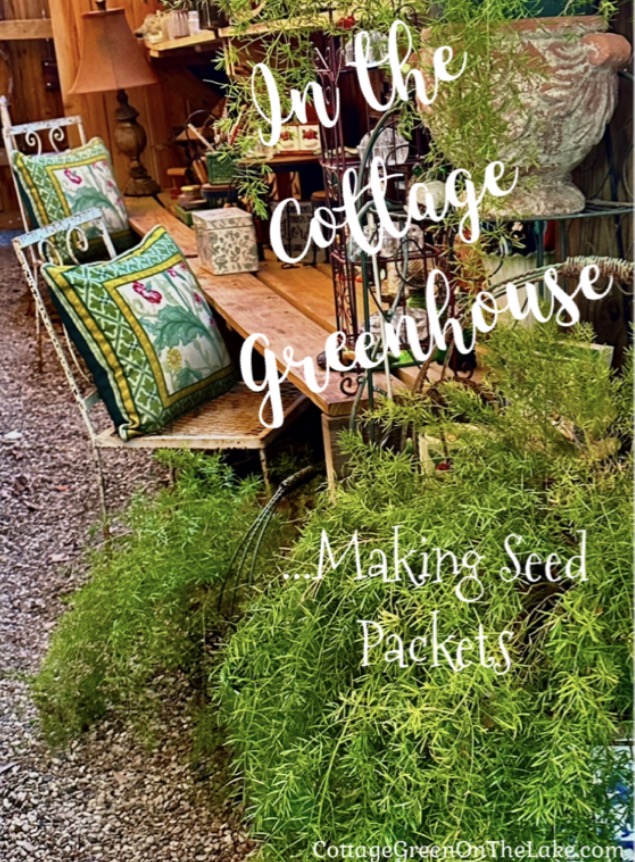
After days of colder-than-normal temperatures, the sunshine beckoned and it seemed like a good day to “go outside and play”…in the greenhouse. It was still chilly outside, but the temperature in the Cottage Greenhouse was 72 degrees…and a perfect day for dreaming of Spring flowers.
Continue reading “DIY Homemade Seed Packets: A Fun Gardening Project”One must maintain a little bit of summer, even in the middle of winter.” ~ Henry David Thoreau
Share this:

Winter Celebrations and Tablescape

Setting a pretty tablescape after the Christmas decorations are put away can be challenging, but with 2 very special birthday celebrations this month, I wanted the table to glow and set about creating an enchanting woodland tablescape that would be fitting, “In the Bleak Midwinter.”
Continue reading “Winter Celebrations and Tablescape”Share this:

Thanksgiving Tablescape…Tips for Styling & Setting a Stunning Tablescape
“Let gratitude be the pillow upon which you kneel to say your nightly prayer.” Maya Angelou
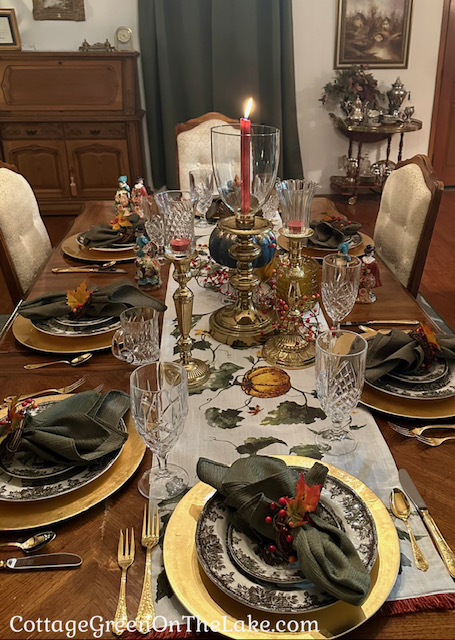
Yesterday was a very special day in The United States of America…a holiday aptly named “Thanksgiving.” Thanksgiving is celebrated every year in America on the fourth Thursday in November. It’s the day we set aside to thank the Lord for all He has blessed us with and brought us through in the past year…a grand day celebrated with feasting, family, and friends!
Today, I’m going to show you how I decorated our Thanksgiving table and give you some tips that will help you style your own table beautifully for any occasion.
Continue reading “Thanksgiving Tablescape…Tips for Styling & Setting a Stunning Tablescape”Share this:

How to Make Succulent Arrangements…Summer Project in the Greenhouse

During these hot, summer months this garden project allows you to “get your hands in the dirt” without much exertion…and even if you don’t feel like you “have a green thumb” you’ll find making these succulent arrangements, easy and rewarding.
Continue reading “How to Make Succulent Arrangements…Summer Project in the Greenhouse”There’s something satisfying about getting your hands in the soil.”
~ E. A. Bucchianeri
Share this:

Setting a Cozy Winter Tablescape and Decorating the Mantle
Our kitchen nook glowed invitingly, with winter weather just a windowpane away…

Setting a cozy winter tablescape and decorating a mantle that brims with rustic charm and elegance is easy using a cozy plaid, a fir swag, and a variety of different sized candlesticks, silver pieces, and crystal.
Continue reading “Setting a Cozy Winter Tablescape and Decorating the Mantle”Share this:

Creating an Outdoor Centerpiece for Thanksgiving
Today was another beautiful November day and the perfect day for assembling a centerpiece for our outside table. The centerpiece splays across the table and is made up of “twig-ery and poke-ery” and other autumn finery, and candlelight twinkles over the tabletop. An outside dining area easily becomes an extension of your living area and an enchanting way to beckon company outside.
Continue reading “Creating an Outdoor Centerpiece for Thanksgiving”Share this:

Making Homemade Potpourri & Afternoon Tea…in the Cottage Greenhouse
…my warm, little hovel filled with plants, garden tools, baskets, old paintings, antique glassware, forgotten bird nests, flower frogs, and lichen covered bark, would be a delightful place for mixing potpourri.


In my last post I wrote about the charming nook, a “flower apothecary” of sorts that I created in our cottage greenhouse. (click here to read)
Since then, I’ve been stirring up all kinds of mixtures and potpourris made from dried rosebuds, daisy petals, lavender, vanilla, jasmine, and other fragrant flowers and scents.
Share this:

In the Cottage Greenhouse…Setting Up a Flower Apothecary
As I looked around the greenhouse, my idea began to grow; my warm, little hovel filled with plants, paintings, antique glassware, forgotten bird nests, flower frogs, and lichen covered bark, would be a delightful place for mixing potpourri…an apothecary of sorts.
During this time of the year, “all is calm, all is quiet” on the lake and it’s a lovely time of year for playing in the cottage greenhouse. Not only did my plants need watering, but I had come out to the greenhouse to check on the roses and statice I’d left hanging upside down from the greenhouse rafters to dry.
Continue reading “In the Cottage Greenhouse…Setting Up a Flower Apothecary”
