Hail, hail, the gang's all here,
Never mind the weather, here we are together;
Hail, hail, the gang's all here,
Sure we're glad that you're here, too!
If you’re not barefoot, then you’re overdressed.
Unknown
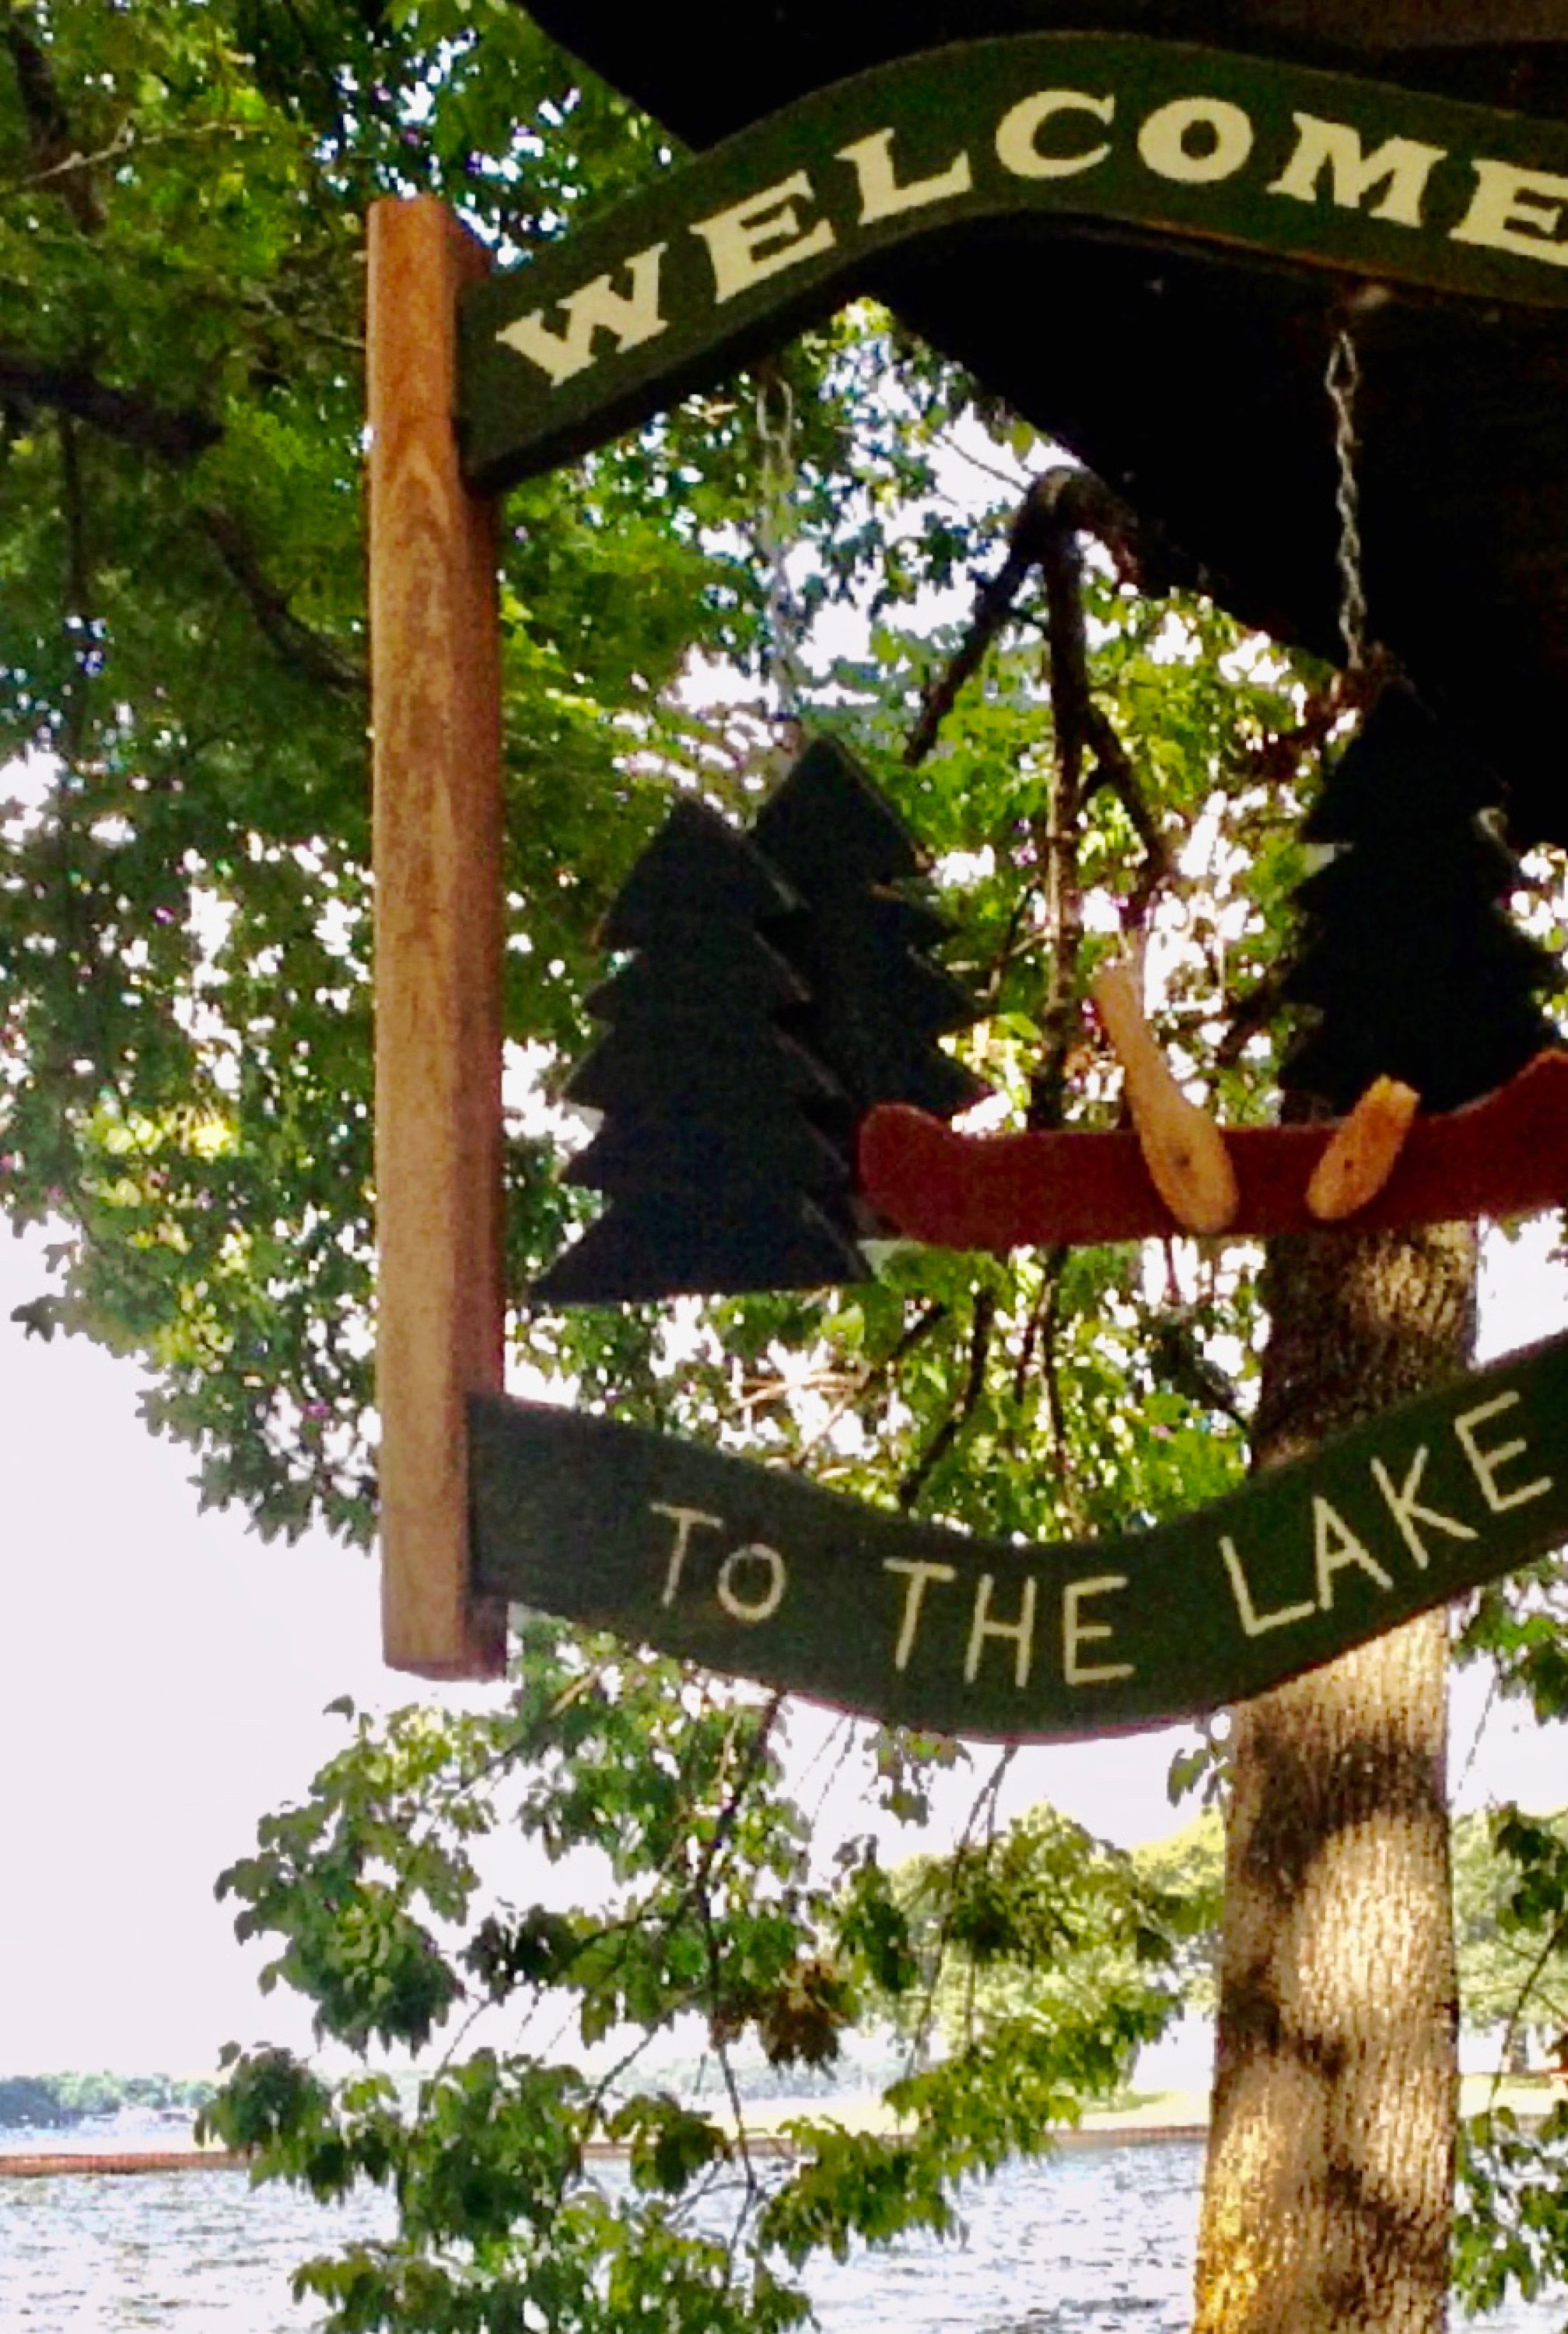
Labor Day is the last big fanfare of the summer here at the lake and I’ve been getting ready for our weekend with “the gang all here!” I thought you might like reading and seeing some of the tips, preps, how to’s, menu’s, and recipes we use for our family get together’s and what we do here at Cottage Green preparing “4theseasons” and for our family celebrations. P.S. For those of you that don’t know … my Twitter and Instagram account is 4theseasons. (;
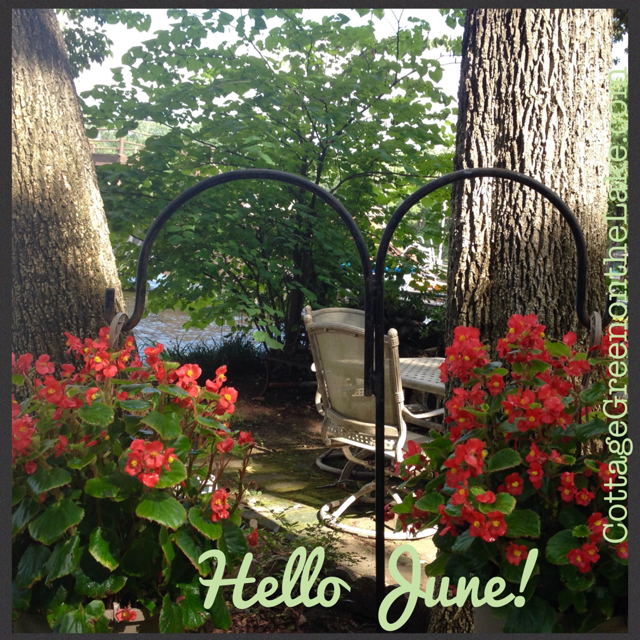
I love how summer just wraps it’s arms around you like a warm blanket.
Kellie Elmore

Since we’ll have several different areas set up for food and drink, I always like to have multiple caddy’s ready that are easy to carry and set up and hold all our cutlery and napkins. I use this rugged twig caddy often, since it’s so handy. (See it in the picture above when we had watermelon on the dock while watching the gorgeous sunset and (click here to see the same twiggy caddy in a Woodland Christmas Tablescape) I always tuck cloth napkins into the basket to line and soften the edges of the twigs, and to match the cutlery we’ll be using. Our color theme for Labor Day is red, white, and blue and a basket of red anchor napkins on a blue and white striped background will be whimsical setting on the dock table and will fit in perfectly with our lake theme, in just the right colors.

Next … this cute and showy rowboat caddy will be for our Farewell BBQ dinner. No frail paper napkins will do when finger lickin’ ribs and homemade barbeque sauce are on the menu! Red cloth bandanna’s are folded up to secure cutlery, then are wrapped around the bundle and festooned with red, white and blue wired tinsel.

Red, white and blue plastic sandwich baskets are lined with festive red and white checked deli papers. The baskets are sturdy and easy for small hands to carry even when their baskets are filled with ribs, cool pasta salad, and a little bean pot filled with (Delicious BBQ Beans – click here for recipe.)

Pictures and Instructions … How to Assemble Cutlery and Napkin Packages
1.Fold napkin into quarters. Place folded edge to your left side and open selvage of your napkin to your right. Fold up the bottom edge of your napkin, about 5 inches, if you are using larger napkins like these bandanna’s. If the napkins you use are smaller, fold up less material, according to size, but so you still have ample material left to pull up, cover and secure your cutlery.

2.Place a knife, fork, and spoon with the tips of the cutlery just beneath the left hand corner of your napkin and fan out so bottom of utensils are in line with the right hand bottom corner. FYI: Placing the cutlery beneath the edge of the material makes a prettier presentation and helps keep the utensils from getting dirty.

3.Now fold the left side of the napkin over the top of the utensils and fold the bottom right hand corner of the napkin straight up, over the top of the first fold. This secures your cutlery and keeps it from falling out when it’s picked up. Remember those unfortunate times all your silverware has fallen out when you were picking up your silverware bundle at a restaurant or cafeteria??? This tuck keeps that from happening!

4.Holding the left side of folded napkin and keeping the cutlery in place in the center (the cutlery will slide somewhat as you keep rolling your napkin, you can flare it out, again, if you need to, after you have secured the napkin bundle with your tinsel wire or cording) Just keep rolling your bundle to the right until all the material of the napkin is entirely wrapped around the bundle inside. When your napkin is rolled around in a concise package, hold or place the cutlery bundle down on the surface you are working on so it doesn’t unroll while you are getting your wired tinsel to secure the package. In the picture below I wanted you to be able to see how your bundle should look before securing. TIP: I usually have my tinsel or cording already cut and ready before I start my bundles so I can tie each place setting immediately, after I’m through rolling my napkin bundle.

5.Finished rolled cutlery bundle before cording.

6.I am not too exact when I am using tinsel wiring since I don’t like to pull out all the bends, plus any excess tinsel always looks cuter when there’s more! Each strand of tinsel wire I cut is approximately 13 inches long. Don’t worry if you don’t have any tinsel wire, I have made these bundles using colored raffia (click here to see Easter bundles made with smaller paper napkins and tied with raffia) silk red and green plaid ribbon with pine cone ornaments attached, rugged jute with white lifesavers dangling to mimic life preservers, and thin white macrame cording with anchor buttons; whatever tinsel or cording I’ve used, these bundles are always darling.

7.Center your tinsel or cording around your bundle so there is an equal amount of wire or cording on each side of the napkin to twist or tie.

8.Wrap the 2 strands of your tinsel or cording around your bundle to meet in the middle and twist together, or tie in a simple knot if you or using cording . When I use tinsel wiring, after twisting the tinsel to hold in place,I twirl first one end and side of the wiring loosely around my index finger, then I slip my finger out, which leaves the tinsel in loose coils. Then I gently pull the coils out to the desired length I want … then I do the same thing to the opposite side of the tinsel.

One more caddy finished and one to go for our Sand Pail Ice Cream Finale (click here for pictures of our Fun Summer Tradition)
Gotta go, the Gang’s Almost Here! Hope you have a wonderful and safe Labor Day Weekend … AND I hope you liked this post. I’m planning on this being a new series of blogs I share with you whenever “our gang” is coming! <3
From my cottage to yours ~ Trenda

I’d love to hear from you! Please ask any questions you may have or post any comments, below. To have all my posts delivered directly to your email address, just click on FOLLOW in the post above … or click on my site: cottagegreenonthelake.com
Follow me on PINTEREST at Trenda@cottagegreenonthelake.com


 Instructions: