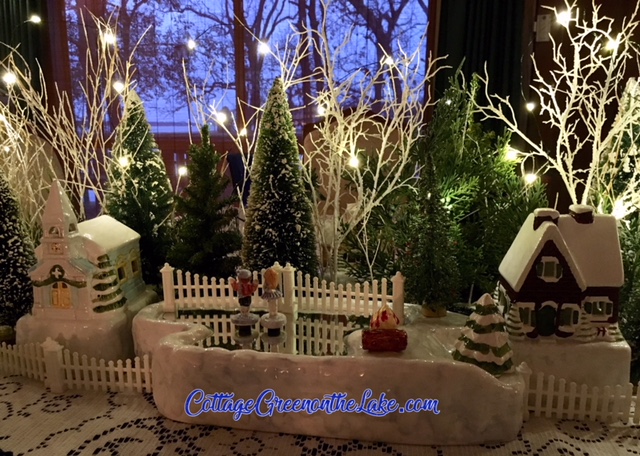
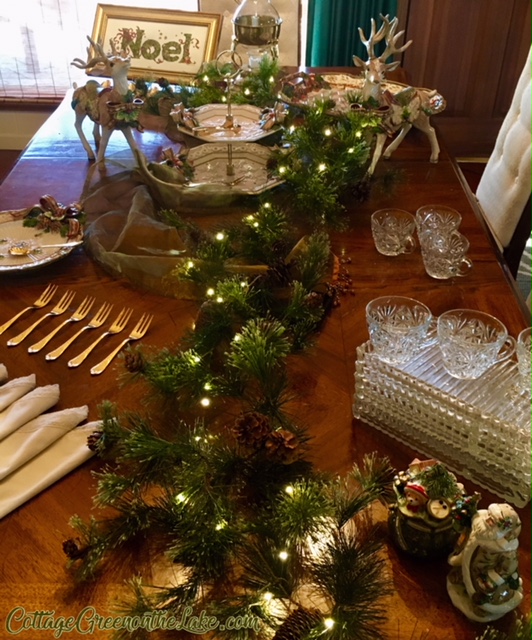
I had fun creating a whimsical tablescape befitting our first wintry weather, complete with snow flocked trees, a frozen pond, and miniature skaters. Little twinkle lights glow in faux white branches covered in glitter while the “real” tree branches loom beyond the window, stark and dark against the twilight sky.

A navy tablecloth covered with white lace is the snowy backdrop for crystal mugs and cherished blue stemware … reflecting sweet “yesteryear.” Memories of our own dear little boy and girl carefully choosing each jewel colored stem and buying them for me with their combined allowances … Momma’s beloved Christmas present! ❤ 
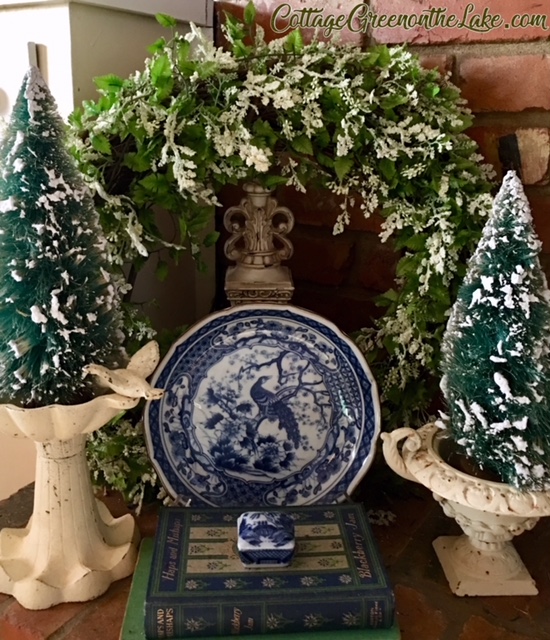
Christmas Naif dishes by Villeroy and Boch, painted by the French artist Gérard Laplau depict a picturesque village scene with children playing near a snowman … “with a corncob pipe and a button nose and two eyes made out of coal” and a horse-drawn sleigh … are perfect for my Winter Wonderland!

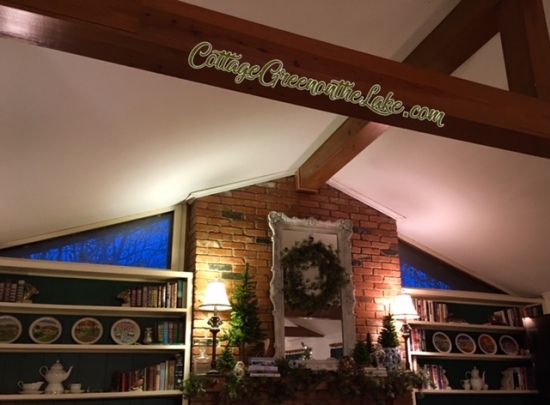
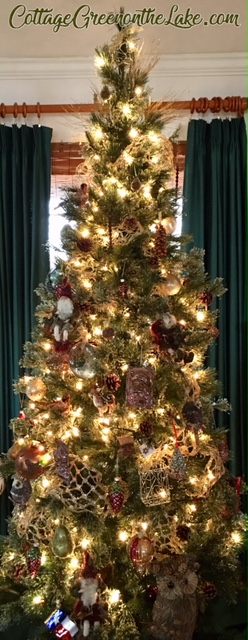
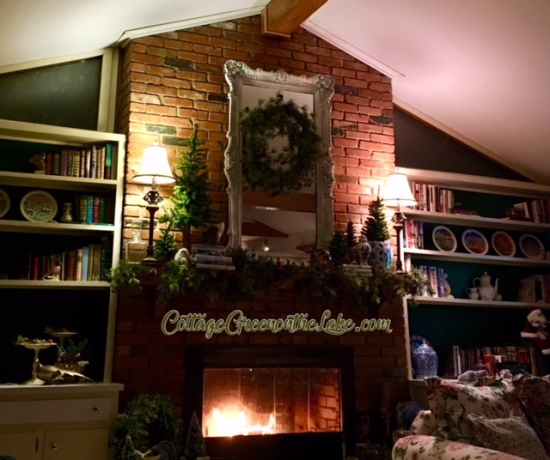
“Come to the church in the wildwood” with windows glowing, amongst the twinkling trees and spruce.

Winter evening beckoning in the deepening twilight, within and beyond …
 These little skaters, with their magnet pedestals actually pirouette around the iced pond when the music box is wound up and playing.
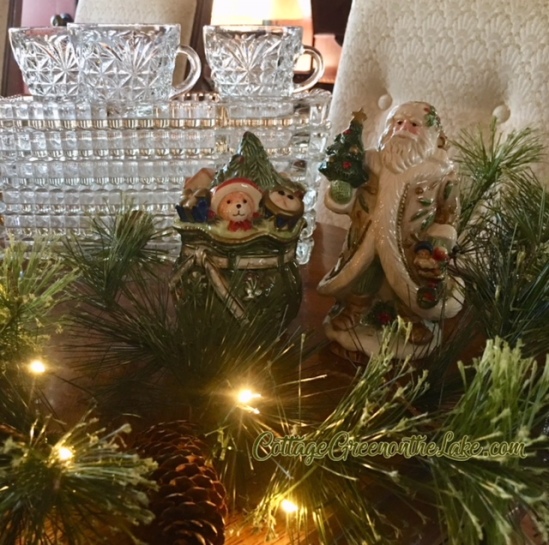
 After dinner coffee and Dutch Almonette cookies are waiting to be served. Crystal mugs, biscuit barrel, and sugar creamer set match the “icicle” look of the frozen pond and snow flocked trees.

“Coffee?” “Yes, please!” (:
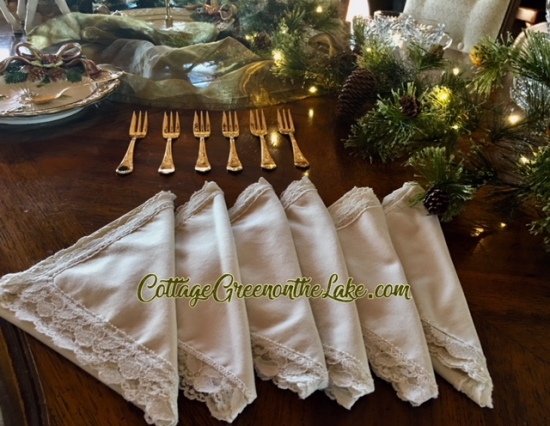
 White crocheted-edged napkins are tucked inside navy blue napkins and are tied with a simple gold cord which nonchalantly holds the salad and dinner fork. Individual little tealights glow in white holders covered in “snowballs” and personalize each place setting.

Hope you’re staying warm and enjoying this special season with moments … snuggled under cozy blankets … holding steamy mugs that warm your hands … gazing at the beauty of winter through frosted window panes … with family and friends taking “the bite” out of the frost! (:

From my cottage to yours ~ Trenda

Thank you for reading my blog! To have all my posts delivered to your email address, just click FOLLOW in my post above … or click on my site: cottagegreenonthelake.com
FOLLOW ME on PINTEREST!
Trenda@cottagegreenonthelake.com
This week I’m joining:
Chloe Crabtree with Celebrate & Decorate


 My mind still links Tomato Soup and cold winter days together and we had a “snow day” this week which made me want to make “Tuscan Tomato Soup.”
 Winter weather managed to push past the borders of Texas earlier this week, and obliged us with a deposit of sleet and snow! We were excited when the weather forecasters predicted the possibility of us getting a wintry mix and began to look expectantly for our guests’ arrival. At 10:00 pm Monday evening the sleet arrived, right on time and entertained us for 2 hours before tiny snowflakes began falling! Snow is always a thrilling sight in our area of TEXAS and Richard and I watched the enchanting display from our opened door until shivering, we reluctantly left our vigil to warm up, before checking again. We finally went to bed around 2:00 am; the flakes were still swirling and our driveway and deck were covered. The weather forecasters deserve a gold star … not only did they get their predictions correct, our winter guests were punctual and came exactly when expected! (;
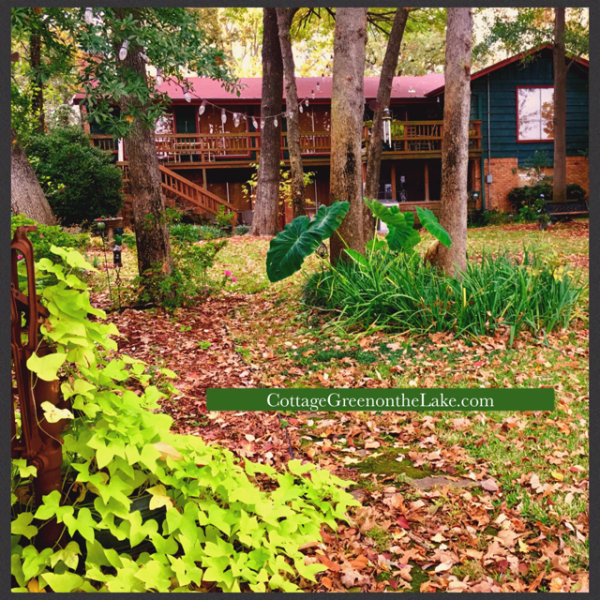
 Side yard and cobbled pathway …
 Waiting for Spring …
 Backyard and lake …
 View from our bathroom the next, sunny but cold day!
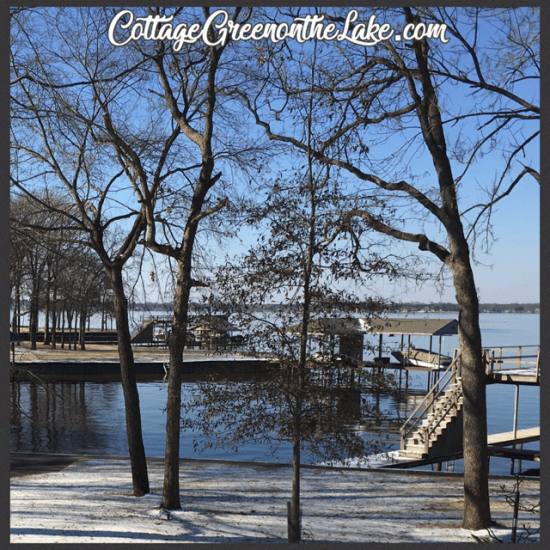 Hope you have a wonderful weekend with moments enjoyed padding around in warm fuzzy socks, mugs of coffee in hand, snuggled under comforters, comfy within and without!


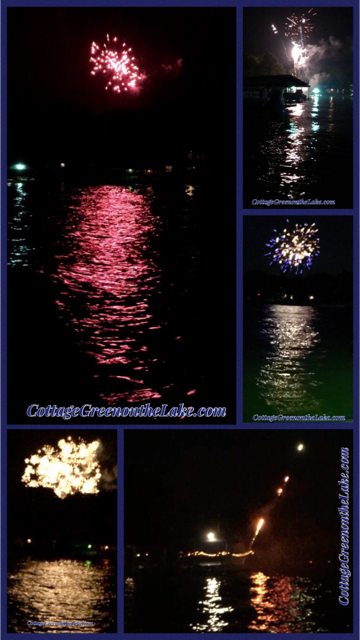
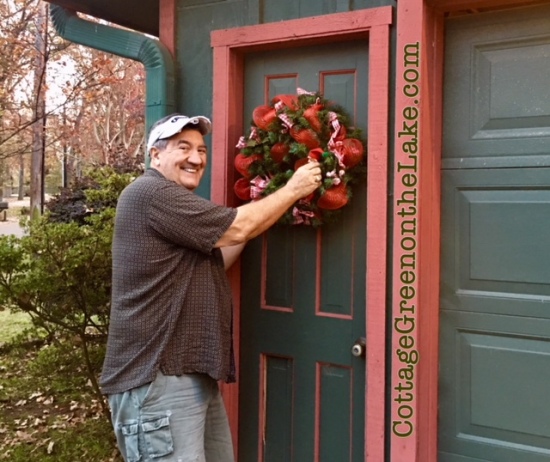
 “I’ll have a blue Christmas without you …”
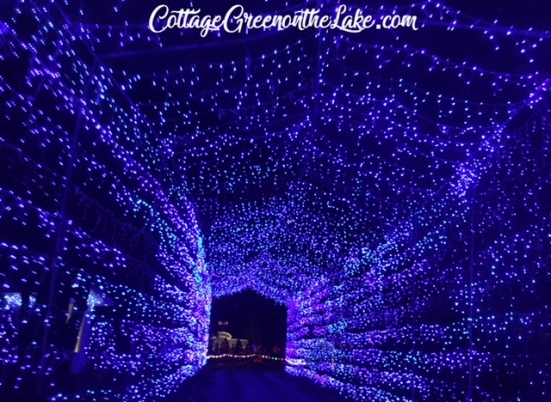
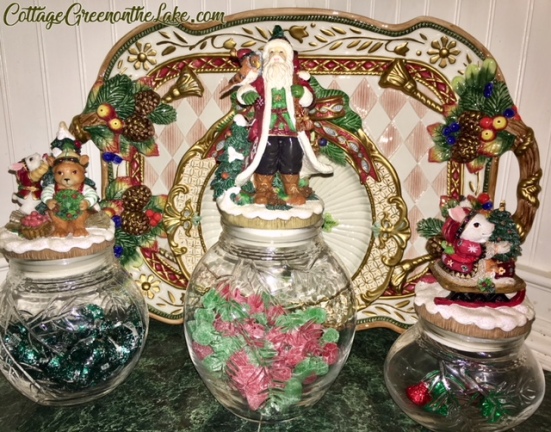
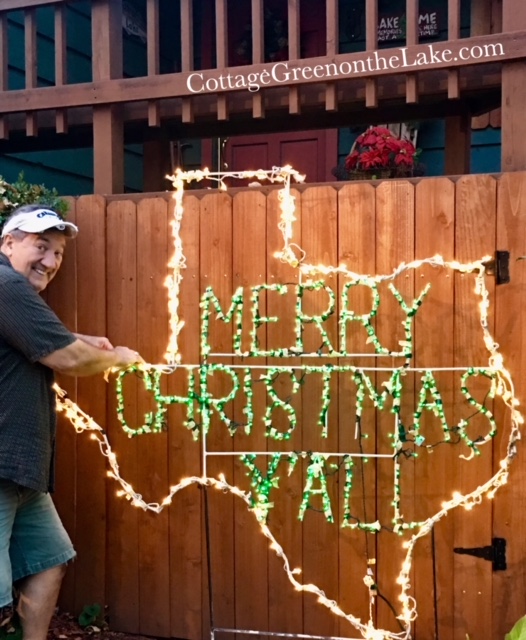
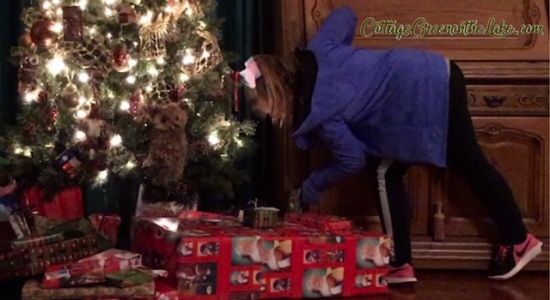
 “Here we come a-wassailing …”
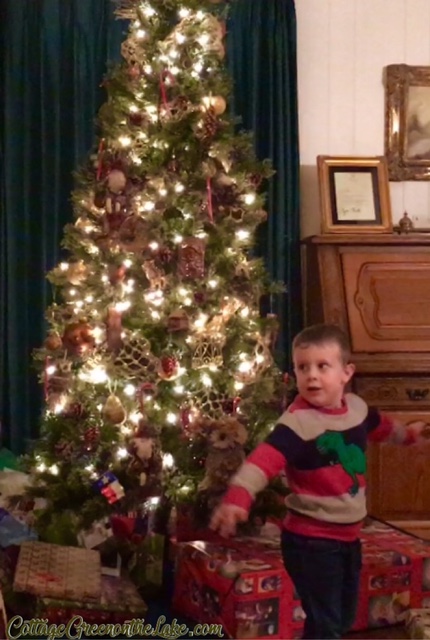
 “Daddy, how does this thing fly?”
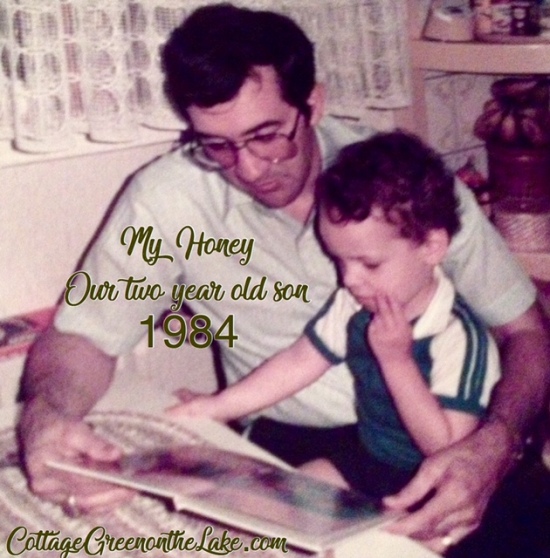 “And a hundred other where’s and whys …”
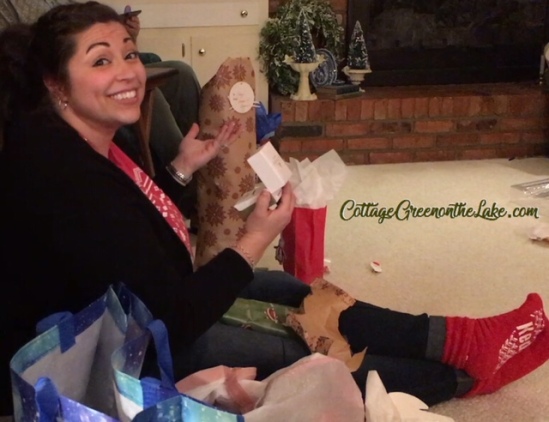
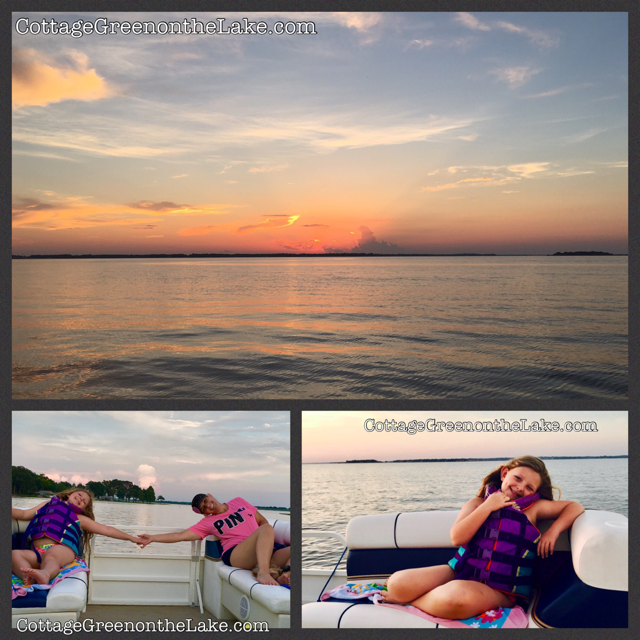
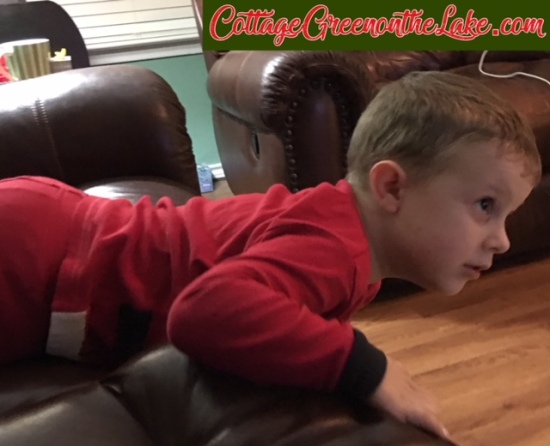
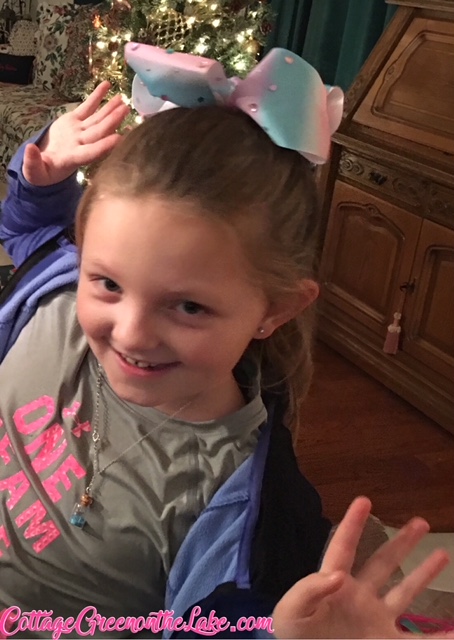
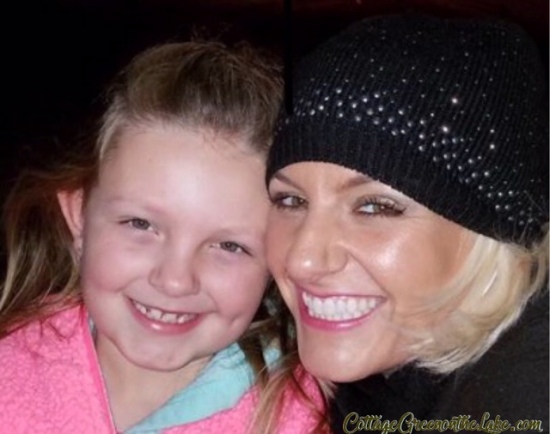 “When you look down in those trusting eyes that look to you, you realize …”
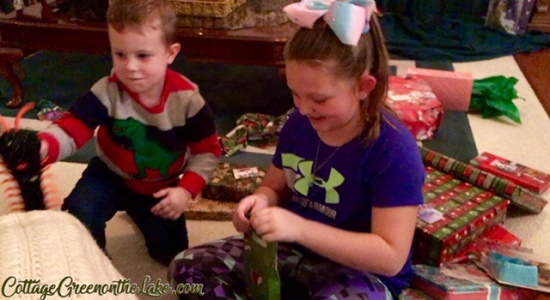
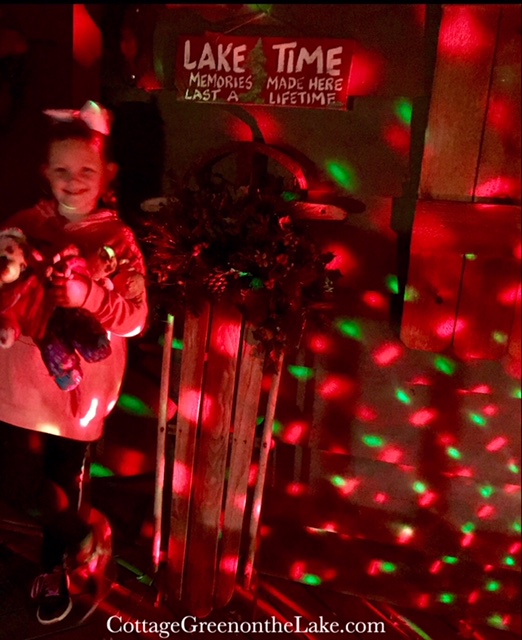 Do you ever stop to think or wonder why? The nearest thing to Heaven is a child
 Oh, I hope you enjoyed seeing our Christmas at Cottage Green and I hope you had a wonderful, blessed Christmas filled with moments that will warm your heart throughout the year. Our grand daughter told me, “Grandma, I’m sad Christmas is over” … I’m sad Christmas is over, too, but I promised God I am keeping Christmas in my heart, all year long! ❤


![PicCollage[10258].png](https://cottagegreenonthelake.com/wp-content/uploads/2017/12/piccollage10258.png)


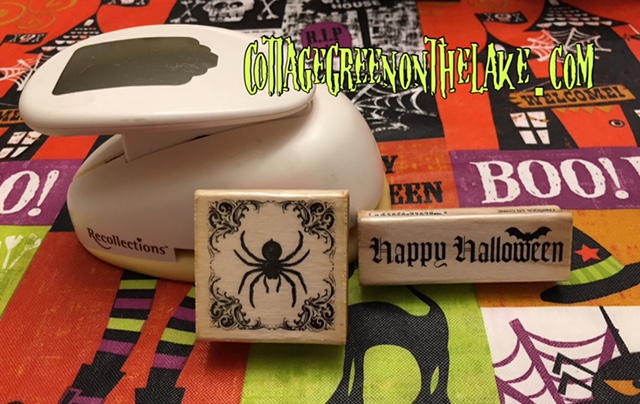

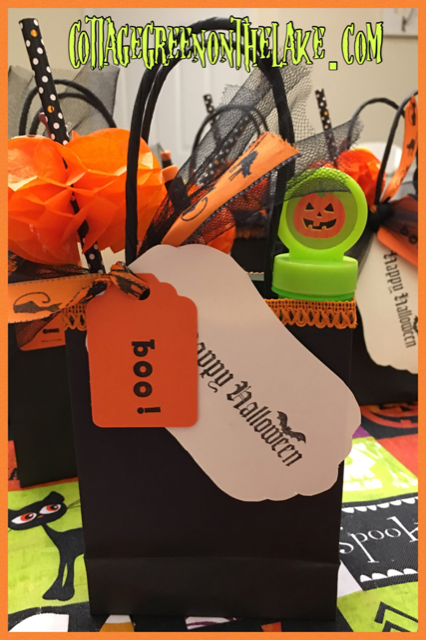
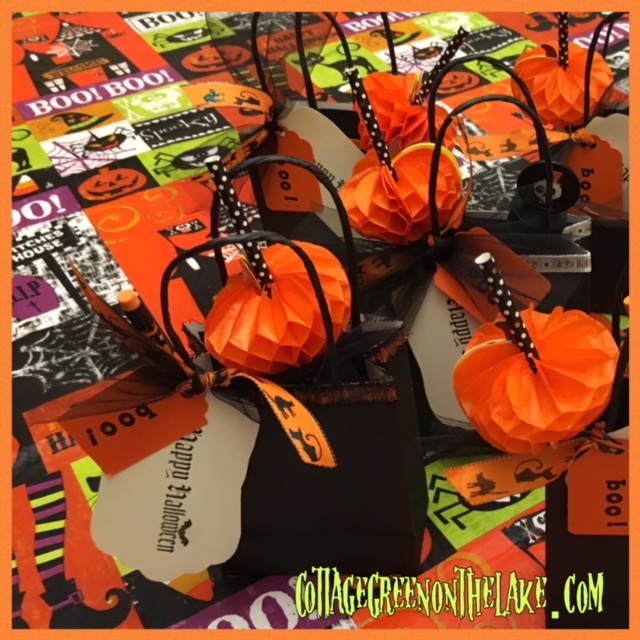
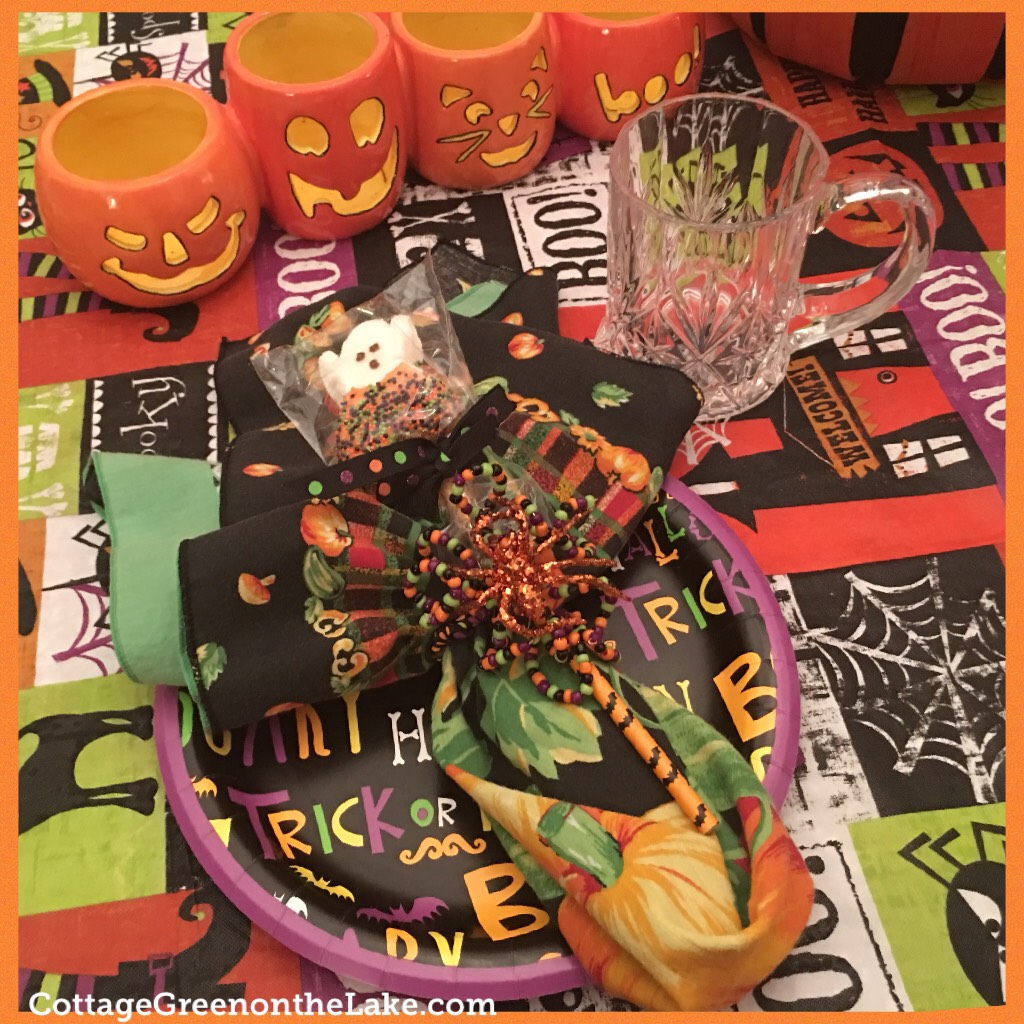
 5. Cut a 9″ length of tulle and a 8″ length of Halloween ribbon. Place the tulle and the ribbon together.