by Trenda
Today our first dear arrivals are coming for a much anticipated Thanksgiving week of being t-o-g-e-t-h-e-r! I still have too many things that haven’t been crossed off of my “To do” list, but I have finished some of those special projects that I love doing from my “wanna-do” list. (:
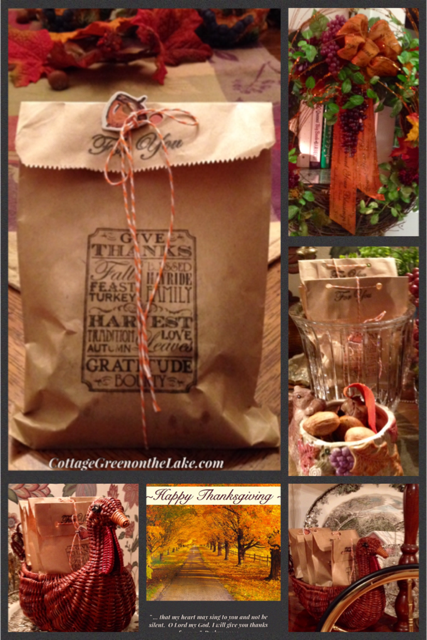
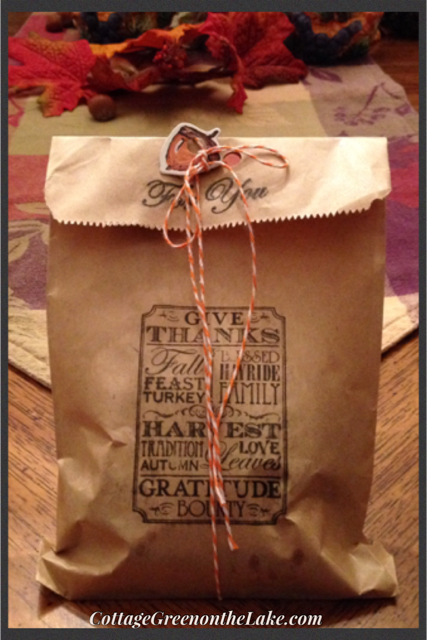
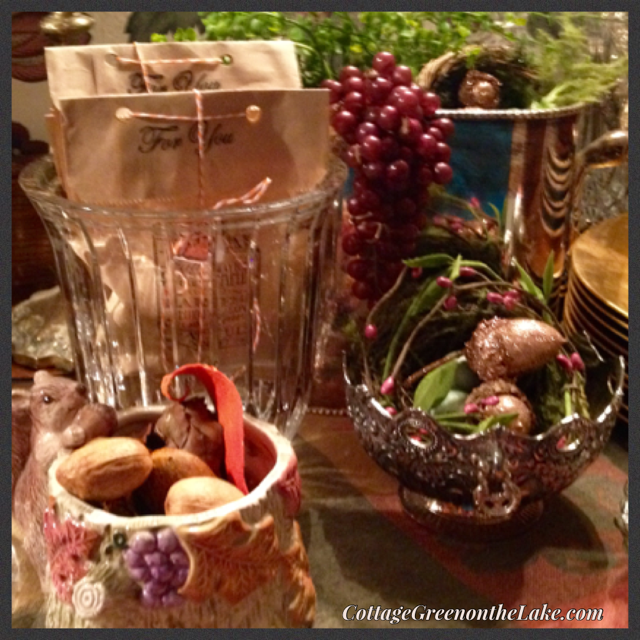
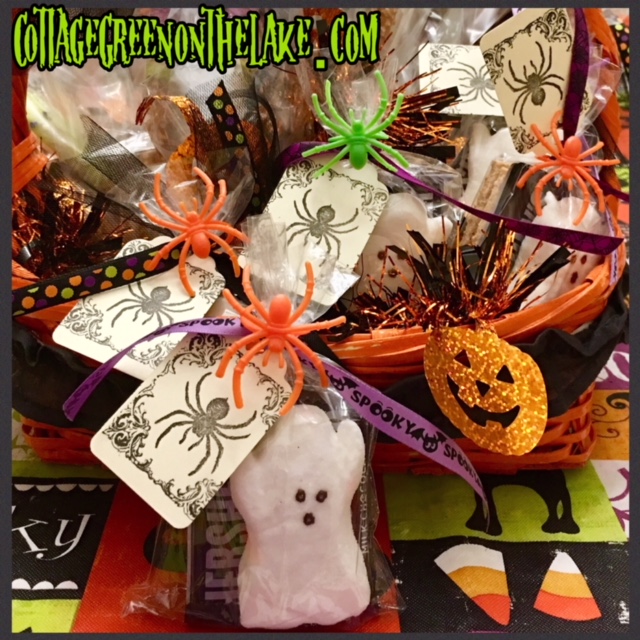
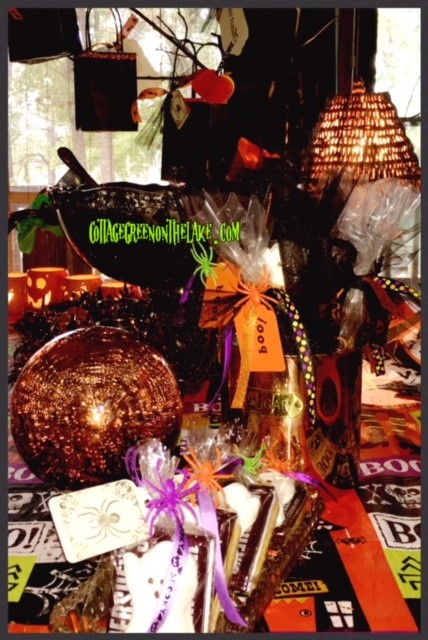
Look at these cute little favor bags! They were so easy to put together, I made them the night before everyone arrived! I love the way they look displayed in this dear, quirky turkey basket my husband bought for me years ago … the ones that didn’t fit, I tucked into a crystal biscuit barrel.


Each little bag is filled with a sweet mixture of tiny maple cream cookies, some maple peanut clusters, Sixlets in sparkly autumn colors I found at Cracker Barrel and some darling maple leaf-shaped chocolates that Richard found for me at World Market … all in the “flavors of autumn!”
Materials and supplies needed: treat sacks, stamps, ink pad, twine, table confetti, scissors, hole punch, and ruler

Instructions:
- Begin by folding over the top of each bag (I bought my treat sacks at Hobby Lobby – $2.49 for 24 count) On the folded area at the top, I stamped For You. Then, to decorate the front of the bag I stamped another image with the words Give Thanks, Gratitude, Blessed, Hayride, Family, and Tradition on it. (Any Thanksgiving or autumn stamp can be used to decorate your treat bag!)
- Fill bag with your treats before proceeding to the next steps.
- Punch 2 holes in/and through the folded layer at the top of the bag, with a hole puncher.
- For each bag, cut off 2 1/2 feet of twine (I bought my twine at Michael’s on sale for 5o cents) and “threaded” both ends of twine through the front of my bag. Then cross the twine in back and pull one piece of twine back over the top of the bag and the other piece of twine, wrap around the back of the bag to meet up with the twine in front.(See pictures above)
- From a small package of table confetti with leaves and acorns (on sale at Michael’s for $1.00) I punched a hole in the paper acorns and added the acorns to my twine before tying the two ends of twine into a bow.
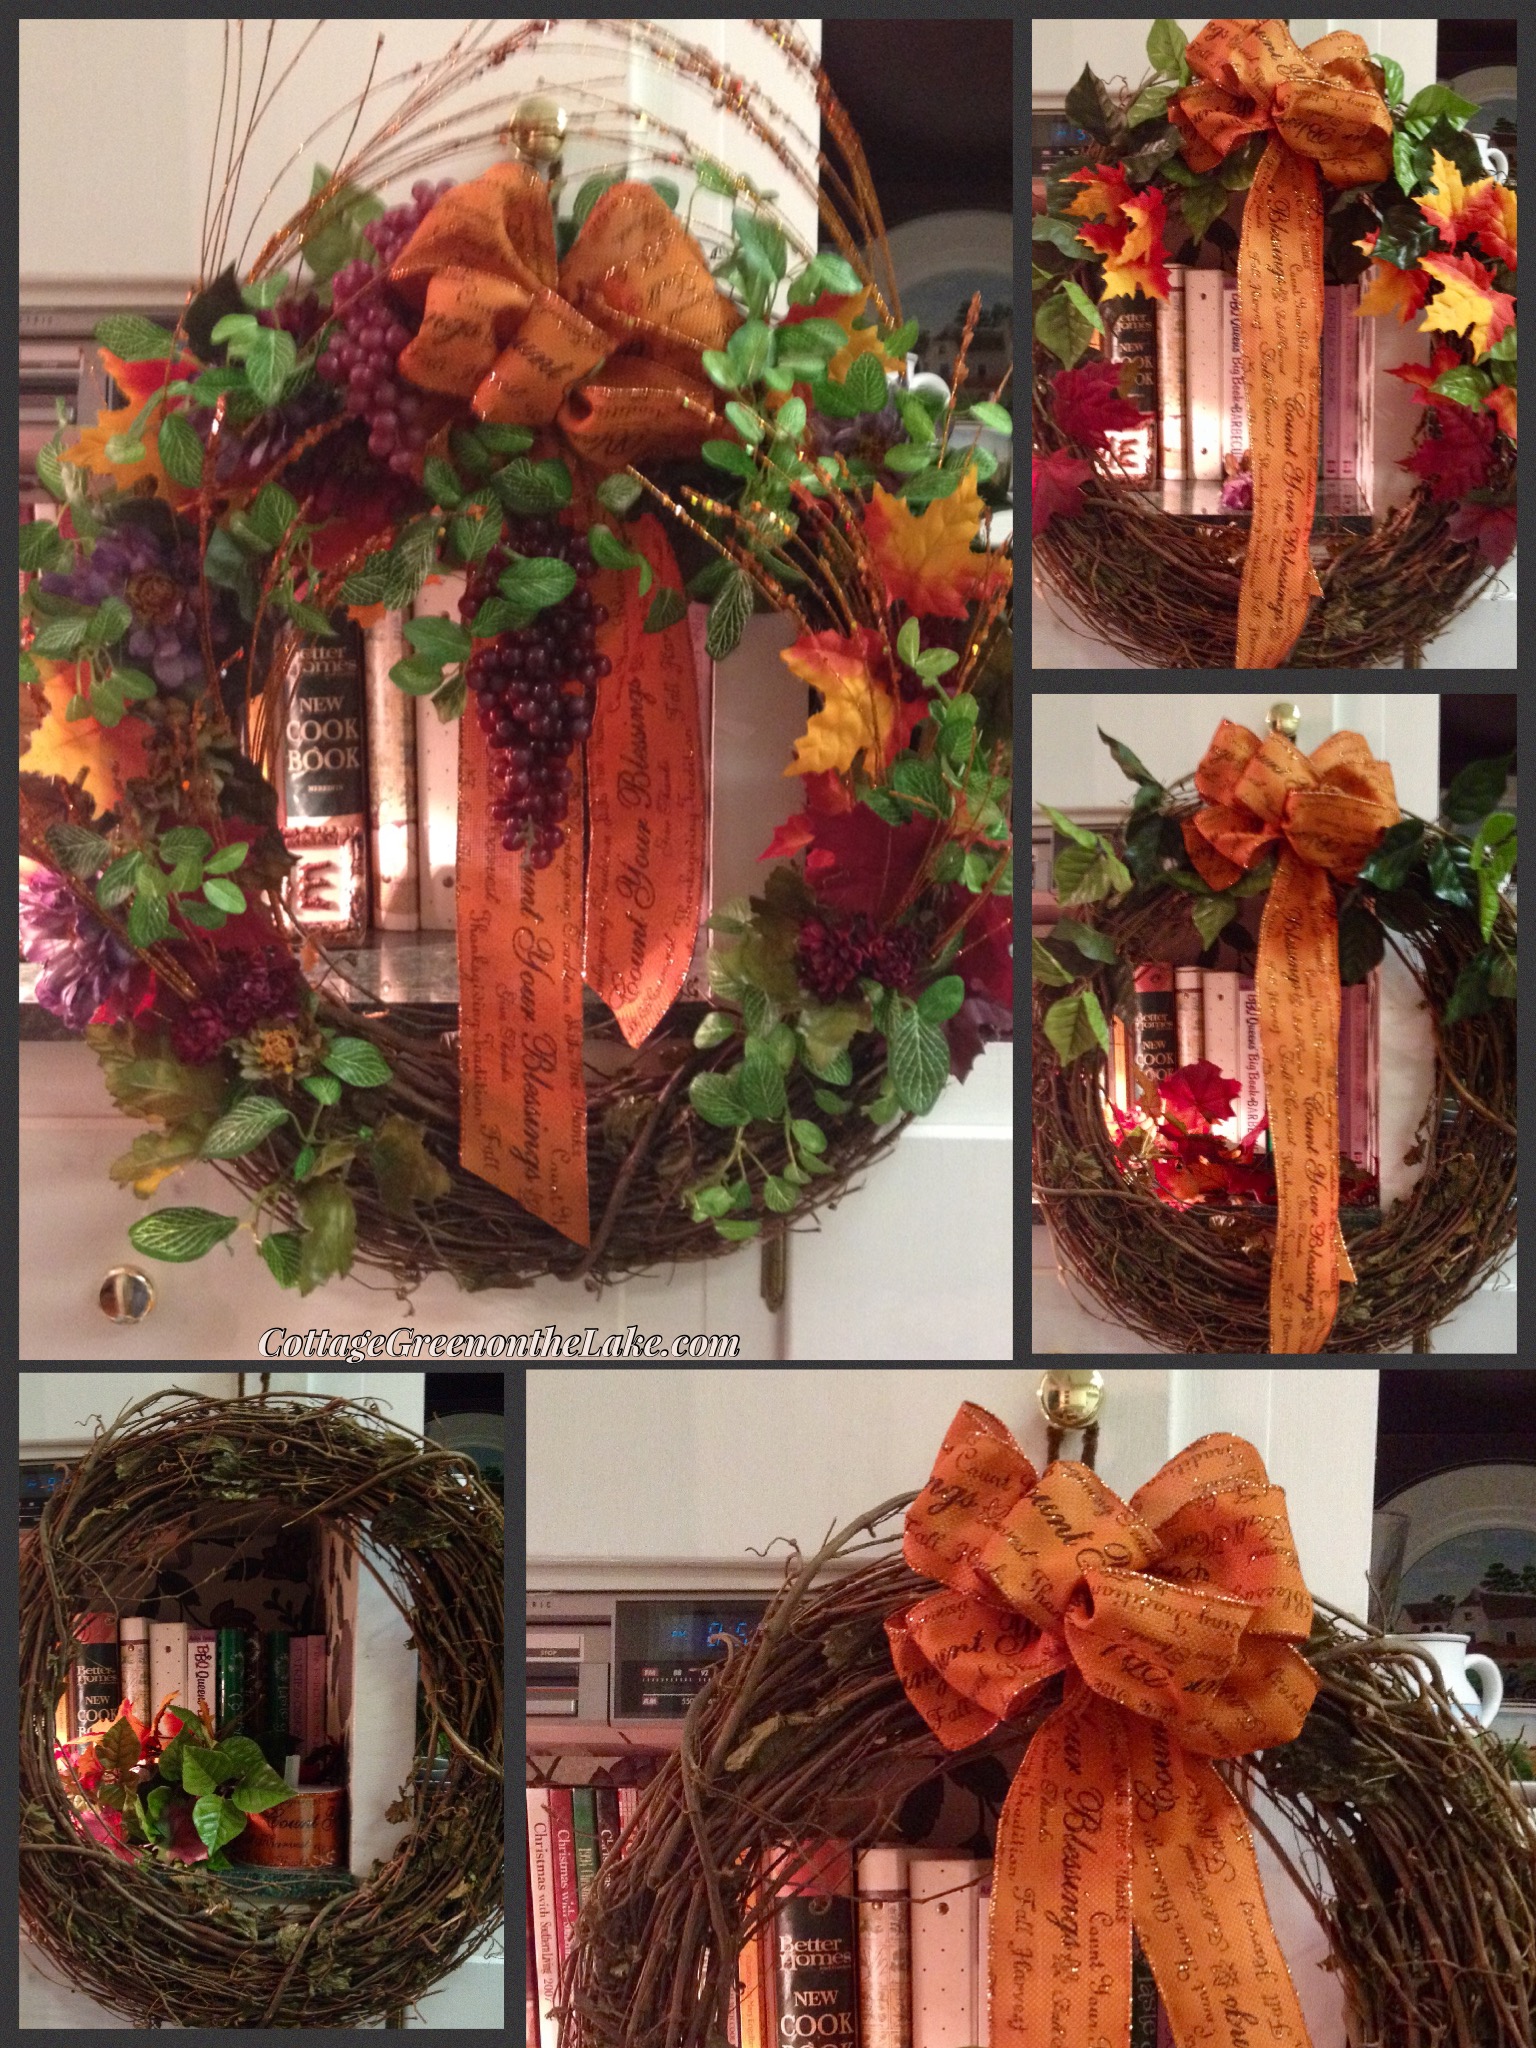
DIY Autumn Wreath
Now … the instructions I promised you in my last post, on how to make the autumn wreath that I pictured hanging over our living room mirror. (click here to see)
This is my favorite spot to make my wreaths. It’s in our kitchen over a little cookbook cubby that has a little counter for holding all my supplies and materials needed to make my wreath. There’s also an outlet for my glue gun and the knob of the upper cabinet is the perfect height for hanging my wreath, while I work on it. The first thing I do is to wrap a pipe cleaner through the back of my wreath, forming a loop to hang it from. This pipe cleaner loop is also the hanger I’ll use to display my finished wreath.

Making the bow …
- The first step in making a bow is to pull out the ribbon needed for the “tail” of your bow. I always “allow” a little extra ribbon since I can trim the length of my “tails” when the bow is completed and it is much easier than having to re-make my bow! This is not a part of the bow you will be looping and twisting.
- Begin working beyond the ribbon you have extended for the “tail.” Grasp the length of ribbon (not at the end!) and loop the ribbon over your thumb and grasp the base of the small loop in your fingers. This will be the center of your bow (the extra ribbon for tail will extend beyond this small center loop)
- Make your first bow loop. This will determine how big your bow is. The larger the loop, the larger the bow. Gather the ribbon together at the end of the loop and hold tightly in your fingers.
Make sure your ribbon is facing right side up if you are using a single sided ribbon like mine, with printing facing up. I slip a pipe cleaner into my center loop at this time. It will balance there, resting on the twisted folds of ribbon, while you continue forming the bow. 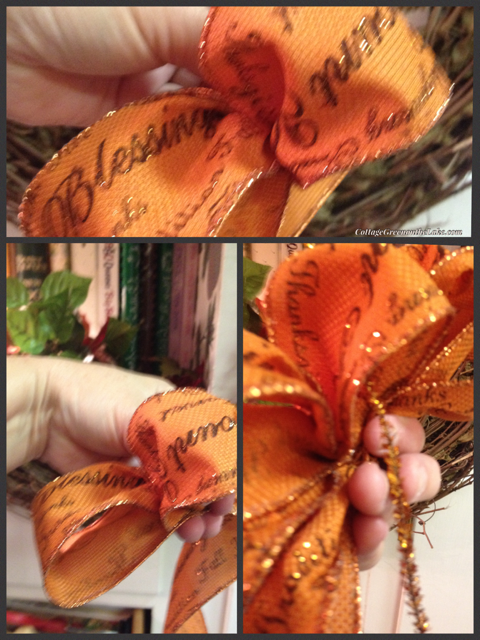
- Make your second loop on the opposite side, remembering to gather and twist the ribbon together in the middle where the imprinted side is facing up.
- Continue making loops, alternating sides until your bow is the size you want. Make sure you have the same amount of loops on each side.
- When the bow is the size you want, allow extra ribbon length for your second “tail” before you cut the ribbon. Twist the pipe cleaner in the center of your bow tightly (I use a pair of needle-nose pliers) several times to insure that it will hold your twisted ribbon; cut off excess pipe cleaner and push down the cut ends of pipe cleaner, so they won’t scratch you.
- Pull loops of bow to “fluff” to desired shape.
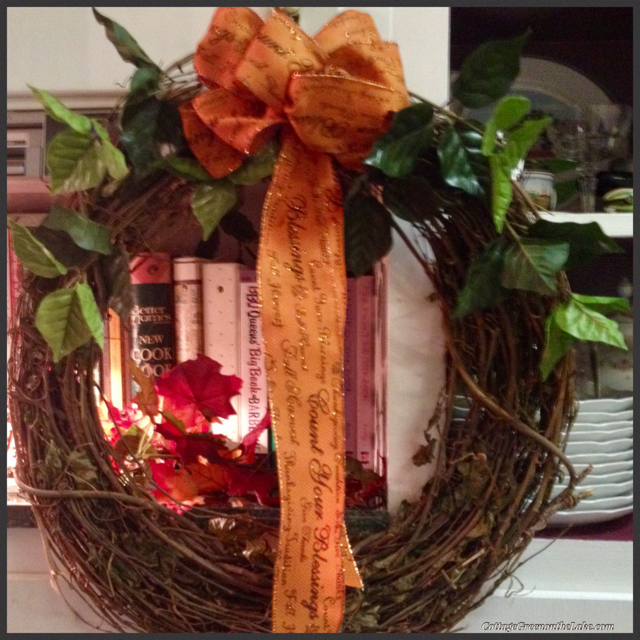
Hot glue your bow to your wreath.
I hot glued green leaves on first, as the “base” of my wreath, making sure I kept both sides of my wreath balanced and “equal.”
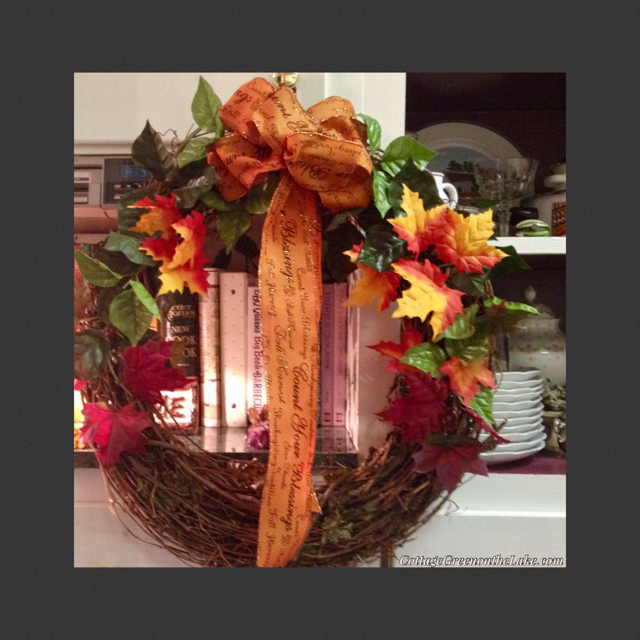
Next, I glued on my colored autumn leaves.
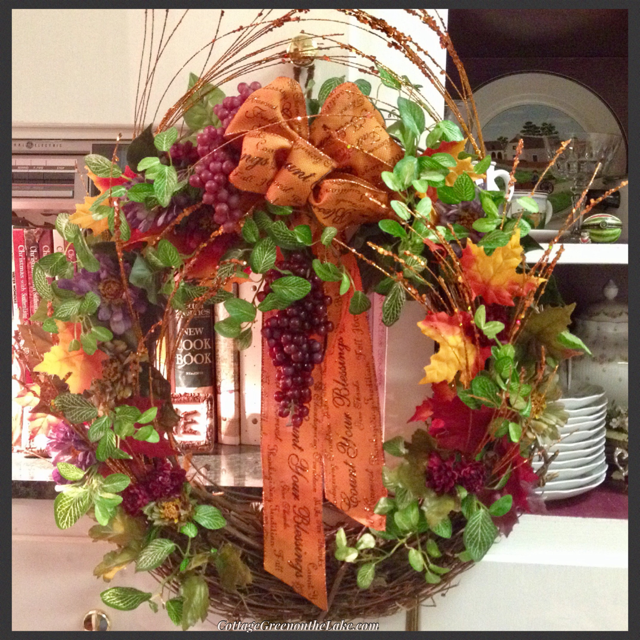
Last step … I tucked in a few chrysanthemums and some grape clusters, then added my “filler.” “Filler” is usually diminutive, compared to the rest of the arrangement, and is added to blend and unify the look of the whole wreath. On this wreath, my “filler” is glittered orange stems and a variegated ivy.
I hope while crossing off all your “have-to’s” … you get to enjoy some time decorating and creating some fun special “projects” while you are getting everything ready for the ones you love!
From my cottage to yours ~ Trenda
Thank you so much for spending some time with me today! I’d love to hear from you. Please leave any questions or comments below.


 ~Holly Pond Hill


![PicCollage[4624].png](https://cottagegreenonthelake.com/wp-content/uploads/2017/04/piccollage4624.png)


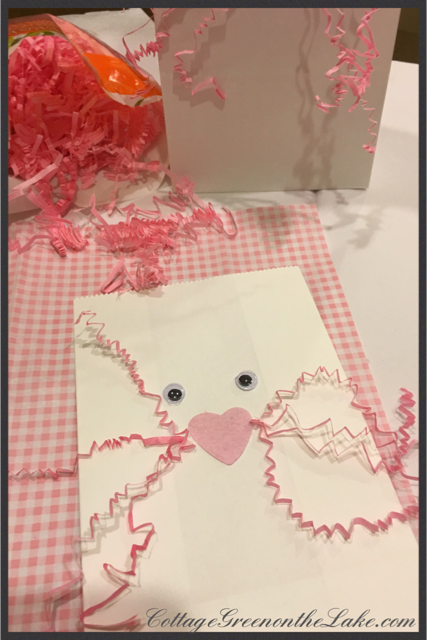 Simple Bow instructions:
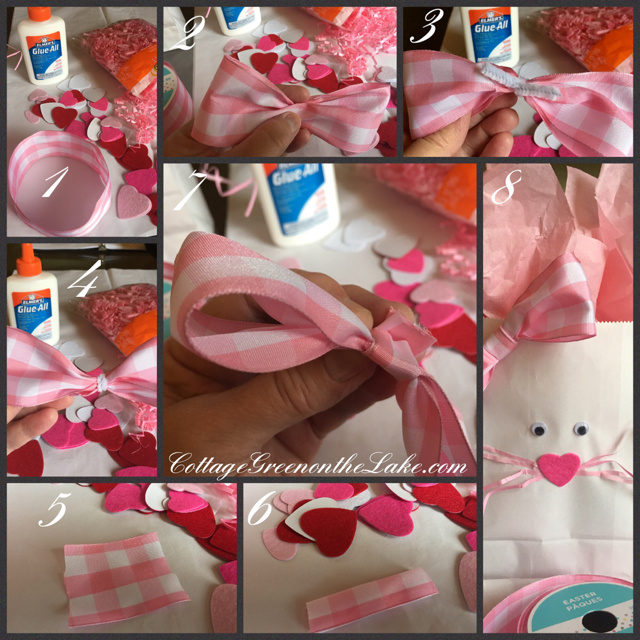 To complete my Bunny Treat Bags I “stuffed” each bag with bunny ears made from gift wrap tissue paper. I cut one sheet of white tissue paper in half and formed a “bunny ear” by grasping the 1/2 sheet of tissue paper in the center. Then, while holding the center portion of the paper in one hand, I ran my other hand up over the tissue, while grasping it lightly to make loose folds. Then, I stuffed my “ear” into the treat bag so that the pointy ends of the tissue were sticking out to resemble a long ear. I repeated the entire process for the 2nd bunny ear, using the other 1/2 of the tissue paper. To form the pink “interior ears” I used my pink or my gingham gift tissue. Again, I cut each piece of gift tissue in half, “fluffed” my tissue and inserted into the bag, in front of the white outer ears. Use your imagination, they do look like Easter bunny ears!(;
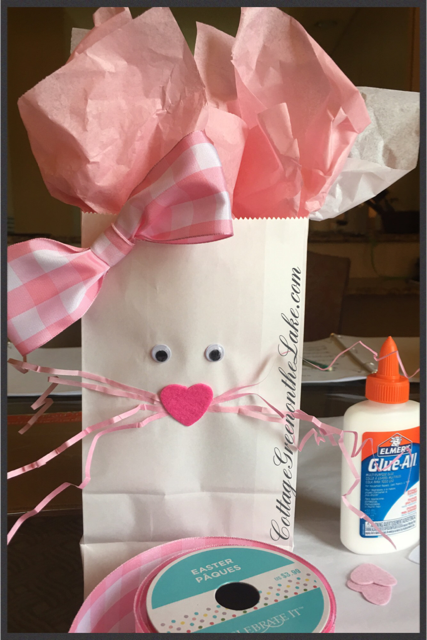 Last touch … I “stuck” one more felt heart on the back of my Bunny Treat Bag (I used the same color heart as I used for the bunny’s nose) and placed it near the bottom of the treat bag. Then I glued a little pom pom on the heart to make a fuzzy little bunny tail! (:


