As I was taking a picture of this glorious Ash Tree, I recognized a sound above me, like the whoosh of a wave approaching the shore. I hurriedly snapped the picture and was thrilled when I saw I had “captured” these pelicans in flight! As I stood there and marveled, phone still poised and ready, 3 more “squadron” of pelicans flew over! I felt like I had just been presented with a gift … as indeed, I had! (: NOTE: A group of pelicans have many collective names … BRIEF, POD, POUCH, SCOOP, and SQUADRON … are all names for a group of pelicans.

As I stood there reflecting on what I had just seen, I thought of this poem …
Something Told the Wild Geese
Something told the wild geese
It was time to go,
Though the fields lay golden
Something whispered, “snow.”
Leaves were green and stirring,
Berries, luster-glossed,
But beneath warm feathers
Something cautioned, “frost.”
All the sagging orchards
Steamed with amber spice,
But each wild breast stiffened
At remembered ice.
Something told the wild geese
It was time to fly,
Summer sun was on their wings,
Winter in their cry.
~by Rachel Fields

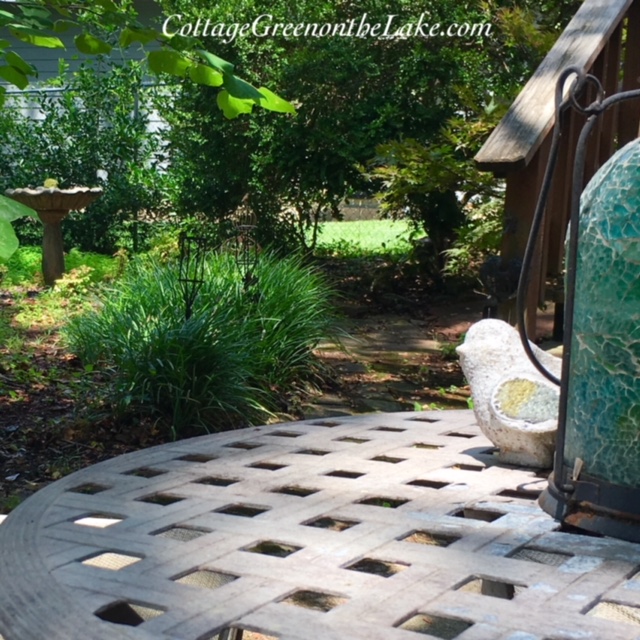
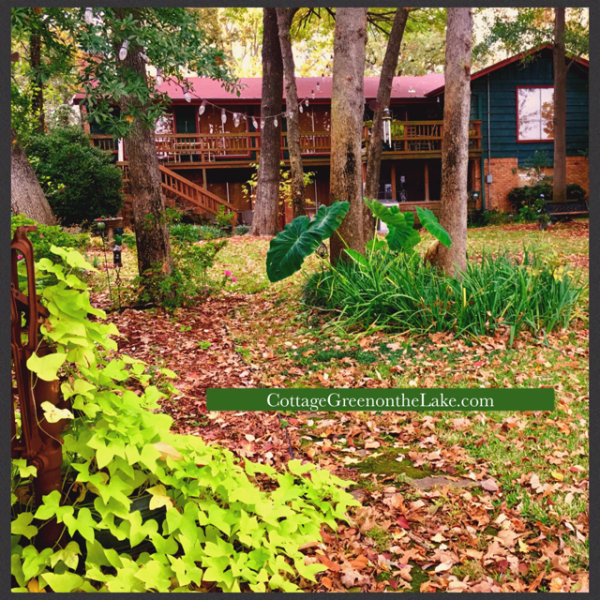
Here are the pictures I promised I would share with you of Autumn in November at Cottage Green on the Lake.
Golden leaves on this young Eastern Redbud and more golden leaves on our Ash tree down by the lake contrast beautifully with the red bark and the red roof on our boat dock and stand out brilliantly against a backdrop of green.

The red leaves of the Sweet Gum Tree and the golden yellow leaves of our Ash trees blaze against the blue of the lake and autumn sky. Fallen leaves cover the lawn in gold!

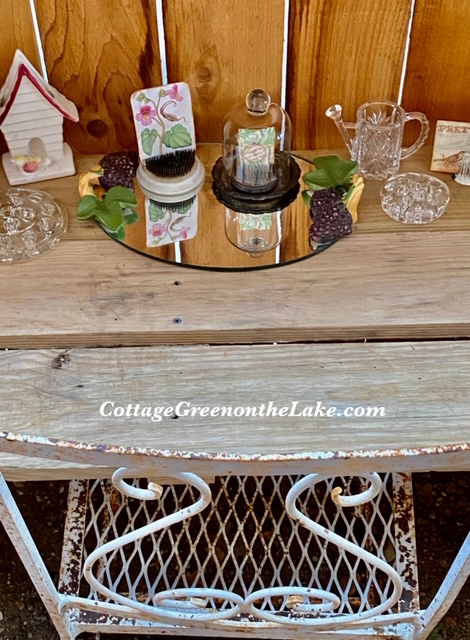
Chartreuse Sweet potato vine rambles over a treasured hand pump that Richard’s mother used in “days gone by.” <3
Flowering Kale and Cabbage and sweet-faced pansies line the the paved sideyard.
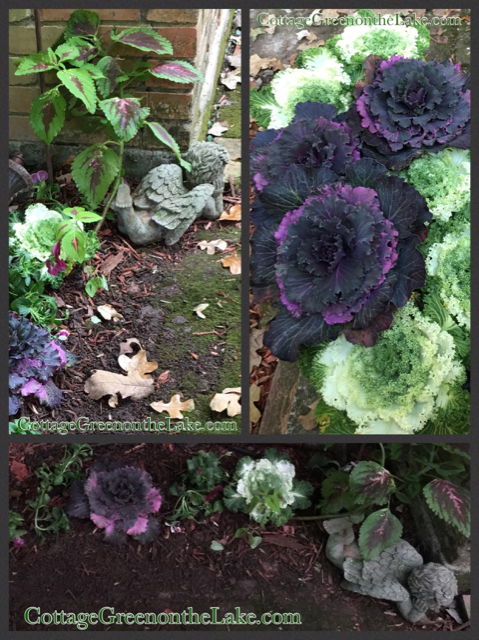
Azaleas, Coleus, and Impatiens in varying shades of vivid pink.
![PicCollage[10258].png](https://cottagegreenonthelake.com/wp-content/uploads/2017/12/piccollage10258.png)
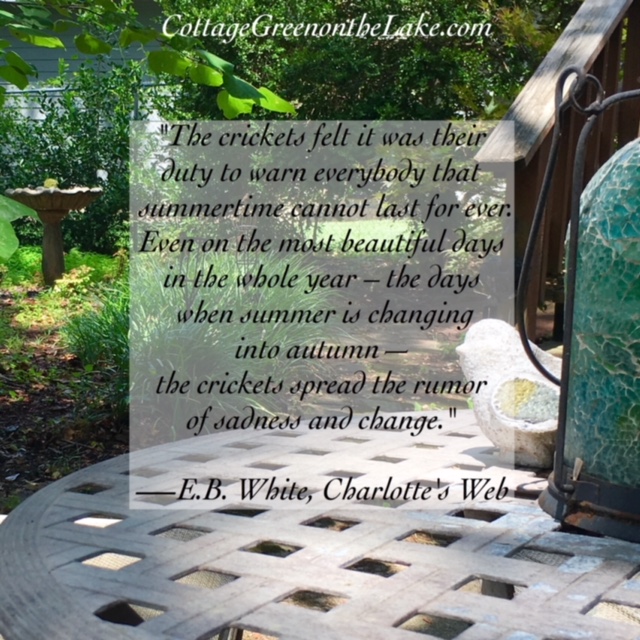
“It was November … the month of crimson sunsets, parting birds, deep, sad hymns of the sea, passionate winds songs in the pines.” ~ L.M. Montgomery

” … let the whole earth be filled with His glory.” Psalms 72:19
Today is the last day of November and Autumn. I hope you enjoyed seeing “The Last of Autumn” on Cedar Creek Lake! Tomorrow is the beginning of Winter and December and I will be showing you how to make a fun and nostalgic Advent Calendar to begin the countdown to … C-H-R-I-S-T-M-A-S! (:
From my cottage to yours ~ Trenda

This week I’m joining:
Lisa from Feathering My Empty Nest
Thank you for reading my blog! To have all my posts delivered directly to your email address, just click FOLLOW in my post above … or click on my site: cottagegreenonthelake.com
FOLLOW ME on PINTEREST!
Trenda@cottagegreenonthelake.com