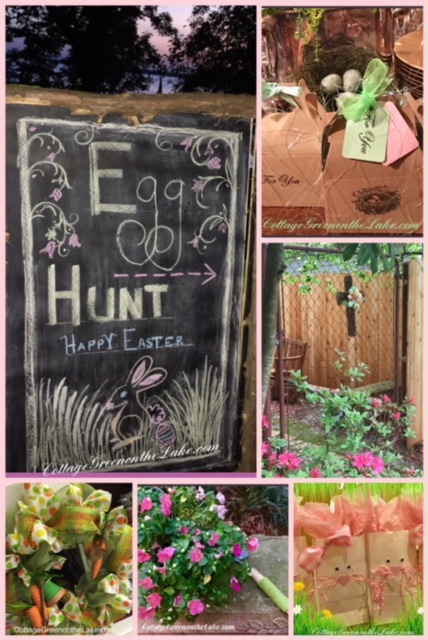
“Christ the Lord is risen today, Alleluia!”
Today was a glorious Easter and celebration of Resurrection Day! Our day was spent rejoicing in Christ’s resurrection and also reflecting on the gift of everlasting life that Jesus has given to all that believe that He is God’s Son.
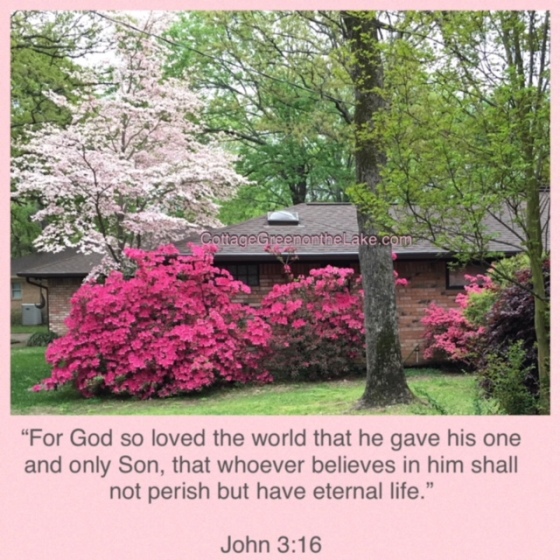
(Our front yard and neighbor’s yard with beautiful Azalea Majestic and Flowering Dogwood)
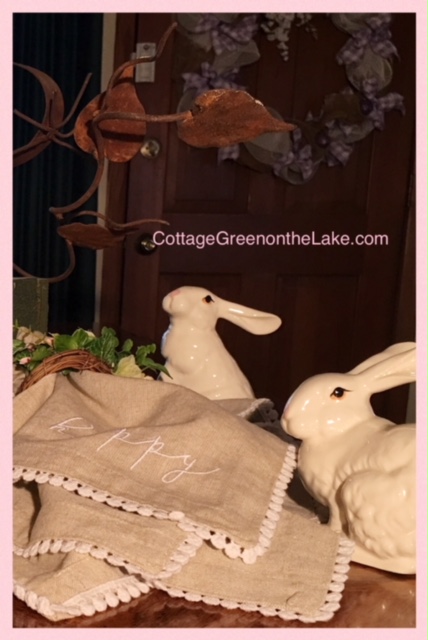
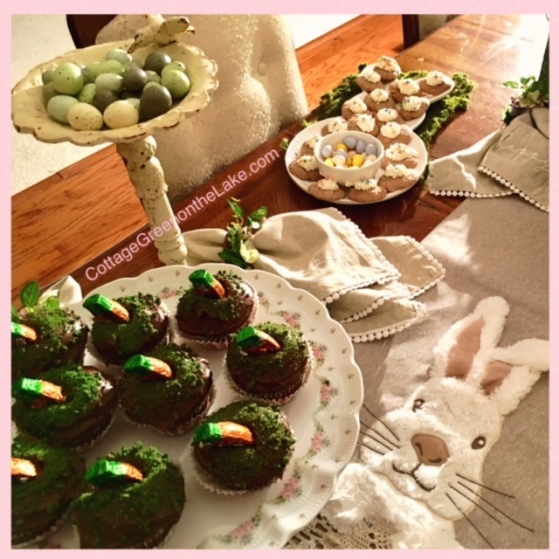
Before this day is over, I wanted to share this sweet bunny tablescape with you. It all began with this soft brown table runner with white fuzzy bunny’s from TJ Maxx.
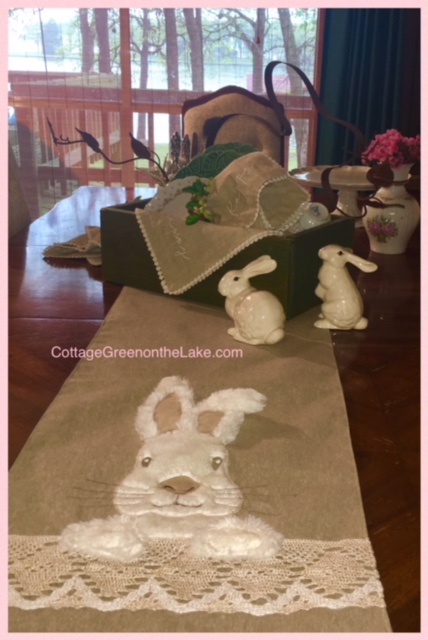
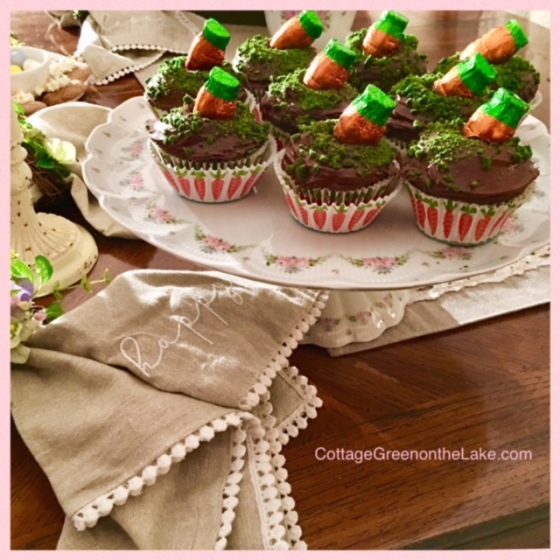
I was thrilled when I saw how well the bunny runner matched the embroidered napkins I had already ordered, made by Mud Pie. The napkins were “almost” too cute to use, edged with white pom-poms and the word “HAPPY” sewn on each napkin!
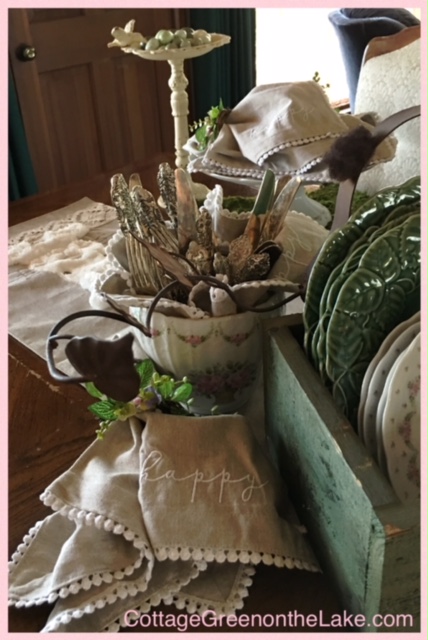
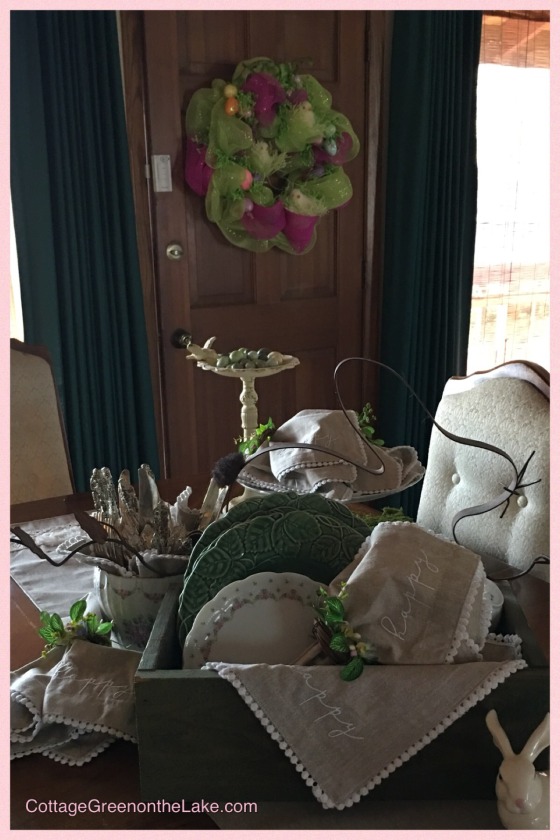
I slipped each napkin into little grapevine wreaths that I made into napkin rings. They seemed like the perfect pairing since they are trimmed in green ivy and blossoms … which every bunny loves!
White serving pieces, also from Mud Pie add to the whimsy and “hoppy” theme of the table.
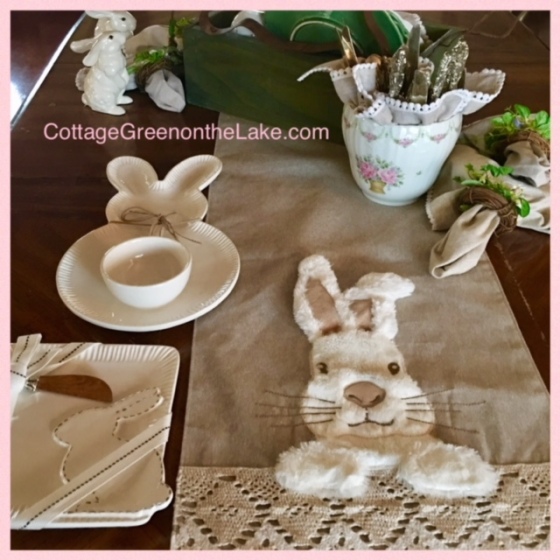
White Porcelain dishes edged with swags of pink rosebuds are piled into a favorite bunny crate and are ready to be placed at each setting.
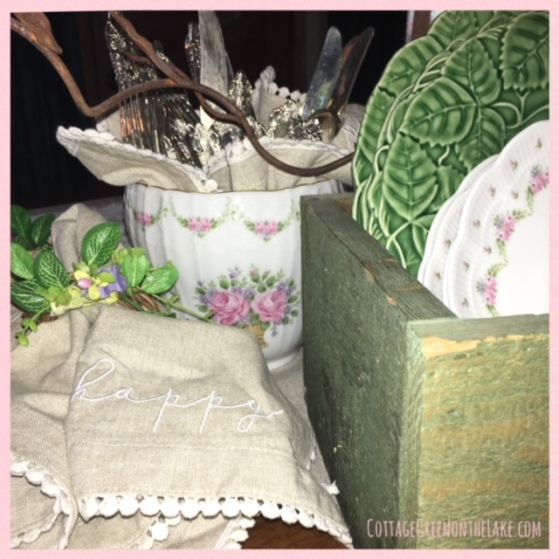
Silver Cutlery looks elegant even casually “bunched” into a matching flower vase and are ready to be passed around the table.
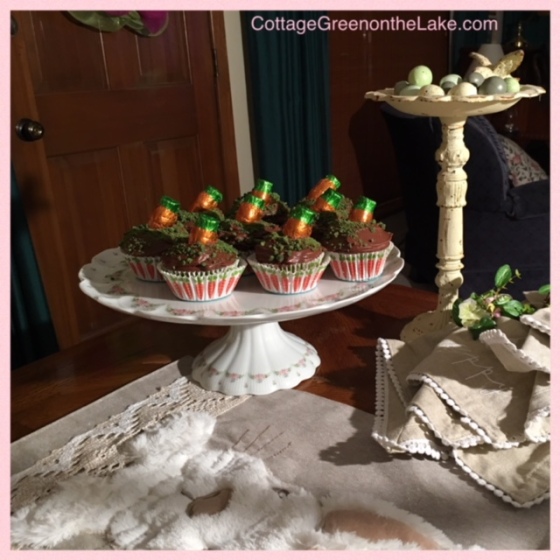
Time for desserts! … chocolate cupcakes with chocolate frosting are sprinkled with ground graham cracker crumbs dyed with Wilton Green paste dye to look like grass. A foil wrapped carrot, with the foil removed from the tip of the carrot is inserted into the chocolate frosting to look like Mr. McGregor’s carrot patch!
 Instructions for dying Graham Cracker Crumbs
- To blend the paste dye into the graham cracker crumbs, add dye to a small amount of water and stir water to blend
- Pour the tinted water into a ziploc bag filled with graham cracker crumbs
- Knead the bag until the color spreads throughout the crumbs, adding more dye as needed.
- After crumbs are the desired color, spread crumbs on rimmed cookie sheet and place in 275 degree oven until moisture is removed, 10 – 15 minutes.
- Remove crumbs from oven and let cool before sprinkling on cupcakes
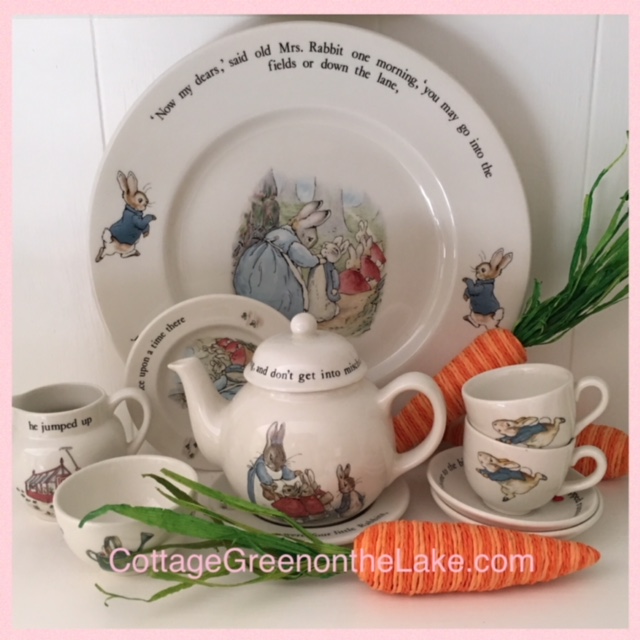
Speaking of Mr. McGregor’s carrot patch … Here’s a sweet little Peter Rabbit vignette I have displayed in my Music Room. These Wedgewood dishes are made in England and were just the right size for our daughter’s little hands and tea parties! Each dish is painted with Beatrix Potter’s charming pictures and inscribed with the words from her book “The Tale of Peter Rabbit.” This is also a little teaser to one of my next blog’s all about … “Spring Vignette’s!” (;
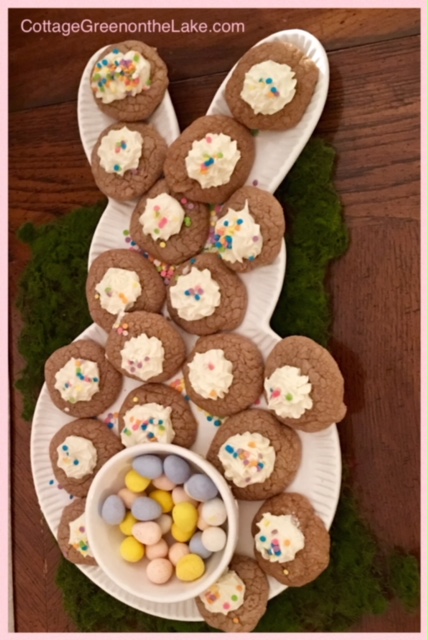
Back to the desserts! Cottontail Spice cookies are “Cake Mix” Cookies and they are delicious and so easy to make!
Instructions:
- Preheat oven to 350 degrees
- To any cake mix (I used a Spice Cake mix) just add 2 eggs and 1/2 cup of oil
- Mix ingredients together and scoop cookie dough onto a cookie sheet lined with foil or parchment paper
- Bake approximately 9 minutes
- Remove from oven and cool for 1 minute before placing cookies on wax paper to finish cooling.
- Top with choice of frosting, using a decorator bag and tip.
Every bunny welcome!
Hope your Easter was filled with blessings and “sweet” endings!
From my cottage to your’s ~ Trenda
Thank you for reading my blog! To have all my posts delivered to your email address, just click FOLLOW in my post above … or click on my site: cottagegreenonthelake.com
FOLLOW ME on PINTEREST!
Trenda@cottagegreenonthelake.com


 Simple Bow instructions:
 To complete my Bunny Treat Bags I “stuffed” each bag with bunny ears made from gift wrap tissue paper. I cut one sheet of white tissue paper in half and formed a “bunny ear” by grasping the 1/2 sheet of tissue paper in the center. Then, while holding the center portion of the paper in one hand, I ran my other hand up over the tissue, while grasping it lightly to make loose folds. Then, I stuffed my “ear” into the treat bag so that the pointy ends of the tissue were sticking out to resemble a long ear. I repeated the entire process for the 2nd bunny ear, using the other 1/2 of the tissue paper. To form the pink “interior ears” I used my pink or my gingham gift tissue. Again, I cut each piece of gift tissue in half, “fluffed” my tissue and inserted into the bag, in front of the white outer ears. Use your imagination, they do look like Easter bunny ears!(;
 Last touch … I “stuck” one more felt heart on the back of my Bunny Treat Bag (I used the same color heart as I used for the bunny’s nose) and placed it near the bottom of the treat bag. Then I glued a little pom pom on the heart to make a fuzzy little bunny tail! (:


