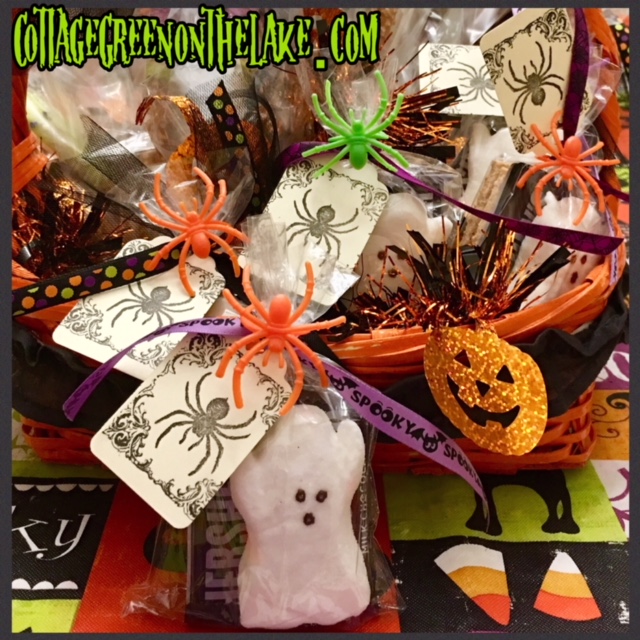

Just in time for Halloween night S’more Ghost Peeps and Candy Coated Pretzel Wands are easy to make. These festive looking treats are perfect to grab “on the go” or to serve after your Halloween dinner and they are “something good to eat!”
S’more Peeps – The best part of these adorable treats … there is “no baking” required! Just “gather” ingredients and put them into treat bags!
Ingredients & Supplies:
- graham crackers
- fun size Hershey bars
- Ghost Peeps
- favor bags (I used Wilton’s small, clear, favor bags from the baking aisle in Michael’s)
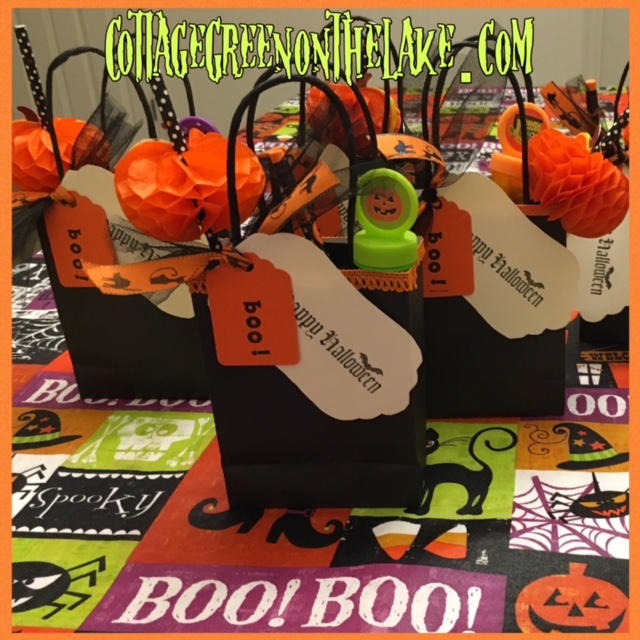
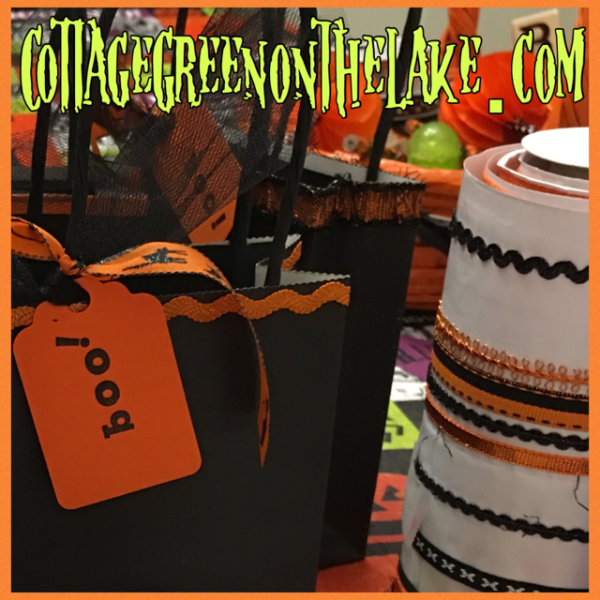
- Halloween ribbon
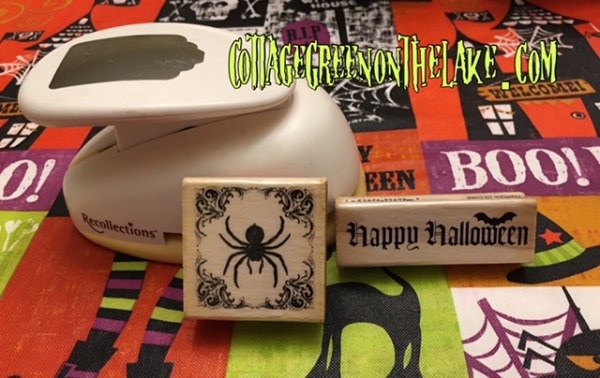
- package of blank gift tags or tag punch (I used my Recollection tag punch)
- Halloween stamps
- ink pad
- standard hole punch
- Halloween plastic rings (I bought mine from the Dollar Tree)

Instructions:
- Open gift tags or punch out gift tags, using a die-cut punch
- Stamp each tag with a Halloween stamp of your choice (since I was adding spider rings to my treat bags, I stamped each tag with a picture of a spider
- Using a standard hole punch, punch a hole in the top of each tag
- Break a graham cracker sheet into 2 squares and slide both squares into a clear favor bag
- Place 2 fun size Hershey bars on top of the graham crackers
- Top Hershey bars with one Ghost Peep
- Tie top of bag with Halloween ribbon in a simple knot
- Slide tag onto ribbon and knot again
- Slip Halloween ring over knot

Candy Coated Pretzel Wands
Ingredients & Supplies
- 1 bag of Salted Pretzel rods
- Wilton vanilla baking chips (I used bright green and purple)
- Halloween sprinkles and nonpareils
- large treat bags, large enough to cover entire pretzel (I used Wilton’s large favor bags located on the baking aisle in Michael’s)
- Halloween ribbon
- black tulle
- Halloween plastic rings (I bought mine at Dollar Tree)
Directions:
- Melt baking chips according to directions on package (I used a tall mug to melt my baking chips)
- After baking chips are melted, insert pretzel rod into candy and swirl to cover.
- Place candy covered pretzel on wax paper placed on a cookie sheet
- Repeat until pretzels are all covered with candy
- If you are only coating your pretzels with one coat of candy and one color, sprinkle the warm candy coating with decorations and nonpareils. Do not sprinkle decorations on the pretzels that you want to coat with a 2nd layer of melted candy. (See picture below)
- Place cookie sheet in freezer to speed up hardening of candy
- If you would like a 2nd color of candy coating on your pretzel, repeat process of melting baking chips and dipping pretzel, after the first coating has hardened (10-15 minutes in freezer)
- Sprinkle 2nd coating of candy with sprinkles or nonpareils
- Cool until candy hardens. NOTE: I placed my cookie sheet filled with pretzels into the freezer to harden. If cooling in freezer, do not place pretzels in favor bags until coating has reached room temperature to prevent condensation from forming in favor bag!
- Slide candy coated pretzel into favor bag and close the opening by tying with a 7-8″ strip of black tulle and Halloween ribbon.
- Place Halloween ring over the knot in the ribbon

Ready to eat!

It’s Halloween!!! Time to …
“Unfurl the tablecloth, set out the plates!

Put out the punch bowl, if tarnished, that’s great!” It’s Halloween Night! by Trenda

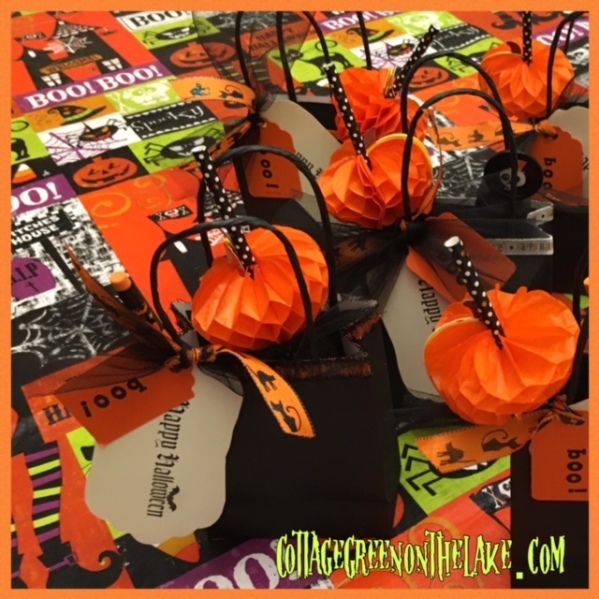
Glitzy Spider Napkin Rings add a little bling to black and white napkins covered with bats.

Little Ghost S’mores don’t scare anyone, but they look so cute standing upright on a antique relish tray, next to a twinkly gazing ball. Candied Pretzel Wands are tucked into a copper canister with Boo! tags, spiders, and bats …”oh my!”

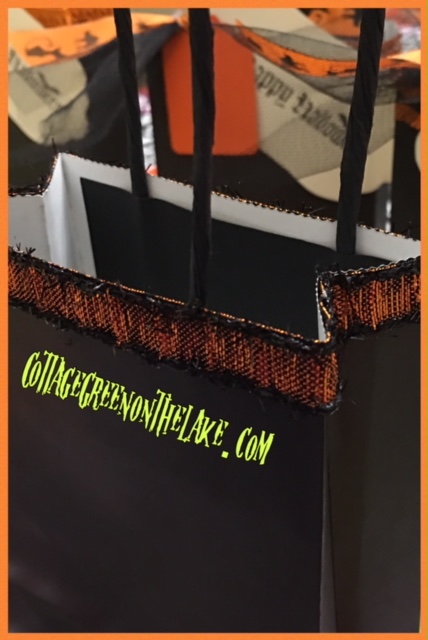
Dangling from spooky branches painted black our Treat Bags are filled and ready to be “picked” by our kids and grand kids, coming for Halloween dinner.

Hope you have a spook-tacular Halloween with plenty of “sweets” and even sweeter moments to look back on.
From my cottage to yours ~ Trenda

Thank you for reading my blog! To have all my posts delivered directly to your email address, just click FOLLOW in my post above … or click on my site: cottagegreenonthelake.com
FOLLOW ME on PINTEREST!
Trenda@cottagegreenonthelake.com

This week I’m joining Chloe Crabtree with Celebrate & Decorate


 5. Cut a 9″ length of tulle and a 8″ length of Halloween ribbon. Place the tulle and the ribbon together.
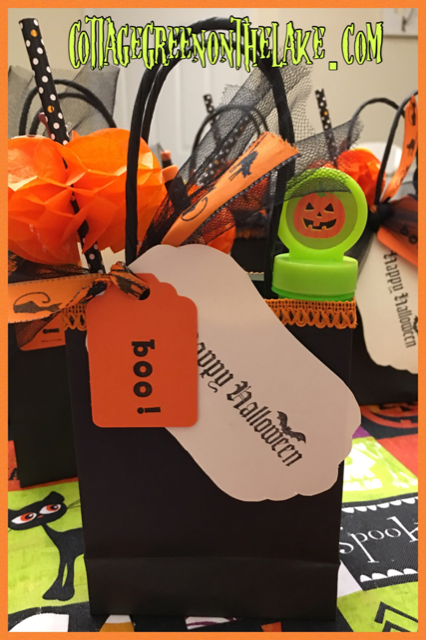


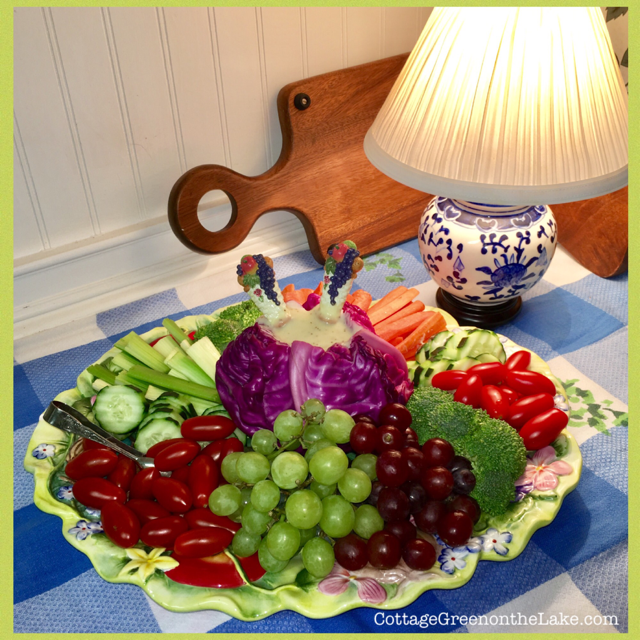
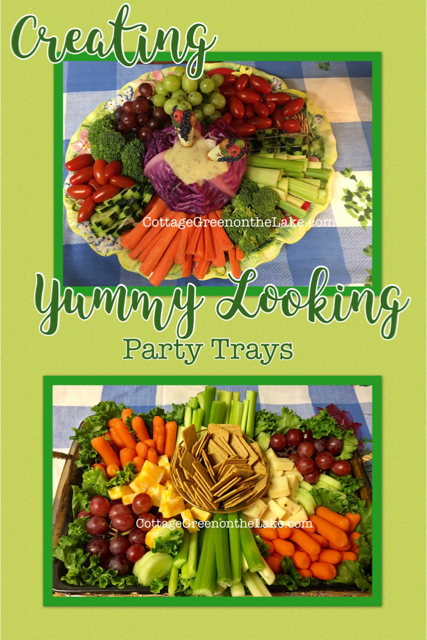
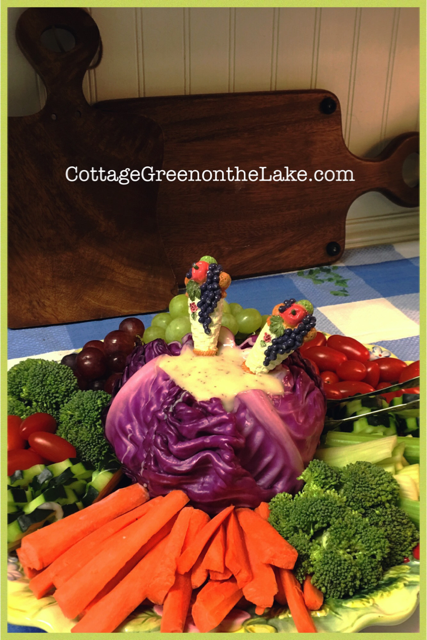
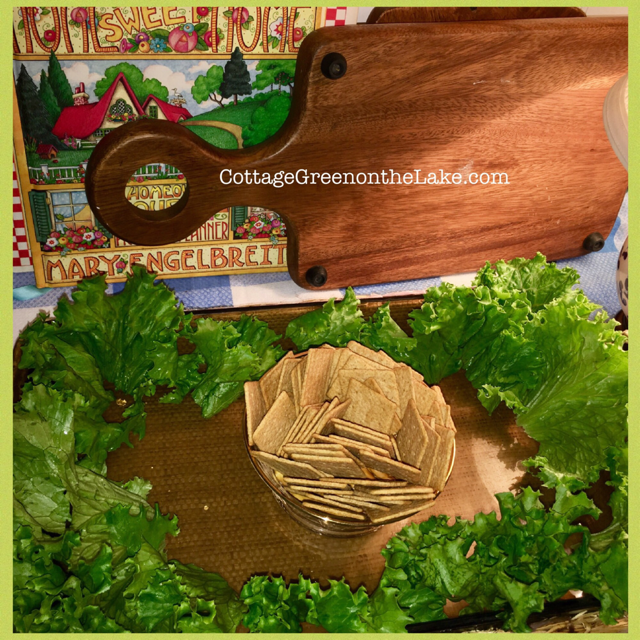
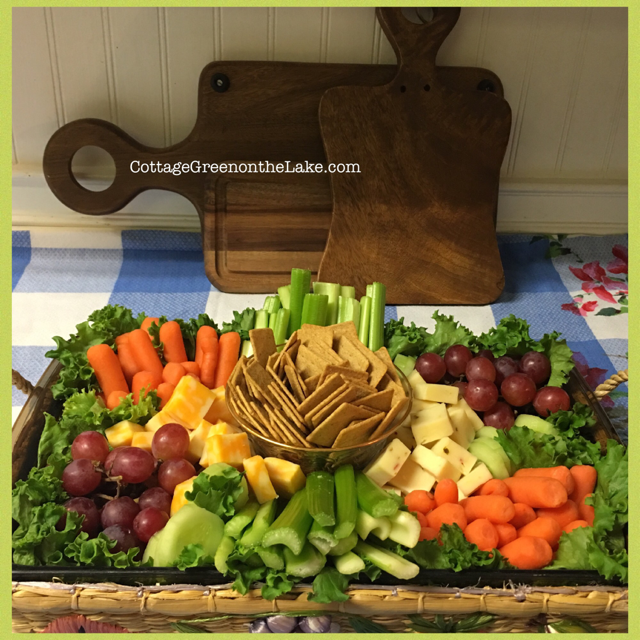
 And for lunch …


![PicCollage[8584].png](https://cottagegreenonthelake.com/wp-content/uploads/2017/09/piccollage8584.png)