Summer Afternoon Tea on the deck:
“A table for 2, please.”

Today’s Menu …

Haha … if you’re like me, after reading the menu above you’re already humming this catchy song! “She put the lime in the coconut she drank ’em bot’up She put the lime in the coconut she drank ’em bot’ up … “ (: if you’d like to go a little further down “Memory Lane” I’ve included the song “Coconut.” Just click on the link below. It’s a 4 minute and 31 second song (no wonder it got “stuck” in our heads!) and you can listen to it, while you read the rest of my blog. (click here to hear “Coconut!”)
The Coconut & Key Lime Macaroons were so easy and I got this recipe from dessertnowdinnerlater.com

Coconut Key Lime Macaroon Ingredients:
- 3 1/2 cups sweetened coconut flakes
- 1/4 cup flour
- 1/8 teaspoon salt
- 2 Tablespoons lime zest, divided (optional)
- 3 Tablespoons lime juice
- 1 (14 oz) can sweetened condensed milk
Instructions:
- Combine sweetened coconut flakes, flour, salt and 1 Tbsp lime zest (opt) in a bowl. Mix thoroughly.
- Add key lime juice and sweetened condensed milk. Mix well with a spatula.
- Using a small scoop (I used a melon ball scoop) scoop cookie dough balls onto a greased or lined baking sheet. Sprinkle the tops of the raw macaroons with the remaining zest on top (if desired)
- Bake a t 350 degrees for 12 – 15 minutes or until the edges and bottom of the cookies are browned. Allow to cool completely. Enjoy!
Coconut & Key Lime Macaroons on Dessert Tray

Key Lime Dessert Dip & Dippers
Ingredients:
- 2 Tablespoons Key lime juice
- 1 oz graham crackers, ground
- dash green food coloring (opt)
- 1 2/3 cups powdered sugar
- 1 teaspoon vanilla extract
- 16 oz. block cream cheese (softened)
- 1/3 cup sour cream
Instructions:
- Using a mixer, combine softened cream cheese, powdered sugar, vanilla extract, sour cream, and key lime juice.
- Mix ingredients on lowest setting for 1 minute.
- Increase mixing speed to medium and continue blending dip for an additional minute, or until mixture is fluffy and creamy.
- Fold in green food coloring (opt)
- Transfer dip from mixing bowl to serving bowl.
- Sprinkle the dip with ground graham crackers, refrigerate at least 30 minutes, or until ready to serve.
- Serve with additional graham crackers, vanilla wafers, animal crackers or gingersnaps for *dipping. (*For garnish on my graham crackers – I dipped the ends of my “dipping graham crackers” in melted (per instructions on package) vanilla almond bark; then sprinkled the almond bark with lime green nonpareils, before the candy hardened)

Fitz & Floyd dishes in lime green and lemon yellow put a smile on my face, with their cheer-y colors and images of “pucker- power” … a very unexpected and loved gift from our son and daughter-in-law. <3

A darling little sugar bowl with a lemon domed lid is topped with a lime wedge finial and holds sparkling colored sugar. Under an antique cut-glass cloche is fresh cut lemons and limes for crystal glasses filled with tea.

Bright yellow Fiesta plates rest on cherished white doily’s edged in green that Richard’s mother crocheted for us. Bright yellow and lime green napkins, from a dear sister are tucked in with a Battenberg lace napkin and both are inserted into a wooden napkin ring and topped with a gold dessert spoon.

A Key West “breezy feel” is easily achieved with fresh cut ferns draping over the table and limes and lemons piled high into clear glass-footed vases, that our daughter gave me, and I love. <3 A crystal biscuit barrel holds ice and is ready for refills.

Hope you have some time to sip on a glass of iced tea and treat yourself to some “cool” desserts as you enjoy these last weeks of Summer! “I said, “doctor, ain’t there nothin’ I can take?” I said, “doctor, to relieve this belly ache.” (:

From my cottage to yours ~ Trenda

Thank you for spending some time reading my blog, today. To have all of my posts delivered directly to your email address, click on FOLLOW above … or click on my site: Trenda@cottagegreenonthelake.com
This week I’m joining:
Carol from The Red Painted Cottage
Courtney from Feathered Nest Friday


 I felt like I’d gotten a ” gold star” when I saw the astonishment and delight on our grand daughter’s face and she asked, “Grandma, how did you make that sooo fast?” (: <3


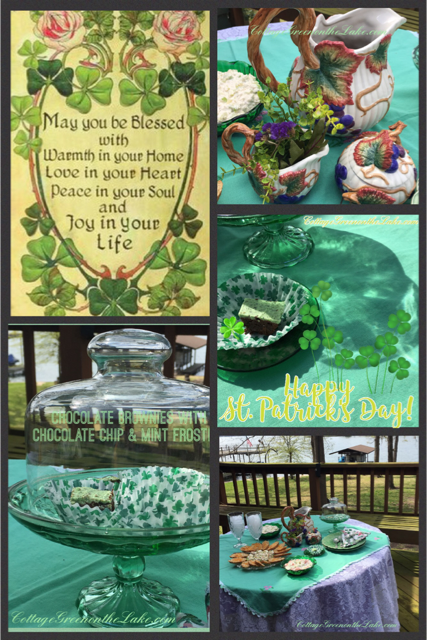

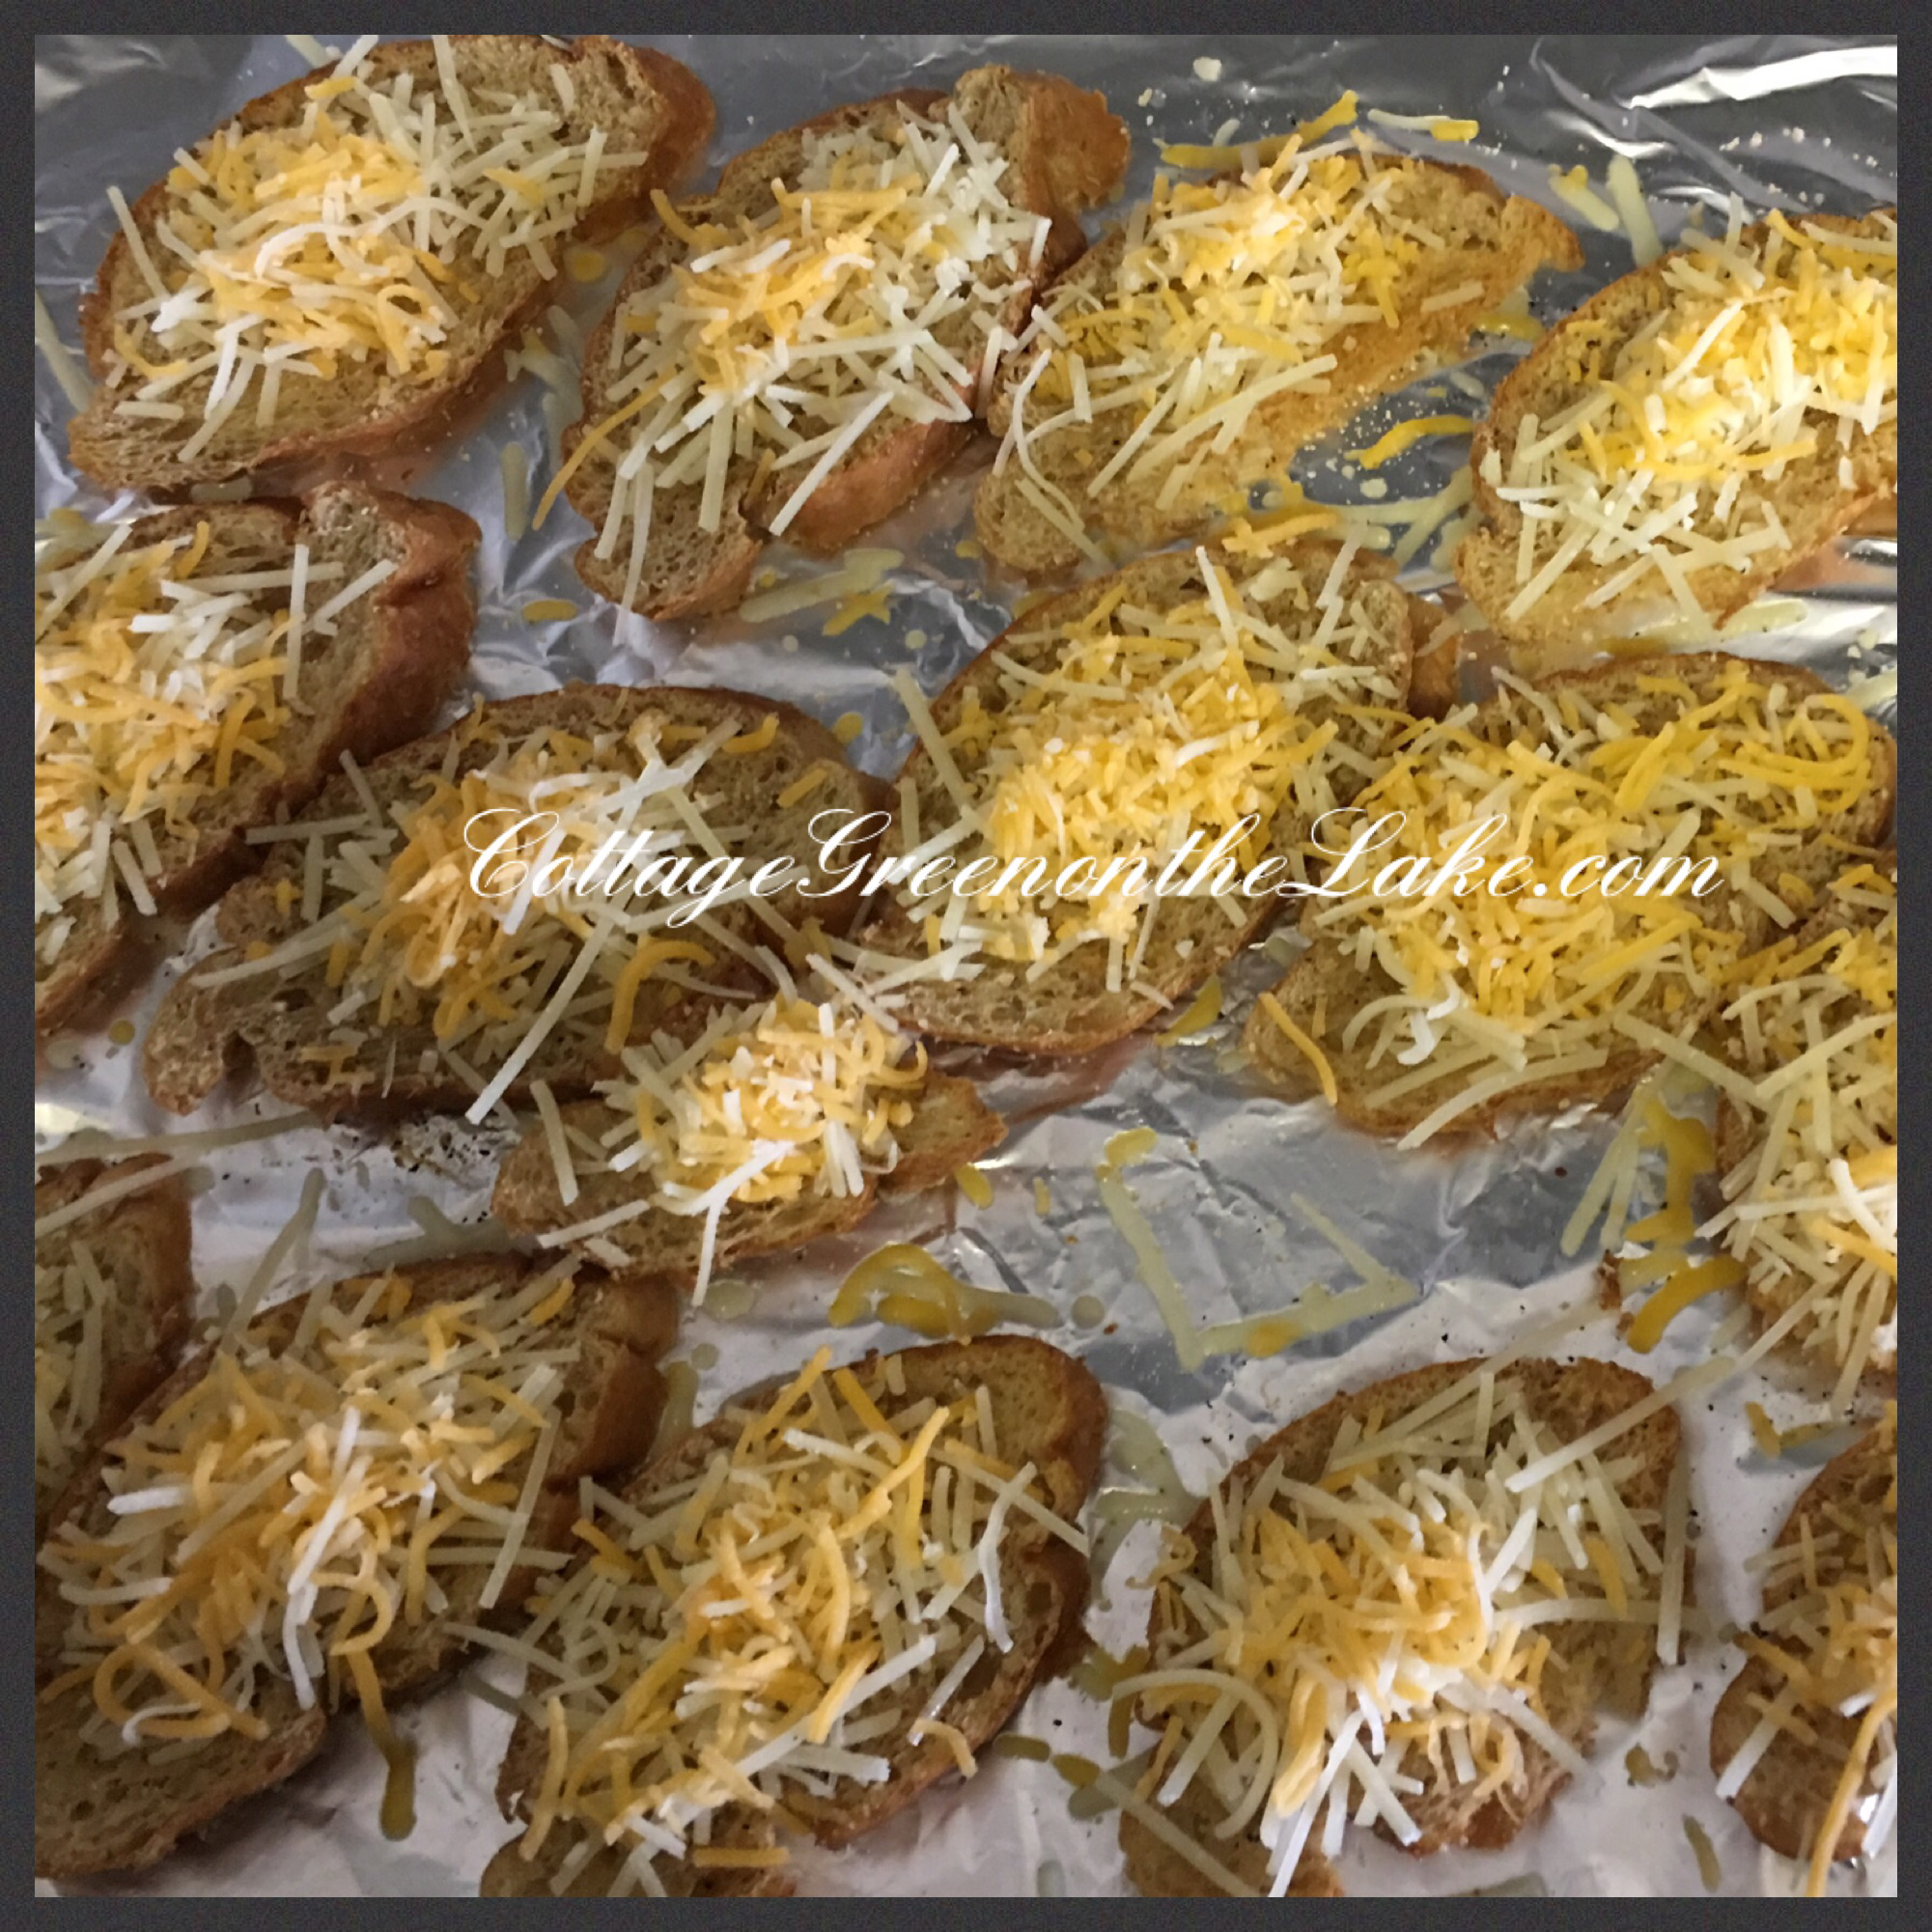
![PicCollage[3561]](https://cottagegreenonthelake.com/wp-content/uploads/2017/03/piccollage3561.png?w=600&h=600) Luncheon Menu … Chicken Salad Cucumber Bites, Crisp Parmesan & Cheddar Crostini, Tomato & Cucumber Salad, Chicken Salad, Spiced Iced Tea, and Chocolate Brownies with Chocolate Chip & Mint Frosting … Yum! (:
Luncheon Menu … Chicken Salad Cucumber Bites, Crisp Parmesan & Cheddar Crostini, Tomato & Cucumber Salad, Chicken Salad, Spiced Iced Tea, and Chocolate Brownies with Chocolate Chip & Mint Frosting … Yum! (:


 “Stressed spelled backwards is desserts. Coincidence? I think not!” (: Chocolate Brownies with Chocolate Chip & Mint Frosting look especially festive when presented in shamrock cupcake liners and under a domed spring green pedestal plate.