I’ve gathered an assortment of Thanksgiving ideas, decorating tips, recipes, tablescapes, centerpieces, and DIY projects from “Thanksgiving’s Past” at Cottage Green. For the full instructions and details about each, click on the highlighted links. I am so sorry, some of these older pictures are really “grainy” and are not very clear.
A Welcome Home for Thanksgiving has some ideas on how to “dress up” your front porch and a simple DIY project using grapevine around your front door frame.
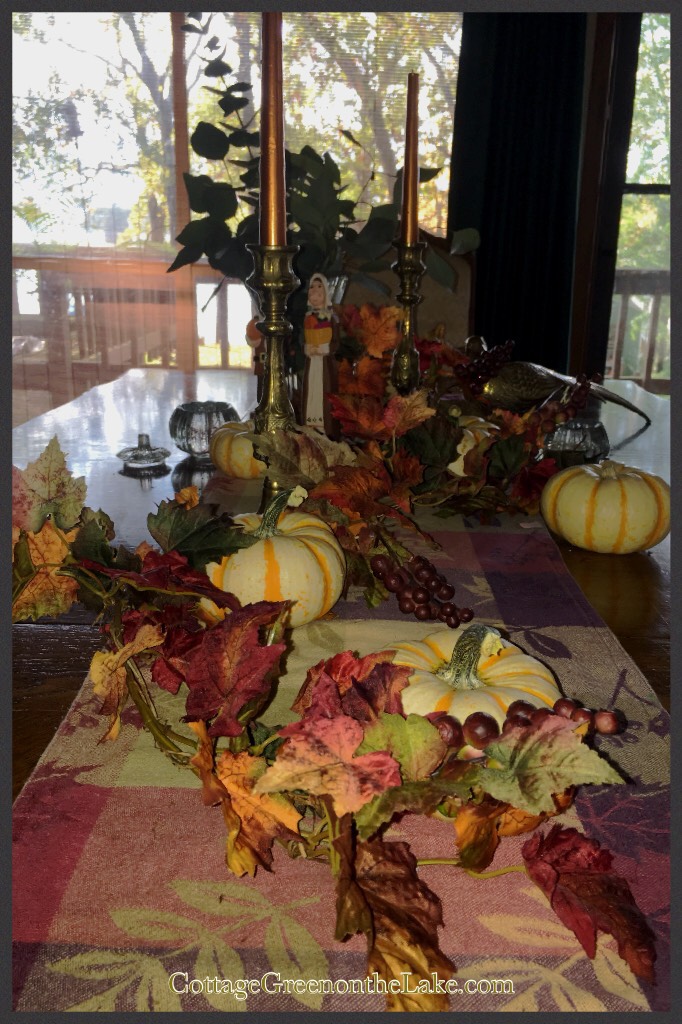
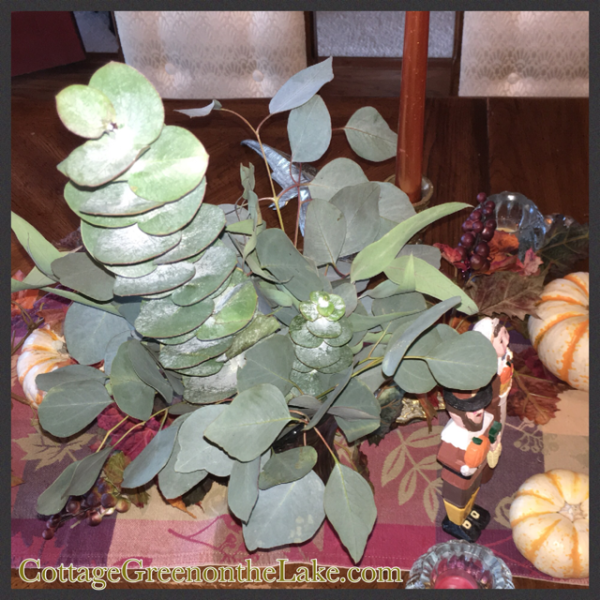
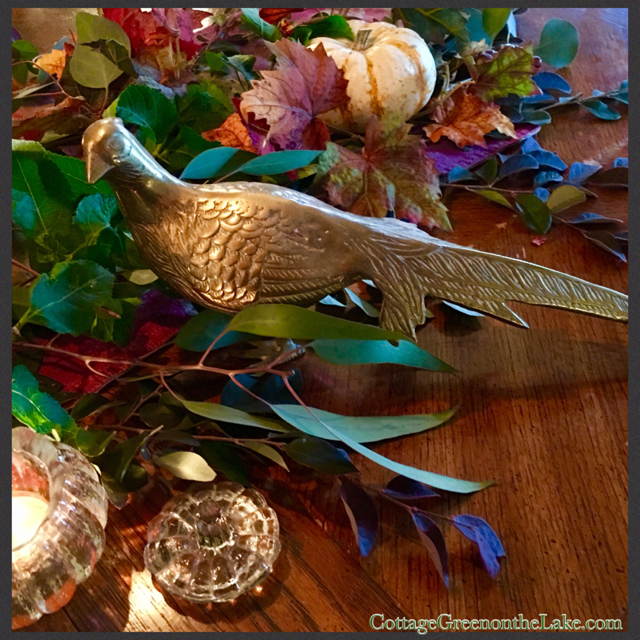
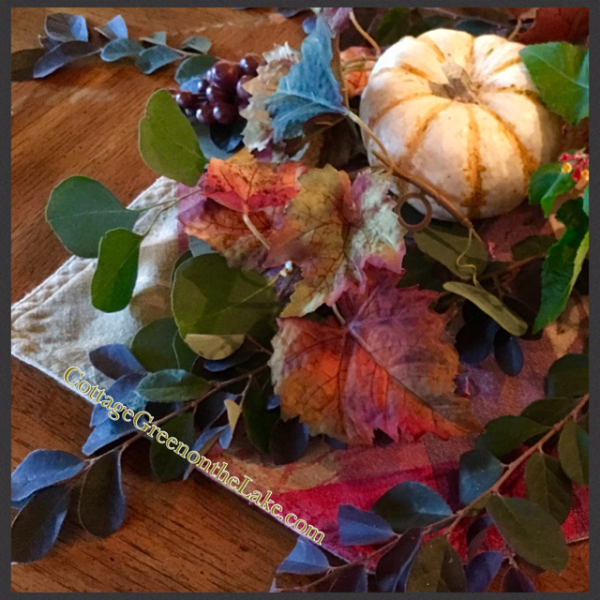
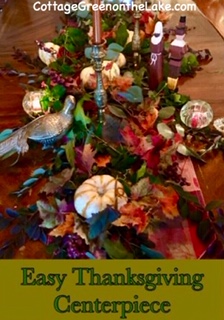
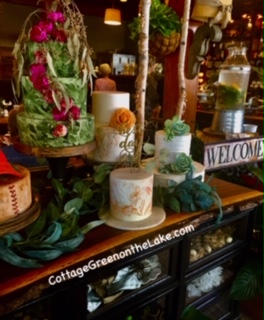
Click on Easy Thanksgiving Centerpiece for one of my favorite ways to create a centerpiece. It assembles in minutes!
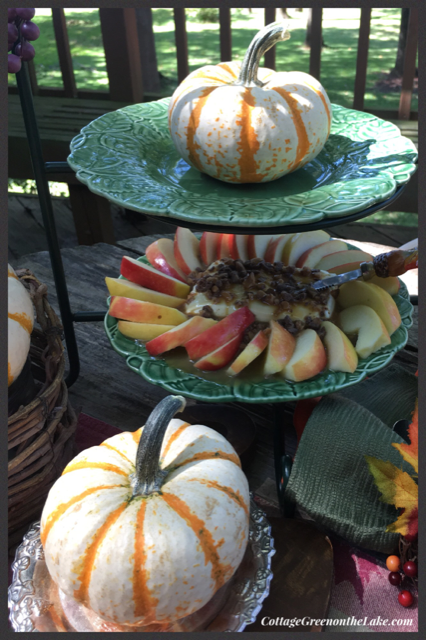
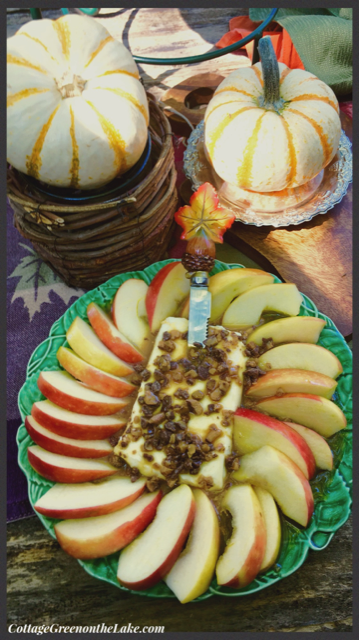
Here’s an easy appetizer to enjoy while awaiting the feast Easy Caramel Toffee Cream Cheese Dessert Dip served with apples. It’s harder to say than it is to put together! (;
Decadent ruby red Apple Cranberry Salad is the perfect mixture of cranberry tartness mixed with the sweet fillings of jello, pineapple, crispy apples and pecan pieces.
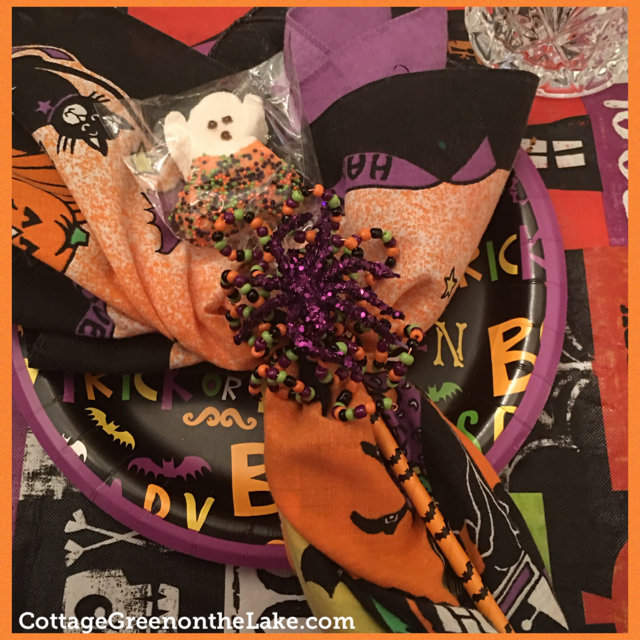
Click on autumn-napkin-rings for these charming, grapevine napkin rings. The silk autumn leaves and sprig of bittersweet brighten each table setting and they are so easy to make!
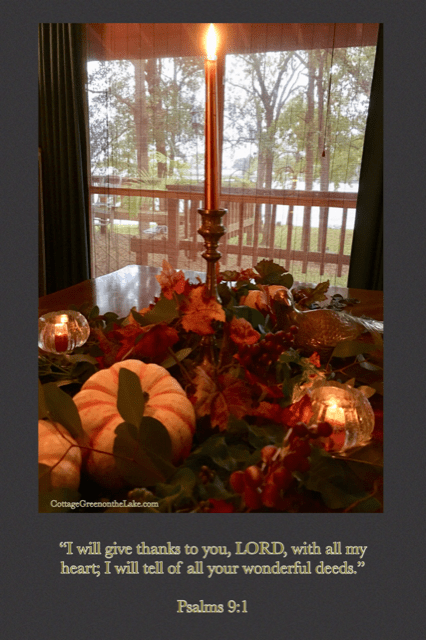
An Autumn Tablescape gives tips and how to’s for creating your own beautiful table for Thanksgiving.
Click on Easy Thanksgiving Favors to learn how to make these sweet little favors. Miniature Kraft bags are tied with colored twine and topped with a whimsical acorn and assemble in minutes.
Plus, on the same blog … learn how to make this decorative bow and this beautiful autumn wreath filled with glittered stalks of wheat, purple clusters of grapes and autumn leaves. Both the favors bags and the autumn wreath instructions are on Easy Thanksgiving Favors & DIY Autumn Wreath.
Now for a re-cap and some pictures of “all things autumn” from our recent trip to Missouri. Autumn is our favorite season to travel and we love seeing the beautiful colors of the Ozark deepen each day we’re there. Look at this blazing Maple Tree!
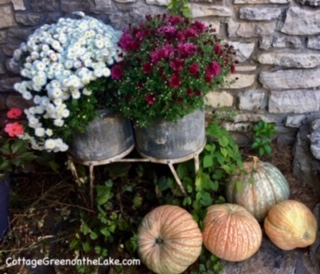
Chrysanthemums in rustic pails perched above squat-y pumpkins.
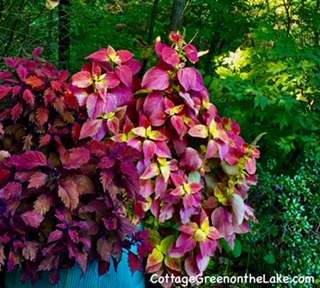
Fuchsia colored Coleus that almost glowed.
Short pumpkins, tall pumpkins, Cinderella’s and Baby Boo’s gathered beside more gorgeous Coleus.
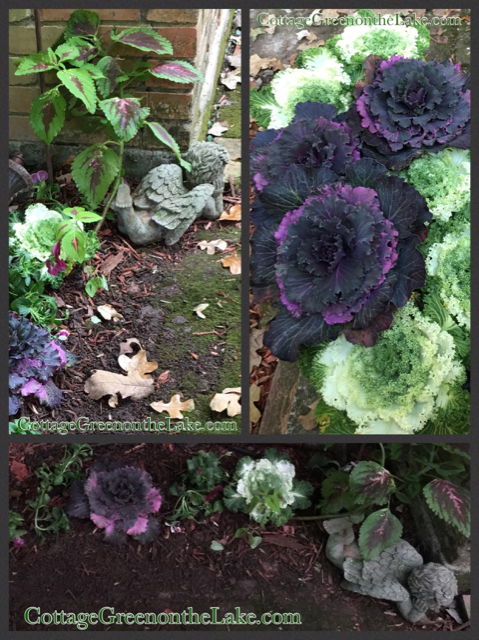
Dark green, light green, orange, and white pumpkins contrast beautifully with a huge decorative pot of flowering Kale and burgundy Coleus.
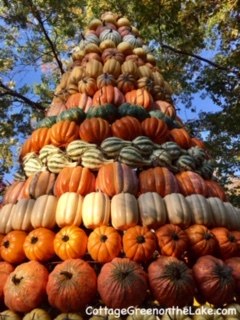
Look at these amazing pumpkin displays we saw at Silver Dollar City.
Pumpkins stacked to the treetops …
And my favorite … a darling little pumpkin cottage with a fern lined roof!
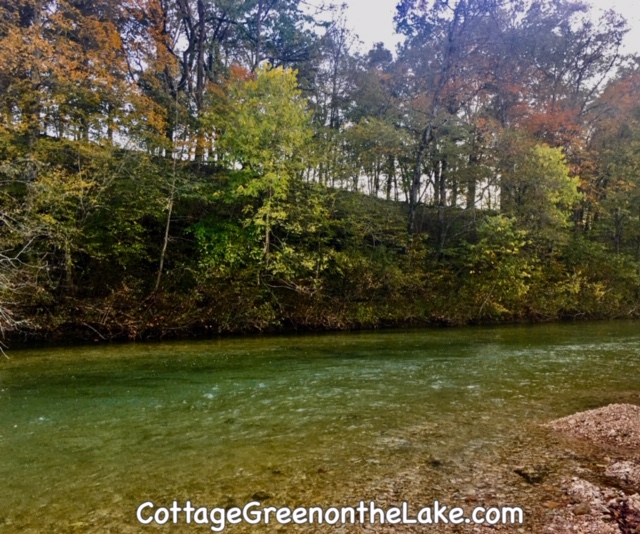
This spot was so enchanting, Richard and I walked along the creek bed and the only sounds were the burbling creek and the evening crickets.
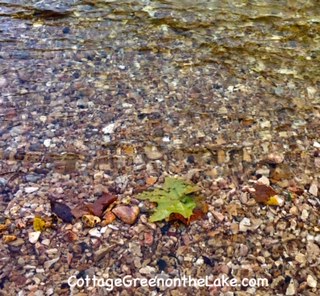
A lone Sycamore leaf drifting along in the crystal clear waters.
Look at this perfectly charming cafe … Sugar Leaf Cafe & Bakery where we had lunch one day.
… and came back for dessert on another day! (:
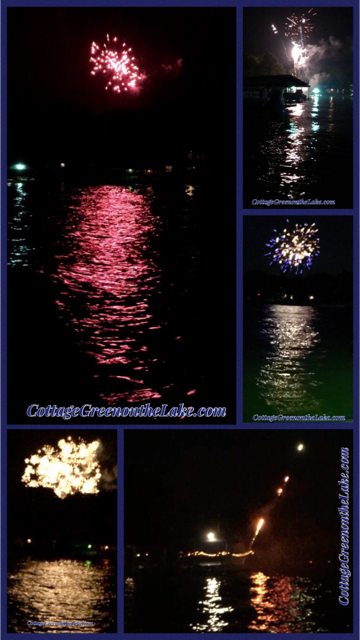
We loved the beauty and mystique of “Pumpkin Nights” at Silver Dollar City in Branson … with owls dangling from the treetops.
One King Owl ruling over his parliament of owls.
A camp site with glowing pumpkin flames.
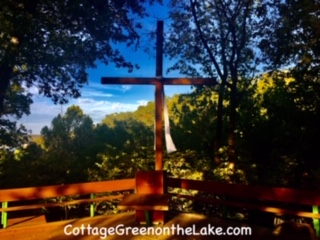
And the last picture … this “Chapel in the Woods” we were thrilled to find.
Hope you enjoyed the pictures of our vacation and the Thanksgiving ideas will inspire and motivate you as you begin planning your own Thanksgiving.
From my cottage to yours ~ Trenda
Thank you for reading my blog! Click on the Follow button above to have all my posts delivered directly to your email address AND follow me on Pinterest … Trenda@CottageGreenontheLake.com


![PicCollage[10258].png](https://cottagegreenonthelake.com/wp-content/uploads/2017/12/piccollage10258.png)


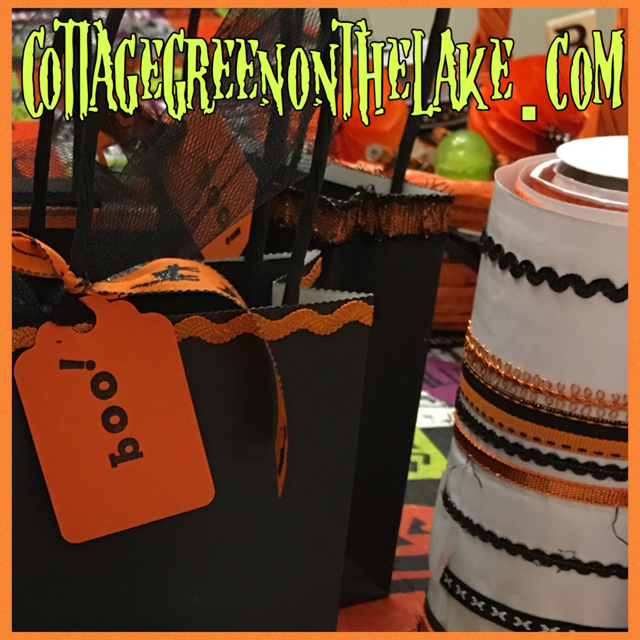
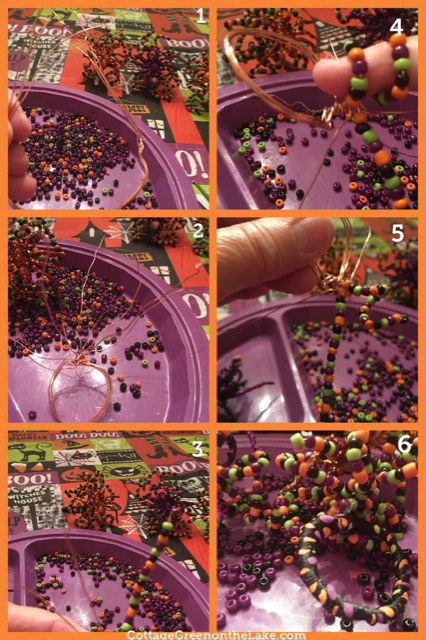
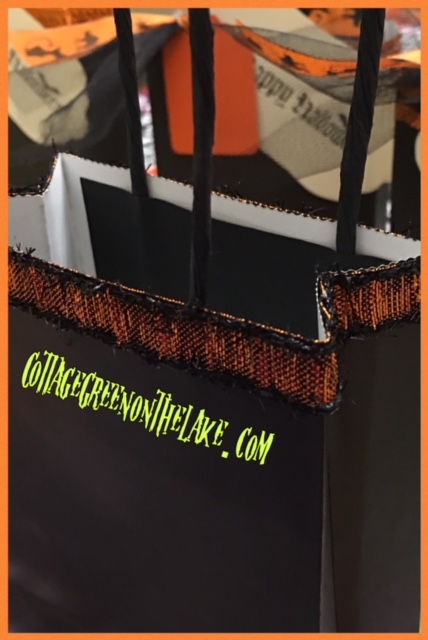 5. Cut a 9″ length of tulle and a 8″ length of Halloween ribbon. Place the tulle and the ribbon together.


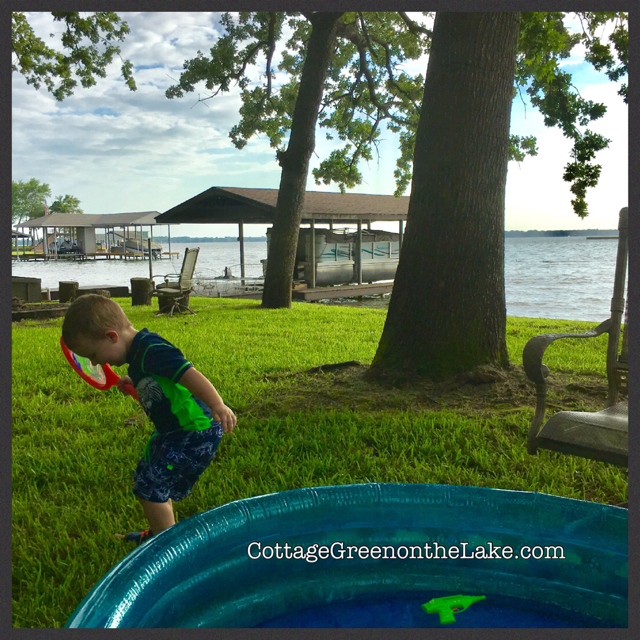
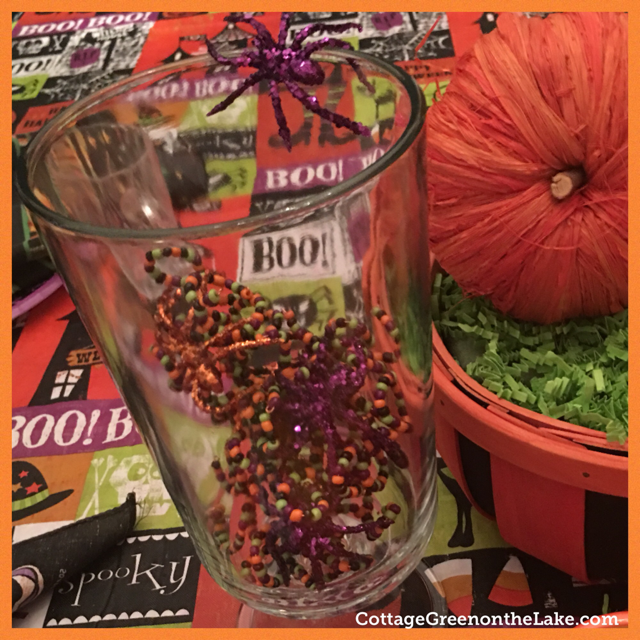
 And for lunch …


![PicCollage[8584].png](https://cottagegreenonthelake.com/wp-content/uploads/2017/09/piccollage8584.png)