I love winter days in the Cottage Greenhouse. On bright days, the sunlight streams through the clear paneled roof and warms my little house (as our 3 year old Granddaughter calls it.) On gray, drippy days, I close the cedar door, turn on my space heater, and I’m snug and warm, “out of the wind’s and the rain’s way” while I listen to the lovely sound of the raindrops falling on the greenhouse roof.
A little house - a house of my own
Out of the wind's and the rain's way

~ Padraic Colum
Last week Richard was busy in the yard, putting up a cedar fence and the weather was perfect for pre-spring cleaning in the greenhouse. I used the leaf blower and blew out dried leaves that had crept in beneath the cedar panels, wiped the potting benches and shelves with a damp cloth, then cleaned each of my greenhouse treasures. On back shelves, under the potting benches, I organized seed trays, stacked planters and peat pots, arranged watering cans, fertilizers, and insecticidal soaps, all while planning landscaping beds and dreaming of woodland ferns, coral bells, and coleus.
January is the month for dreaming
Jean Hershey
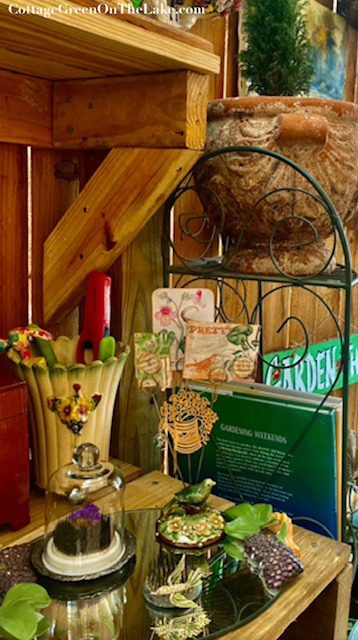
Antique seed box and cedar chest