..this was wild and beautiful, unlike the beaches of Florida we were accustomed to seeing. We drove down lanes covered with sand, past groves of orange trees in sunny fields, then our pathway would wind back under the shade of trees covered with moss. I was amazed to see beautiful palmetto palms and ferns growing wild everywhere I looked. The writer within me loved the mystic appeal and charm of it all.
Our summer days are always so busy, I never seem to get a chance to write on my blog until the new school year has begun. Today, before I can embrace September and begin writing about all things autumn, I’m writing about our summer. Wanderlust and floating on the lake days…watermelon and homemade ice cream days…lots of red, white, and blue days…hammock and firework days…sandy toes and sunburned nose days. Summer days that were forged in a blaze of heat that faded into sultry evenings and the beautiful blue of twilight would descend upon the lake and the fireflies would flick on, one by one.
Ah, but after sundown, that’s when those brilliant flirts, the fireflies come out.
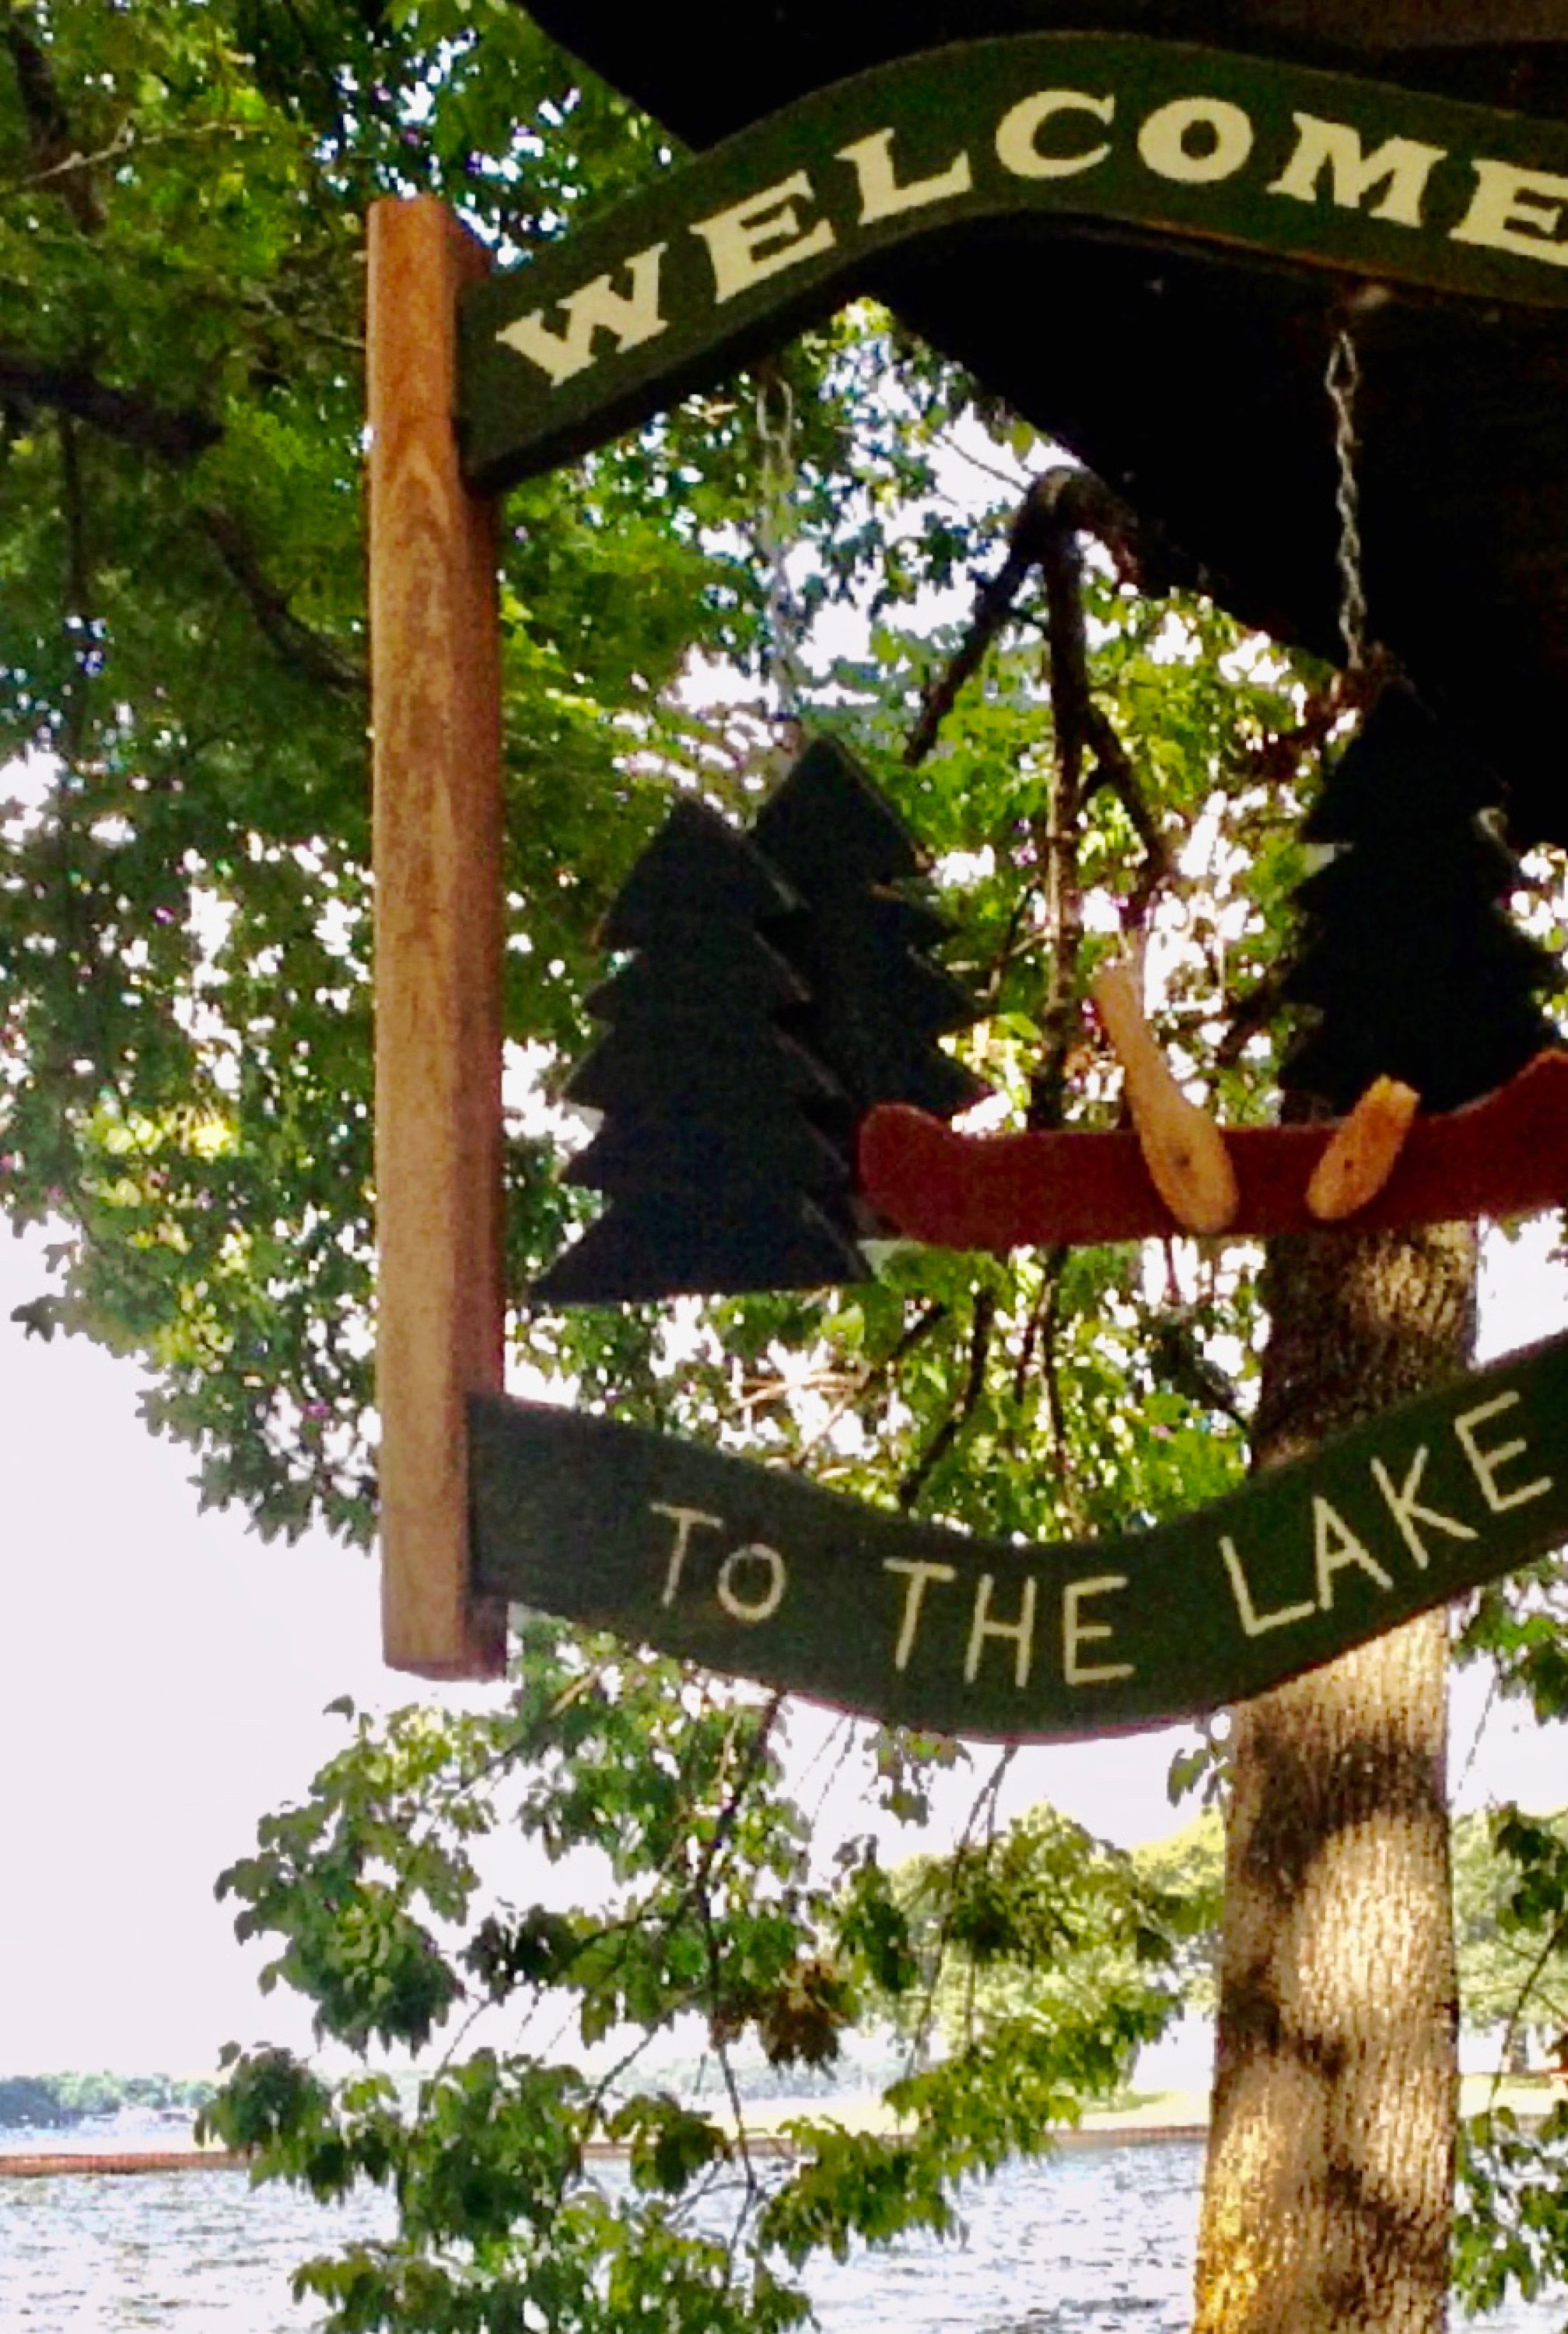
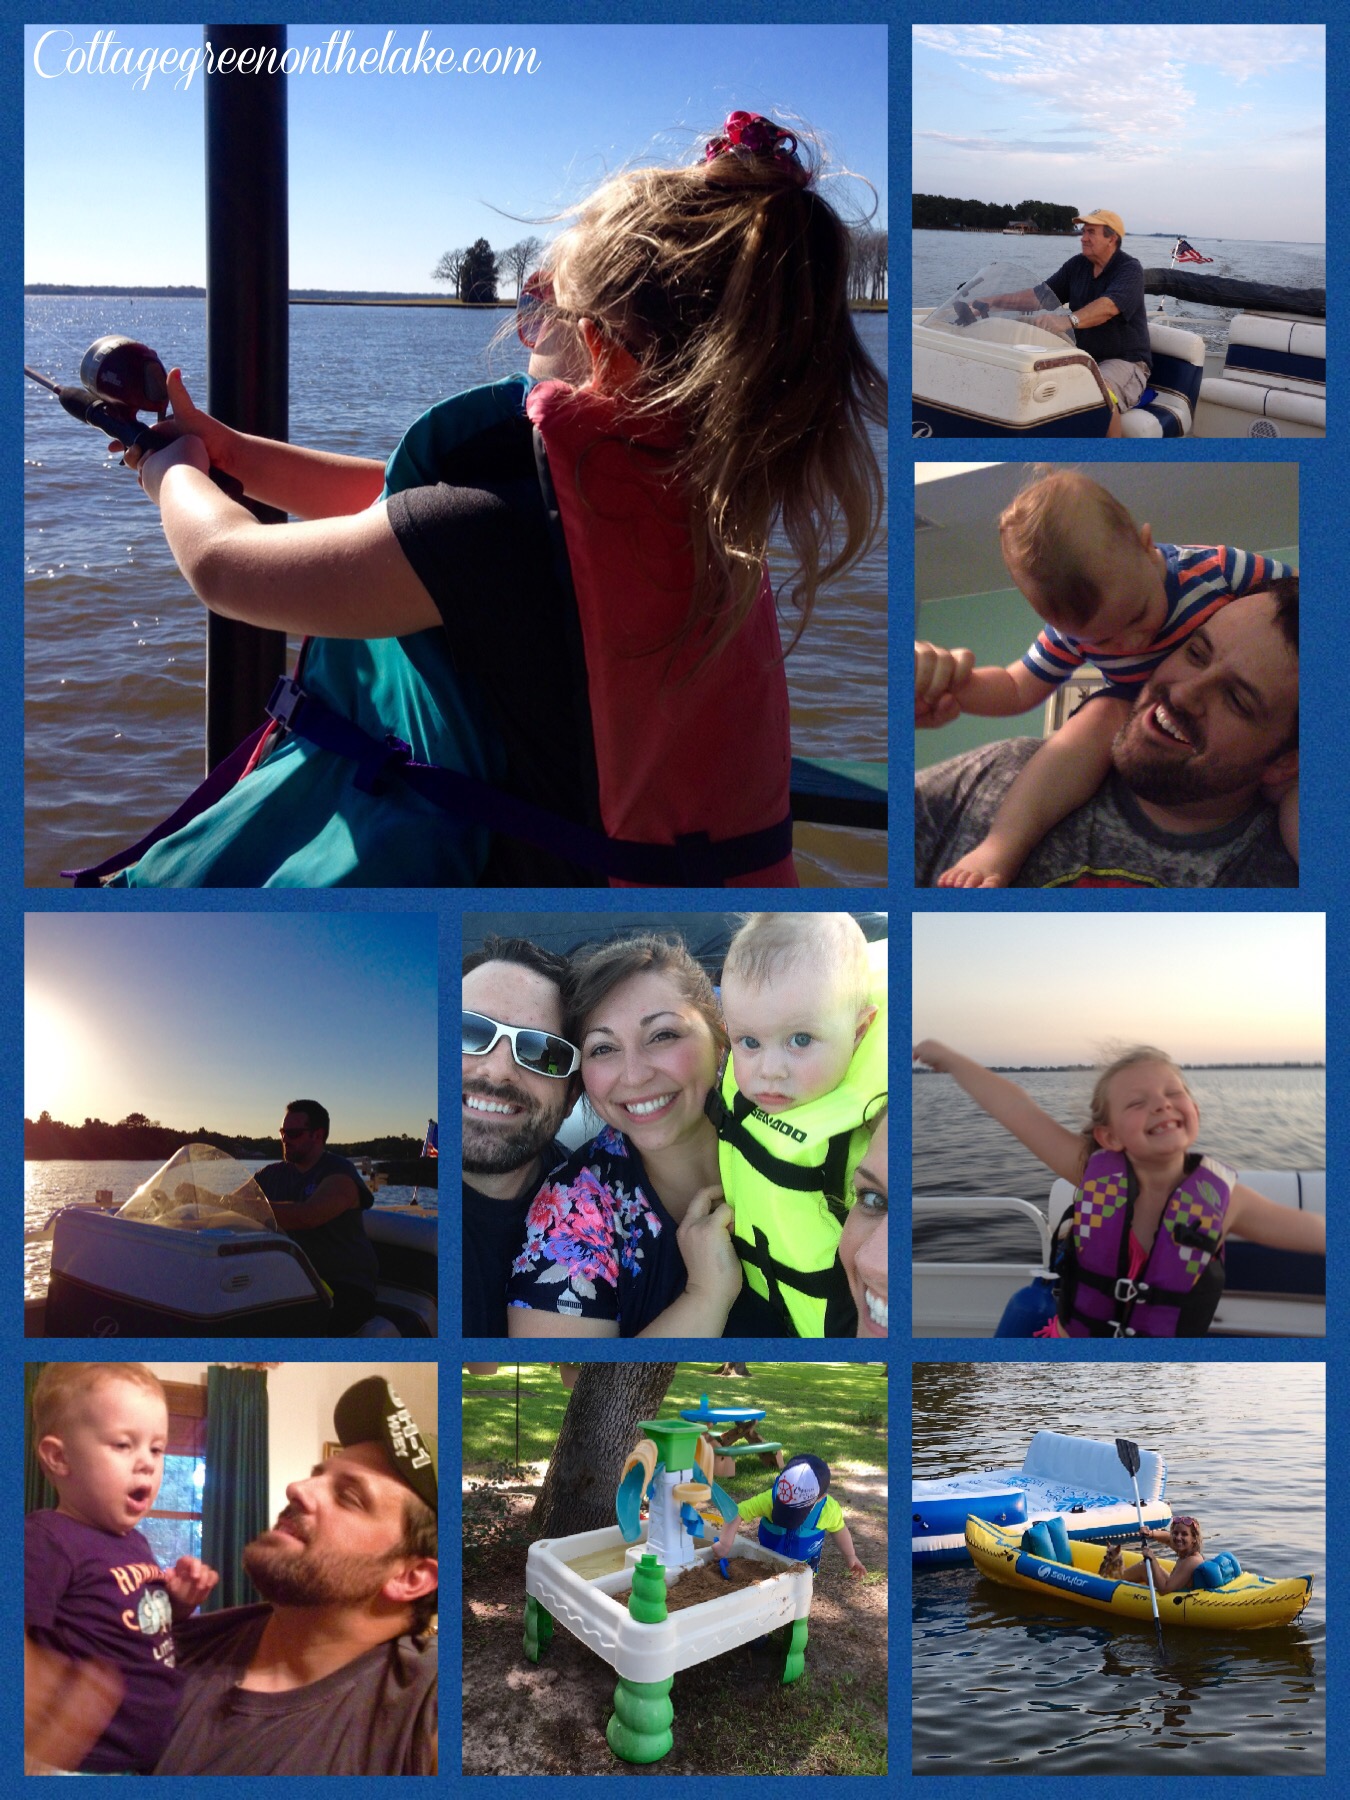
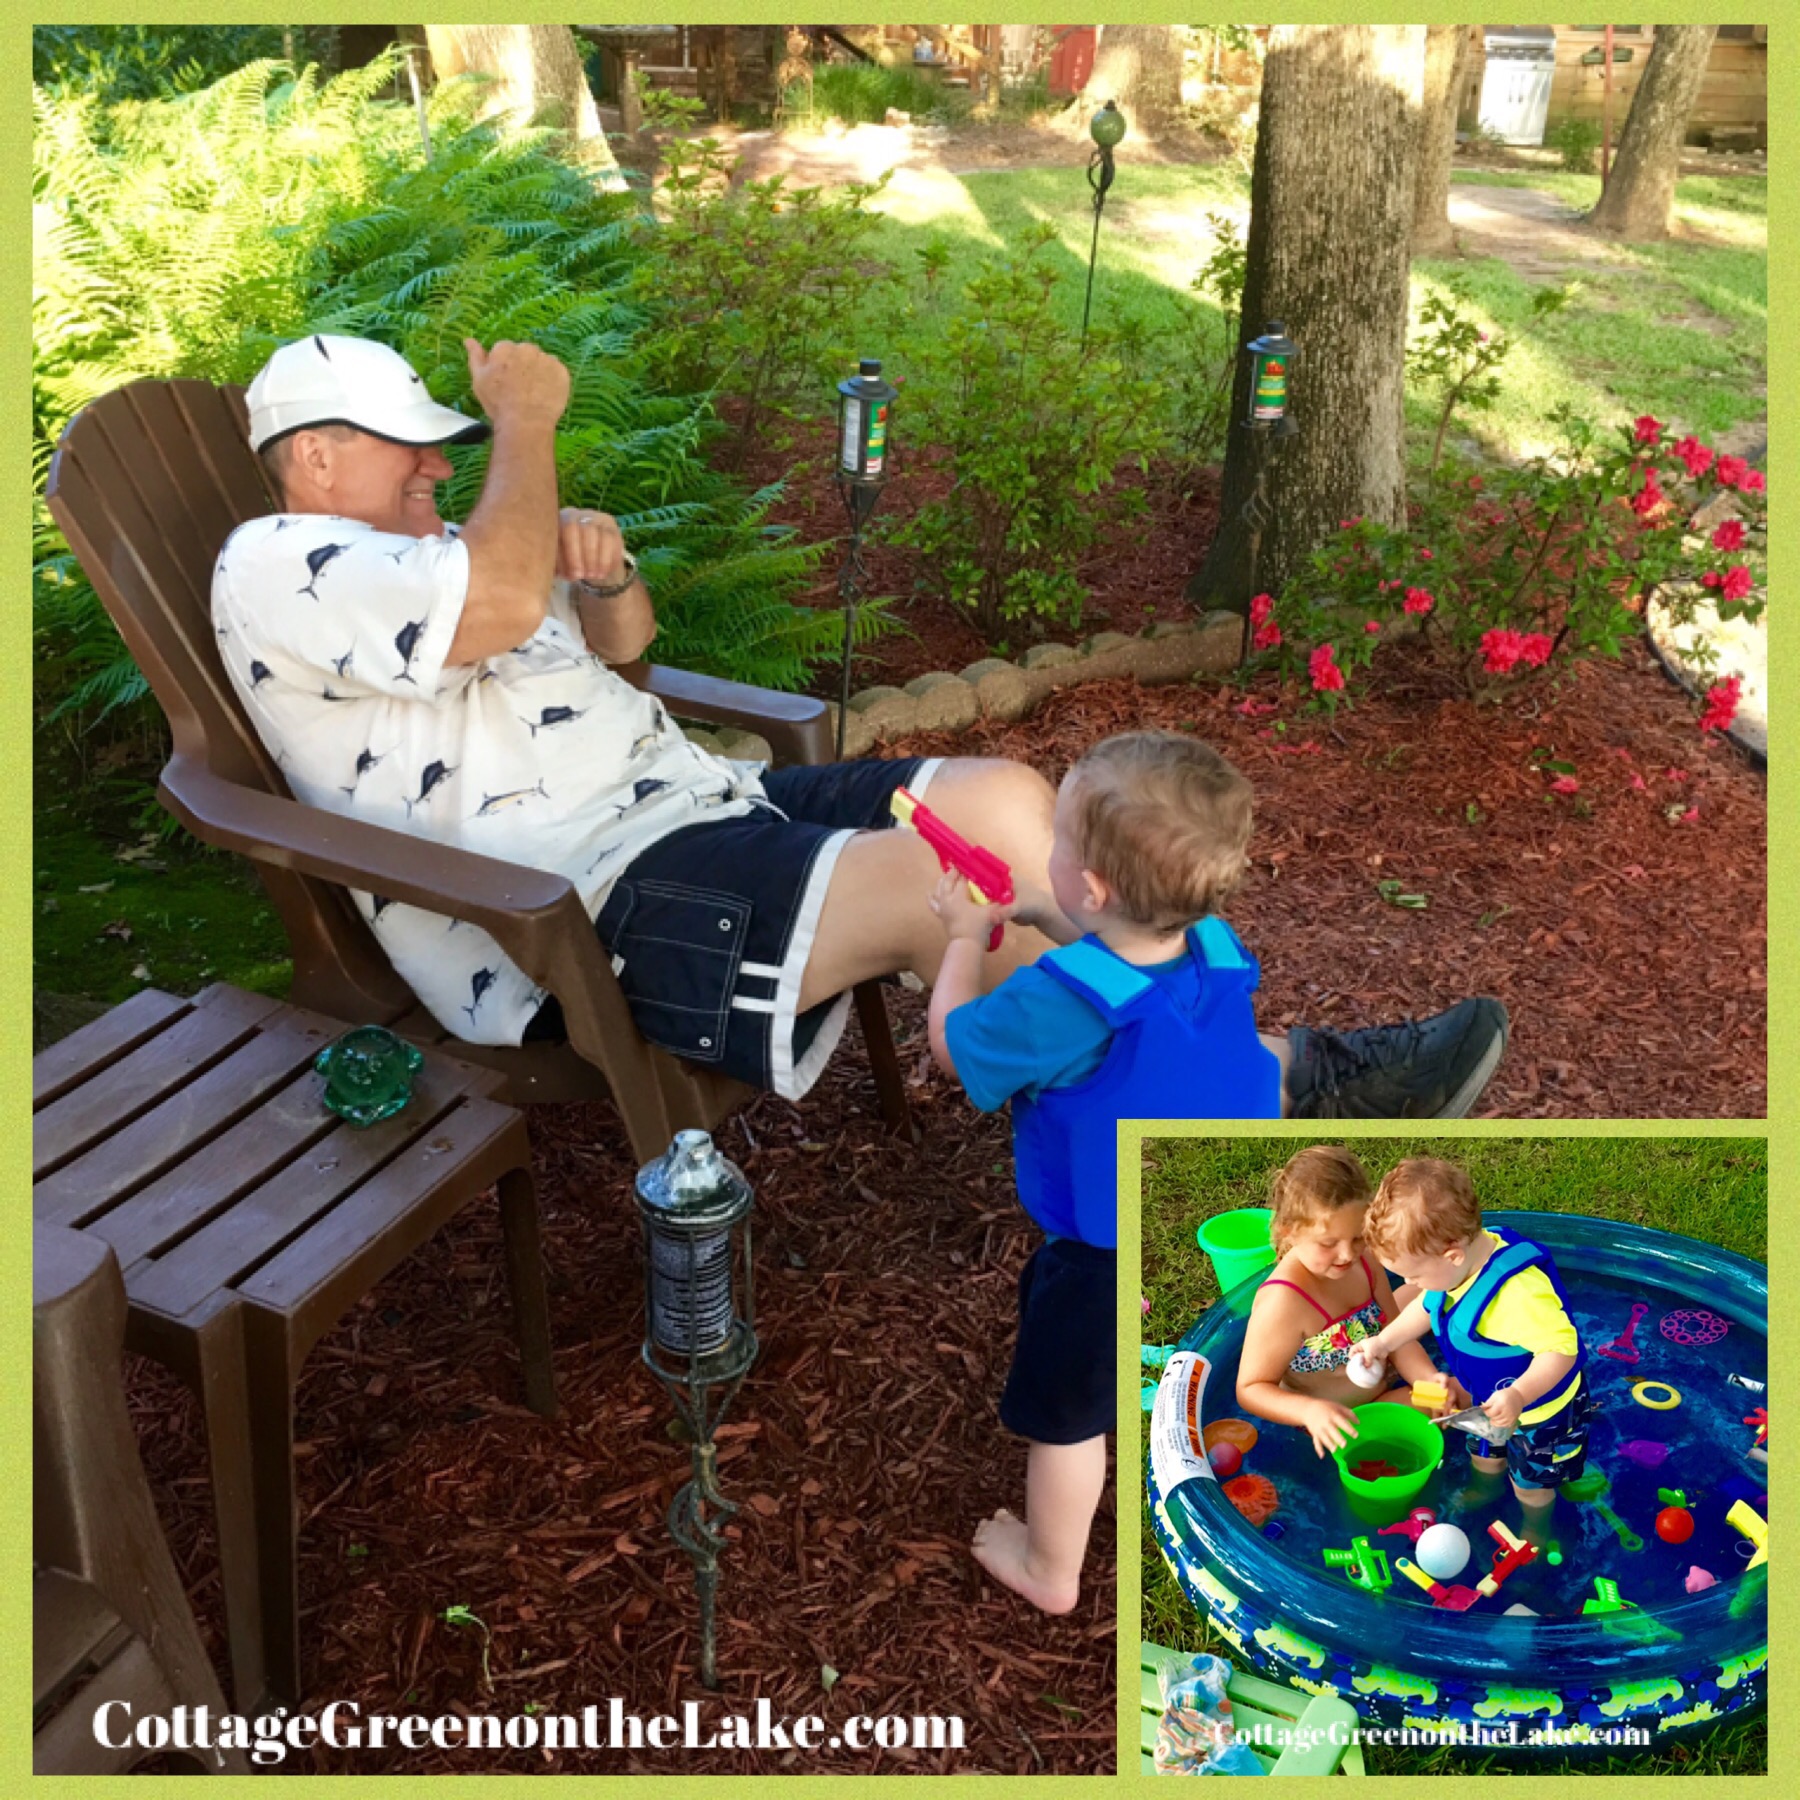
Family vacation…swimming and lazy afternoons on the dock…watermelon and water guns…cookouts and ice cream…July 4th and fireworks…corn hole and fishing…it’s summertime at the lake!
It was a wonderful, made in heaven, one-of-a-kind, perfect day, from the dawn’s early light to the twilight’s last gleaming.
Hail, hail, the gang's all here,
Never mind the weather, here we are together;
Hail, hail, the gang's all here,
Sure we're glad that you're here, too!
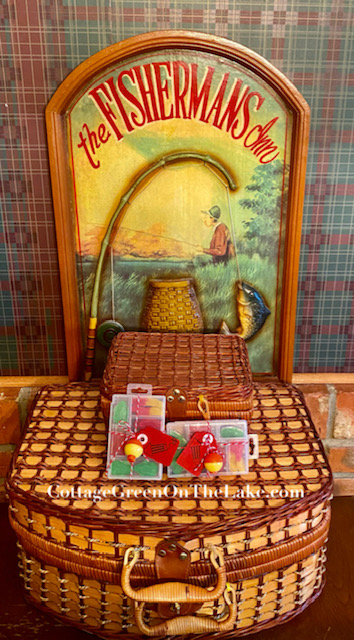
Hello my sweet friends! So much has happened and so much time has passed since I last wrote you. Even though you didn’t know exactly what was going on, I can never thank you enough for the cards and notes you sent to me. <3 Each time I read that you missed reading my posts…you hoped everything was all right…or that you were praying for me, meant so much to me and brightened my day. I’ll try to catch you up in this post of “what’s been going on”…then I have a darling “mock” tackle box to show you that is filled with gummy worms…Trolli frogs…Swedish Fish…and Sour Brite Crawlers. It’s a cute and whimsical favor to pass out after a summer day spent together with your family or friends.
Hail, hail, the gang's all here,
Never mind the weather, here we are together;
Hail, hail, the gang's all here,
Sure we're glad that you're here, too!
If you’re not barefoot, then you’re overdressed.
Unknown
Labor Day is the last big fanfare of the summer here at the lake and I’ve been getting ready for our weekend with “the gang all here!” I thought you might like reading and seeing some of the tips, preps, how to’s, menu’s, and recipes we use for our family get together’s and what we do here at Cottage Green preparing “4theseasons” and for our family celebrations. P.S. For those of you that don’t know … my Twitter and Instagram account is 4theseasons. (;
I love how summer just wraps it’s arms around you like a warm blanket.
Kellie Elmore
Since we’ll have several different areas set up for food and drink, I always like to have multiple caddy’s ready that are easy to carry and set up and hold all our cutlery and napkins. I use this rugged twig caddy often, since it’s so handy. (See it in the picture above when we had watermelon on the dock while watching the gorgeous sunset and (click here to see the same twiggy caddy in a Woodland Christmas Tablescape) I always tuck cloth napkins into the basket to line and soften the edges of the twigs, and to match the cutlery we’ll be using. Our color theme for Labor Day is red, white, and blue and a basket of red anchor napkins on a blue and white striped background will be whimsical setting on the dock table and will fit in perfectly with our lake theme, in just the right colors.
Next … this cute and showy rowboat caddy will be for our Farewell BBQ dinner. No frail paper napkins will do when finger lickin’ ribs and homemade barbeque sauce are on the menu! Red cloth bandanna’s are folded up to secure cutlery, then are wrapped around the bundle and festooned with red, white and blue wired tinsel.
Red, white and blue plastic sandwich baskets are lined with festive red and white checked deli papers. The baskets are sturdy and easy for small hands to carry even when their baskets are filled with ribs, cool pasta salad, and a little bean pot filled with (Delicious BBQ Beans – click here for recipe.)
Pictures and Instructions … How to Assemble Cutlery and Napkin Packages
1.Fold napkin into quarters. Place folded edge to your left side and open selvage of your napkin to your right. Fold up the bottom edge of your napkin, about 5 inches, if you are using larger napkins like these bandanna’s. If the napkins you use are smaller, fold up less material, according to size, but so you still have ample material left to pull up, cover and secure your cutlery.
2.Place a knife, fork, and spoon with the tips of the cutlery just beneath the left hand corner of your napkin and fan out so bottom of utensils are in line with the right hand bottom corner. FYI: Placing the cutlery beneath the edge of the material makes a prettier presentation and helps keep the utensils from getting dirty.
3.Now fold the left side of the napkin over the top of the utensils and fold the bottom right hand corner of the napkin straight up, over the top of the first fold. This secures your cutlery and keeps it from falling out when it’s picked up. Remember those unfortunate times all your silverware has fallen out when you were picking up your silverware bundle at a restaurant or cafeteria??? This tuck keeps that from happening!
4.Holding the left side of folded napkin and keeping the cutlery in place in the center (the cutlery will slide somewhat as you keep rolling your napkin, you can flare it out, again, if you need to, after you have secured the napkin bundle with your tinsel wire or cording) Just keep rolling your bundle to the right until all the material of the napkin is entirely wrapped around the bundle inside. When your napkin is rolled around in a concise package, hold or place the cutlery bundle down on the surface you are working on so it doesn’t unroll while you are getting your wired tinsel to secure the package. In the picture below I wanted you to be able to see how your bundle should look before securing. TIP: I usually have my tinsel or cording already cut and ready before I start my bundles so I can tie each place setting immediately, after I’m through rolling my napkin bundle.
5.Finished rolled cutlery bundle before cording.
6.I am not too exact when I am using tinsel wiring since I don’t like to pull out all the bends, plus any excess tinsel always looks cuter when there’s more! Each strand of tinsel wire I cut is approximately 13 inches long. Don’t worry if you don’t have any tinsel wire, I have made these bundles using colored raffia (click here to see Easter bundles made with smaller paper napkins and tied with raffia) silk red and green plaid ribbon with pine cone ornaments attached, rugged jute with white lifesavers dangling to mimic life preservers, and thin white macrame cording with anchor buttons; whatever tinsel or cording I’ve used, these bundles are always darling.
7.Center your tinsel or cording around your bundle so there is an equal amount of wire or cording on each side of the napkin to twist or tie.
8.Wrap the 2 strands of your tinsel or cording around your bundle to meet in the middle and twist together, or tie in a simple knot if you or using cording . When I use tinsel wiring, after twisting the tinsel to hold in place,I twirl first one end and side of the wiring loosely around my index finger, then I slip my finger out, which leaves the tinsel in loose coils. Then I gently pull the coils out to the desired length I want … then I do the same thing to the opposite side of the tinsel.
Gotta go, the Gang’s Almost Here! Hope you have a wonderful and safe Labor Day Weekend … AND I hope you liked this post. I’m planning on this being a new series of blogs I share with you whenever “our gang” is coming! <3
From my cottage to yours ~ Trenda
I’d love to hear from you! Please ask any questions you may have or post any comments, below. To have all my posts delivered directly to your email address, just click on FOLLOW in the post above … or click on my site: cottagegreenonthelake.com
Follow me on PINTEREST at Trenda@cottagegreenonthelake.com
“I scream, you scream, we all scream for ice cream!!!”
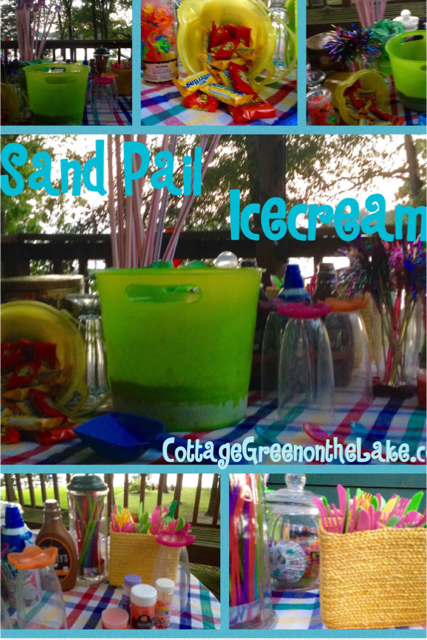
Back when our kids were in elementary school we began this family tradition of making, what we later named … “Sand Pail Ice Cream.” It became our tradition to make this ice cream when the last school day of the year was over; a happy and fun beginning to summer vacation!
Now, with all our family and their children going to different schools and having different schedules in different cities, we aren’t always able to make it together at the beginning of summer, but it remains a fun family tradition we still have every summer. This summer we made it for our Labor Day celebration, signifying summer’s end, rather than it’s beginning. Fun and equally good, whenever it’s served!
First, you need to invest in a brand new plastic sand pail. (: Wash your new pail in warm sudsy water. Then set out 1 or more half gallons of ice cream, depending on how many people you will be serving and how much your sand pail will hold. (It’s hard to tell in this picture, but the sand pail I have can hold 3 half gallon cartons of ice cream! We have also used additional sand pails when we have larger crowds to serve and for different flavors and mixes!) When the ice cream has softened, scoop the ice cream from the cartoon and into the sand pail.
The rest is simple …just chop and stir in your family’s favorite ice cream “add-in’s” and toppings … or dish ice cream into separate containers for each person to individualize with their choice of toppings and add-in’s!
Some suggested add-in’s (but not limited to!)
candy
ice cream syrup’s
marshmallow topping
cookies
fruit – cherries, pineapple, banana
cool whip
sprinkles … the more sprinkles, the better for your little ones!
Other suggestions …
make sure all your candies “compliment” each other (don’t mix sour candies with chocolate candies!)
my family’s favorite ice cream is Bluebell’s Cookies and Cream – I used that flavor of ice cream and already had 1 “add-in” … cookies!
do not use candies that might harden in the ice cream and be difficult to bite into!
have 2 or more sand pails for additional or different flavor combinations!
Have fun setting your table and using all your festive bowls, glasses, soda fountain glasses, straws, spoons, and decorations! I added a centerpiece of giant pixie straws, cupcake liners to hold extra add-in’s to nibble on, and little plastic animals to adorn each ice cream serving!
By Friday afternoon our little town’s population began to increase with the number of people coming for their last summer outing at the lake. The waves began to bob as the lake slowly filled with bright, neon rafts, jet-skis, speed boats, and sailboats … and laughter could be heard from backyard decks and docks.
It was a quiet weekend for us, relativelyspeaking(what a pun!)with only our own dear little family coming to visit for Labor Day.
However, no matter how small the gathering, getting ready for “our gang” is always laborintensive … and after all, seemed apropos for Labor Day weekend! ;)
TO DO LIST:
Edging & weed-eating … ✔️✔️
Lawn mowed … ✔️
Decks cleaned with blower … ✔️
Floats & Water Toys aired up … ✔️
Canoe checked for “sea-worthiness” … ✔️
House cleaned … ✔️
Grocery shopping … ✔️ Menus Made … ✔️
BBQ BEANS made & crock pot filled … ✔️
Salad prepared … Teas made … all chilling in the refrigerator … ✔️✔️✔️
TIME FOR FAMILY & FUN! … ✔️✔️✔️✔️✔️
And afterwards … everyone is ready for dinner!
Below, I’ve included 2 of our family-favorite recipes! Both are easy and delicious and we enjoyed both of these sides on our Labor Day picnic.
The first recipe is my own recipe for DELICIOUS BBQ BEANS. We love the smoky flavor of the bacon that intensifies as it cooks in the the crock pot and the enhanced layering of flavor that the bell pepper adds! I also love that it is baking in the crock pot while I’m away or other dishes are being prepared, freeing up the grill and oven!
The second recipe I have included is Paula Deen’s Frito & Corn Salad. This salad is so quick and easy to “put together” and so far, we have never had anyone who doesn’t love it! Cold salads are always a favorite during our hot summer months and the spicy, crisp addition of the Fritoes adds just the right amount of crunch to the sweet flavor of the corn.
And … always a sweet ending to any celebration is our Sand Pail Ice Cream Dessert. It is our family tradition that we have been enjoying and making together, since our chidren were small! We still look forward and include making it together in our summertime traditions, every summer!
I’ll include pictures and instructions for that fun & easy treat … soon!
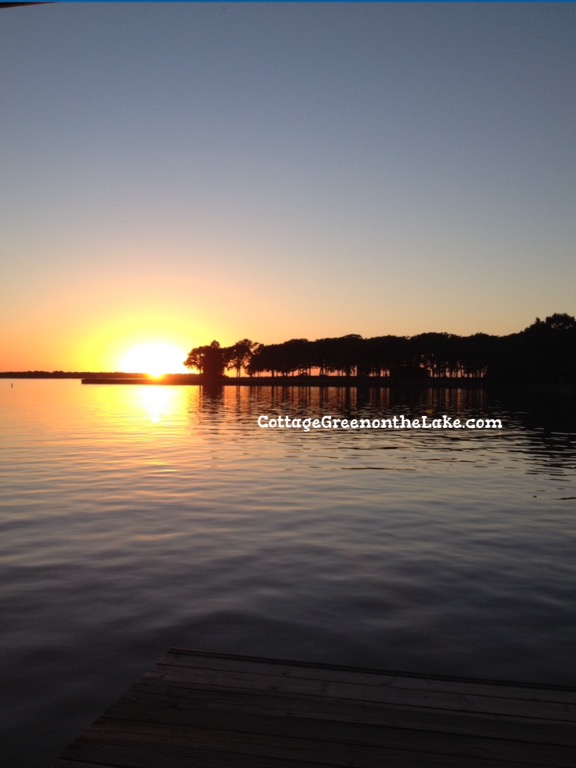
The last rays of the day … ending another Labor Day.
Summer’s leaving; it’s bags are already packed, as September, the long awaited guest, arrives! “So long, farewell, auf wiedersehen, goodbye!” We had a wonderful time while you were here!