~ Trenda
“Everything good, everything magical happens between the months of June and August.” —Jenny Han
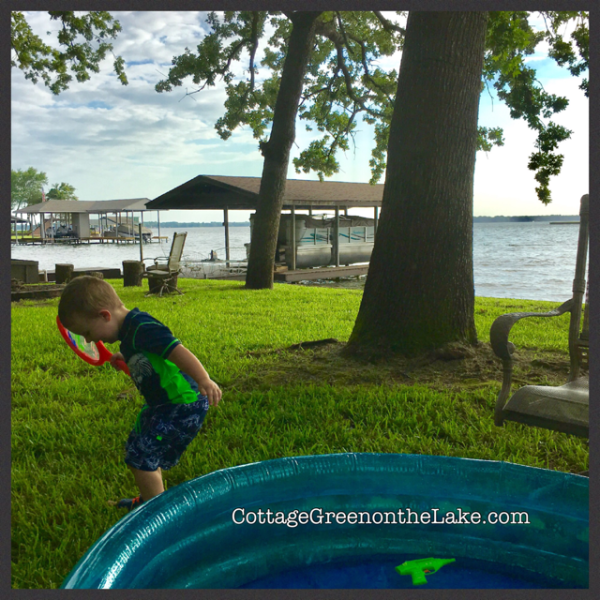
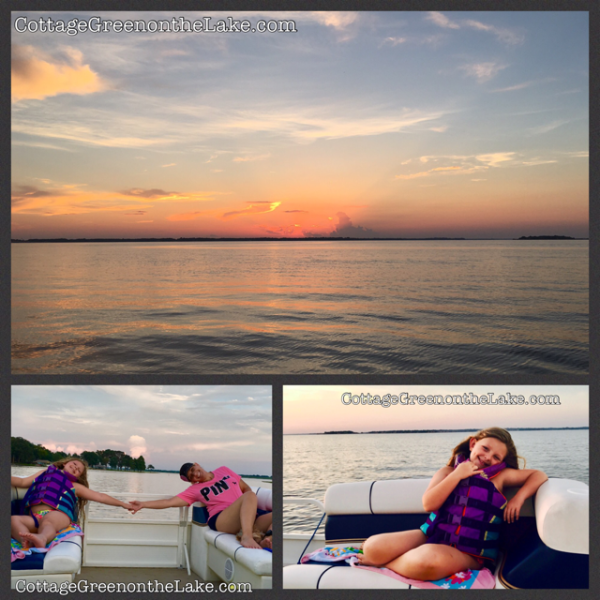
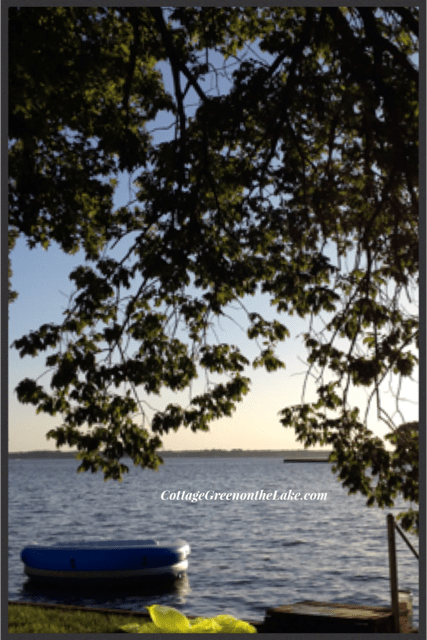
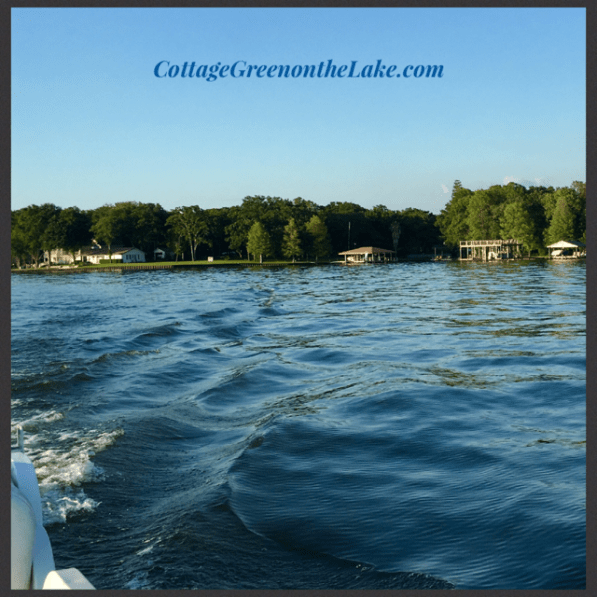
It’s hard to believe it’s the end of August and our golden, lazy, summer days are waning. Another summer filled with happy laughter, cannonball splashes. bobbing rafts, sunset boat rides, locust droning and warm breezes blowing against cooled bodies in wet bathing suits. Here are some of the good and magical moments of our summer.
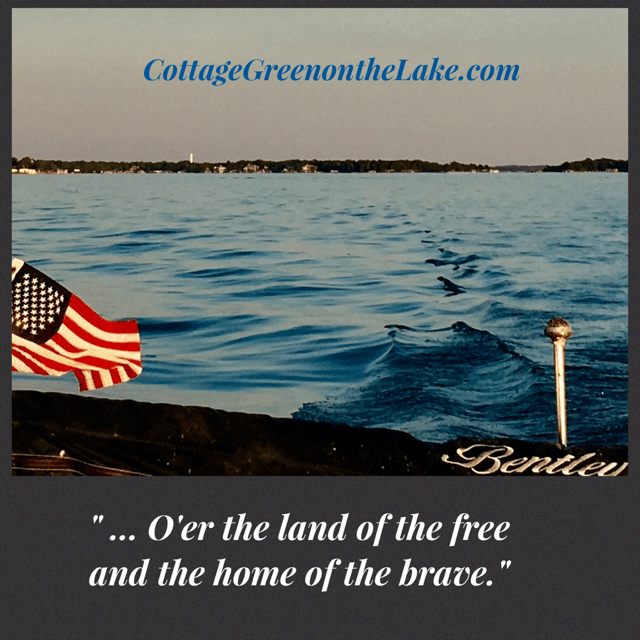
Days of boating …

Feeding the geese and ducks …

PaPa’s First Mate and Skipper … This look on our little grandson’s face is priceless as he samples the duck food (pumpernickel bread) and tells me … “Grandma, this tastes yucky!” (: (: (:

Days of floating …

Precious lullaby moments …

These white herons flew in from their day wandering’s to roost and “bed down” in the boughs of this tree for the night.

Deer grazing on the green grasses beside the lake at twilight.

Watching summer sunsets tinge the lake color to shades of pink and purple.

There were summer “Cousin Days” and playing hide ‘n seek …

Riding piggy-back …

Riding skate boards … painting faces … climbing walls at the park … happy faces and happy hearts! “Your cousin is your very first friend.”

Enjoying fun family tradition’s … Sand Pail Ice Cream!

“PaPa and Grandma’s House … where cousins become best friends.” This is what king size beds were made for … sleepover’s with my grand babies snuggled next to me and sweet, little hands patting and holding mine in the night.

All in all, it was a never to be forgotten summer — one of those summers which come seldom into any life, but leave a rich heritage of beautiful memories in their going … ~L. M. Montgomery

Summer slips away in a lilac sky.

It was indeed “a good and magical time.” Goodbye summer, we’re going to miss you!
From my cottage to yours ~ Trenda

Thank you for reading my blog! To have all my posts delivered to your email address, just click FOLLOW in my post above … or click on my site: cottagegreenonthelake.com
FOLLOW ME on PINTEREST!
Trenda@cottagegreenonthelake.com
This week I’m joining Chloe Crabtree with Celebrate & Decorate


 “Whiskers” (a Great Blue Heron) a long time resident at Cottage Green strolls each morning and evening along our retaining wall and dock. A few evenings ago Richard and I were sitting outside watching Whiskers as he stood poised, watching intently the water below. Suddenly, we saw his neck straighten as he nimbly struck at a passing fish. When he straightened back up, he had a 5-6 inch perch, “shis-ka-bobbed” on his beak … “bon appétit! (:
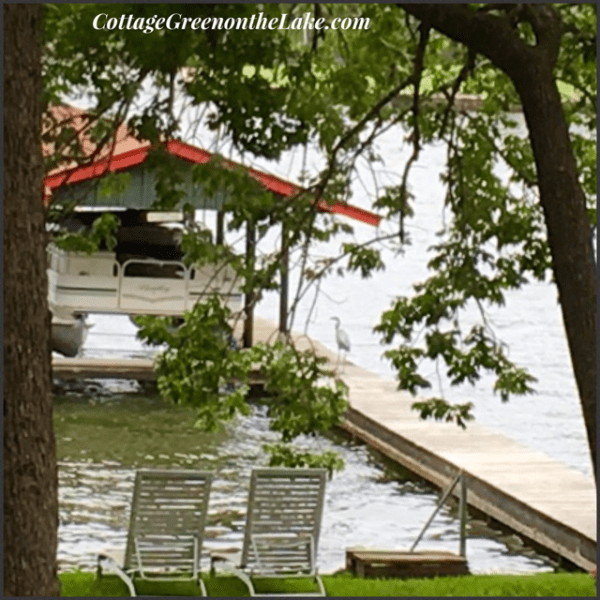


 I keep a little book of the precious, witty, funny things our grandchildren say and call them “Sabrina-ism’s” and “Preston-ism’s.” Here is a cute “Sabrina-ism” she said on our way to the Farmer’s Market … I was brushing Sabrina’s hair (something else I love to do!) and told her we were getting ready to go to the store. She sweetly asked, “which store, Grandma?” I told her, “well, you and Grandma are going to the Farmer’s Market and PawPaw is going to the hardware store.” Sabrina is well-familiar with and likes going to “The Farmer’s Market” but she had never heard that “other store” mentioned before and asked … “what’s that store, Grandma?” I explained that it was a store where PawPaw buys hammers and things that he needs to work with on the house. Later, when we were on our way into town, she happily said, “PawPaw … Grandma and I are going to go to the Farmer’s Market while you go to the “hard work” store! (: <3


 Waffle ice cream cones


 Instructions: