“I saw this darling, heart-shaped mirror glimmering and beckoning to me before I even got to the booth where it was hanging, and felt my heart quicken. The antique floral embellishment at the top of the mirror and the sweet, scalloped edges around the heart spoke to me, and told me, “You are taking me home.”
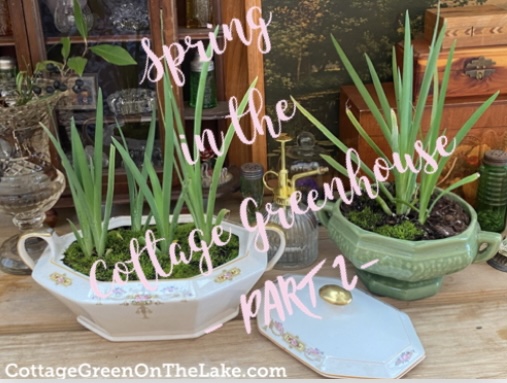
Recently Richard, my dear Huckleberry Friend, and I went on a trip and had a great time stopping at different antique shops and flea markets along the way. Frequently, I am asked (particularly about the wide assortment of items I use to decorate the Cottage Greenhouse) where I find the items I use in decorating. So, today I’m sharing some of the treasures we “two drifters, off to see the world” found on our trip, and what each item cost.
Moon river, wider than a mile
I'm crossing you in style some day
Oh, dream maker, you heart breaker
Wherever you're going, I'm going your way
Two drifters, off to see the world
There's such a lot of world to see
We're after the same rainbow's end
Waiting 'round the bend
My Huckleberry friend
Moon river and me


 Moon River ~ written by Johnny Mercer and Henry Mancini
Continue reading “Antique and Flea Market Finds”