The seeds I planted in April are almost ready to be planted in their new homes outside! The little seeds have spent a cozy Spring on warm heat mats and cosseted under cozy moisture domes. Now the last step I need to do is to thin out the seedlings and harden off the plants before they’re transplanted outside.
We were camping for 3 weeks in the early part of Spring, so I didn’t even begin planting my seeds until the middle of April.
“Every flower must grow through dirt.”
~ Laurie Jean Senott
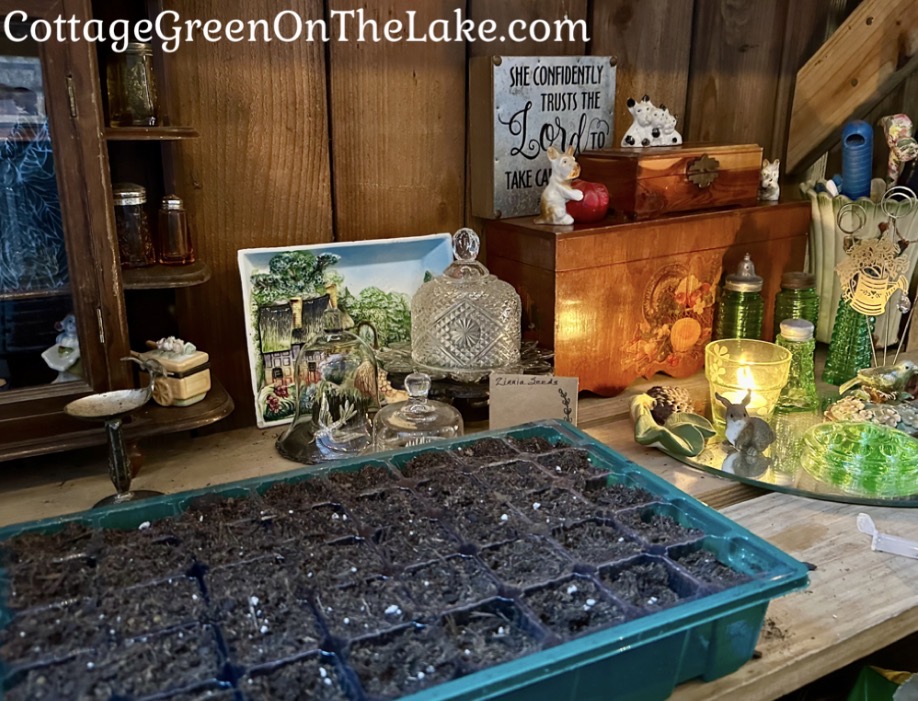
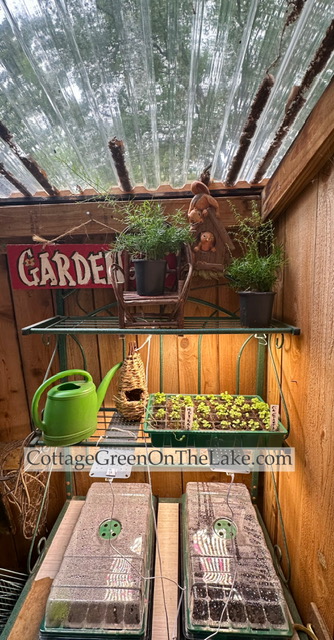
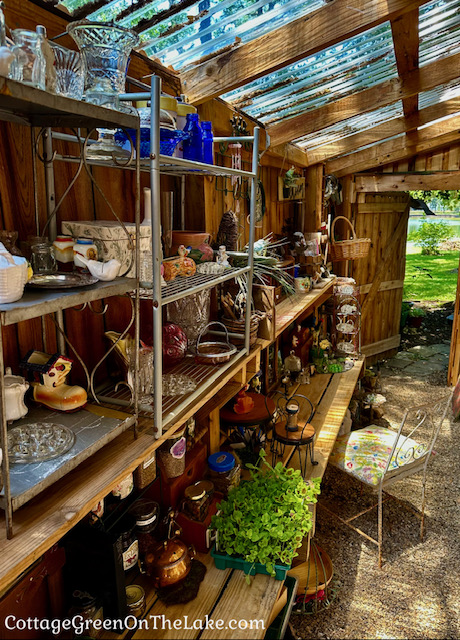
Richard totally surprised me when he ordered these heating mats, moisture domes, and LED heating lights for me! Then, he sweetly rigged it all up for me on my little planting station I’ve made, using an old baker’s rack we found in a thrift store. The wire shelves and little counter make the perfect spot for housing all my seed trays.
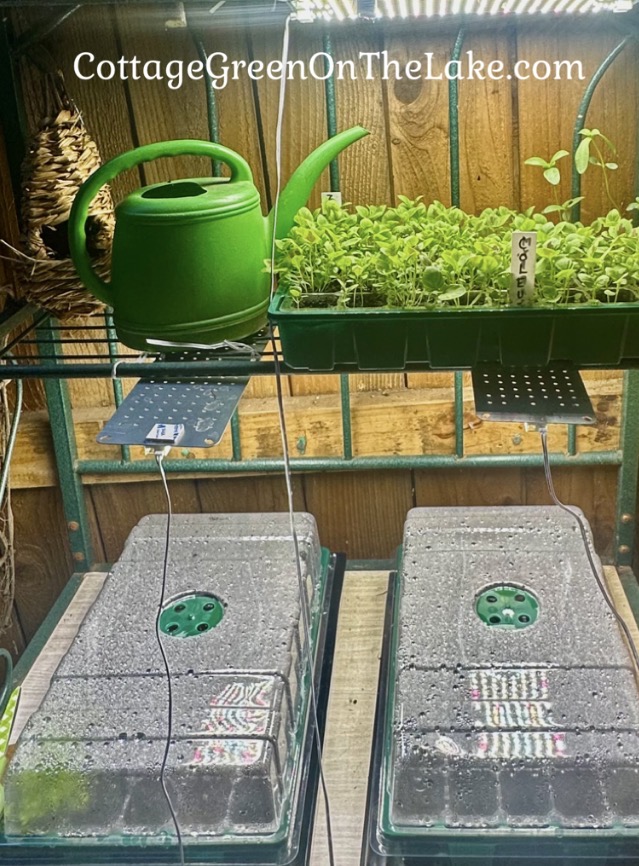
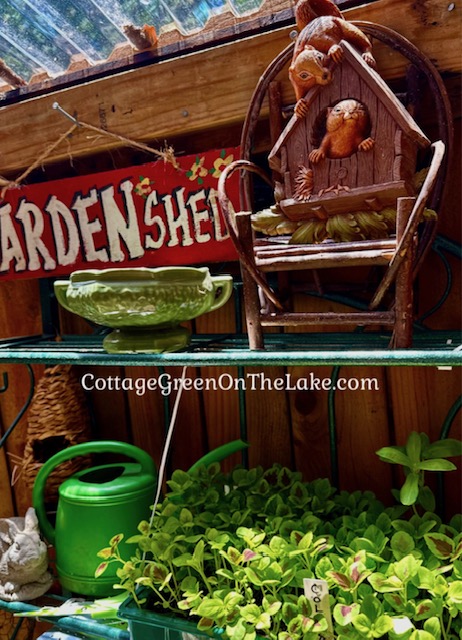
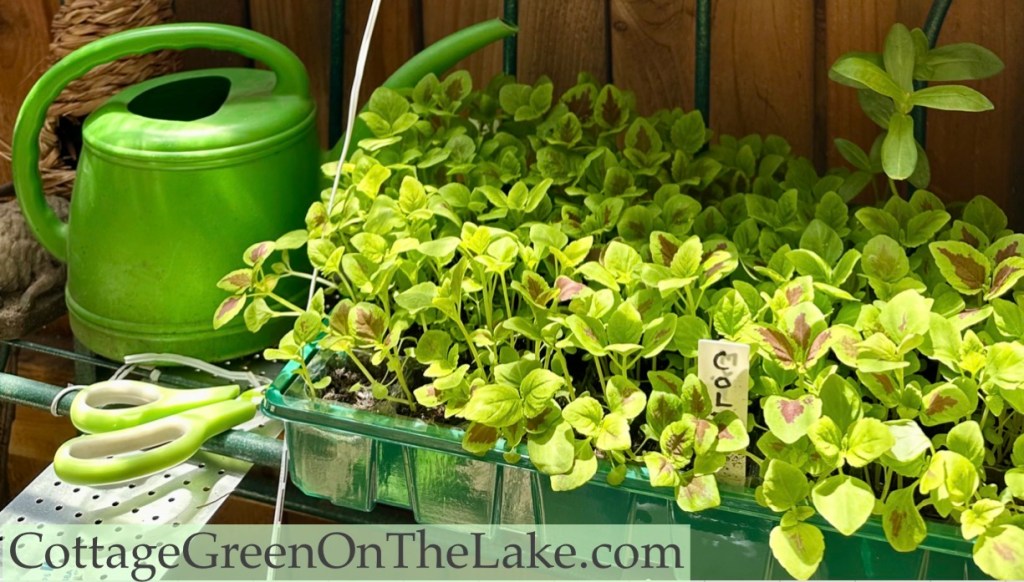
Zinnia seeds were the first to germinate and sprouted in only 3 days…and just a few days later, tiny “Rainbow Mix Coleus” began popping up in masses! Coleus seeds are so tiny, even though I tried my best to only put a few seeds in each cell, a literal forest of coleus sprang up later!
By the way…Did you know that 3 small containers of coleus, measuring 3.25 inches each, purchased from a garden center costs $26.98? I have over 45 containers of coleus, thriving in my greenhouse. The cost of those coleus, if I bought 45 containers in the store would be $404.70 !
I am always amazed how tiny the seeds are…and yet, from these tiny seeds, God makes beautiful plants flourish!
I also had some red Begonia seeds that I had gathered and stored for at least 3 years. Though I didn’t really expect them to germinate, I planted them anyway. Begonia seeds love snuggling in warm beds, so I put a heating mat underneath their tray to keeps their beds at a steady, toasty 70-75 degrees. However, after 5 weeks of coddling and coaxing them along (way past the 14-21 days needed to germinate) I was still disappointed when I only saw 3 little green Begonia shoots emerging.
“There are no gardening mistakes, only experiments.”
~ Janet Kilburn Phillips
My seedlings and I love the new LED heat grow lights Richard bought for me! They have timers and can be set for 4-8-12-16-or 20 hours and they turn on and off automatically. Once a seed has germinated, seedlings require a minimum of 12-18 hours of light per day to grow properly. If a seedling has poor lighting or does not have enough hours of light, they become leggy and develop poor root systems.
Three essential things needed for successful germination:
- light
- constant warmth
- even moisture…never let your seeds “dry out”
“God made rainy days so gardeners could get the housework done.” ~ Anonymous
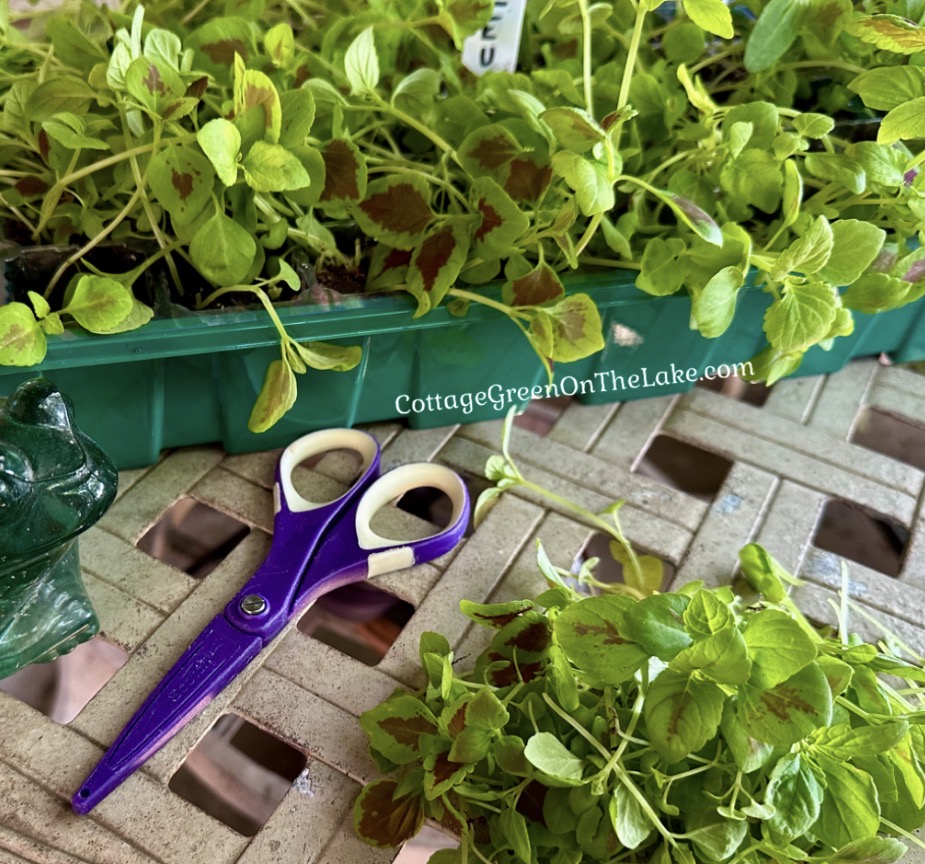
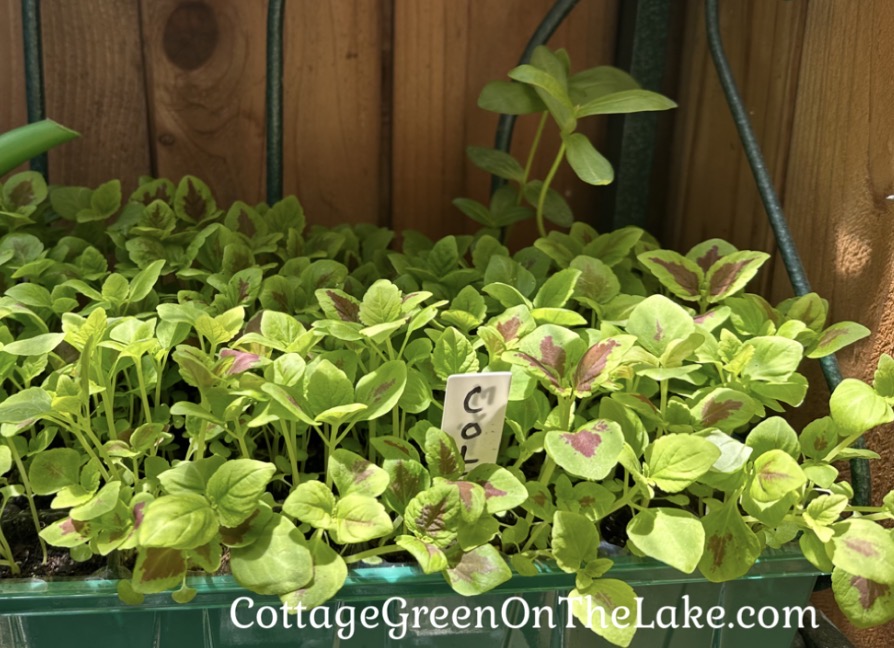
Thinning seedlings…Seedlings that are too close together compete with each other for nutrients, air, and moisture. It’s important to thin seedlings so the strongest plants have enough space to grow into healthy plants. Seedlings should be thinned when they have developed one or two sets of true leaves, usually when the plant is 2 – 3 inches tall. Here’s my first seed tray taken off the planting station, waiting to be thinned.
When thinning, be sure to use clean scissors and cut the smaller, weaker seedlings at the soil line. Try not to disturb the roots of the remaining plants! The thinning process is always a hard step for me. I feel terrible removing any of my plant babies that I had been nurturing so carefully.
After I finished thinning my seedlings, they were leaning over and looked a little woebegone after their “first haircut.” I placed all the seed trays back into the greenhouse and gave my plant babies a nice drink of water and a little spritz bath to perk them up. When I went to check on them the next morning, they looked much better and were standing upright, again. Look at my giant Zinnia’s in the back right corner of this seed tray!
When the seedlings get a little taller, I’ll begin placing them outside the greenhouse for “hardening.” Hardening is the gradual process of placing indoor grown plants, outside during the day to slowly acclimate the seedlings to the sunlight, wind, and varying temperature…versus the constant weather conditions and lighting they’ve grown accustomed to in the greenhouse. Each evening, during the hardening process, I’ll bring the seed trays back into the greenhouse and tuck them in for the night. In 7 – 14 days all my little seedlings should be ready to be planted outside in their new homes.
“Gardening requires lots of water – most of it in the form of perspiration.” ~ Lou Erickson
Don’t think it’s ever too late in the year to start planting seeds! Each season has its own particular flower and vegetable seeds that can be started and planted. Start Chrysanthemum and Aster seeds now for beautiful blooms in the Fall…plant pumpkin seeds at the end of June to mid-July for Halloween jack-o-lanterns……kale, cabbage, and spinach plants love cooler temperatures and can even withstand light freezes. Whatever you decide to plant, I hope these instructions will help you!
I’d love to hear what seeds you’ve planted this Spring and what thrives best for you! Let me know in the comments below!
From my cottage to yours ~ Trenda
I’m delighted you read my post today. PLEASE SUBSCRIBE…it’s FREE!
After you click to subscribe, just fill in your name and email address. After that, each new post I write will be delivered directly to your email address.
Discover more from Cottage Green on the Lake
Subscribe to get the latest posts sent to your email.


Love this ❤️. I have a problem thinning out the little plants. I want them all to grow and bloom. You’re going to have a lovely flower garden.
LikeLiked by 1 person
Lol…thinning my seedlings was the most difficult part for me, also!
I wanted to let them all grow, but I knew, “it was for the best” and good “parenting” requires doing what is sometimes difficult! 😄🪴🪴🪴
LikeLike