by Trenda
After all the shopping, decorating, cleaning, and cooking … I hope your Thanksgiving was everything you hoped it would be!
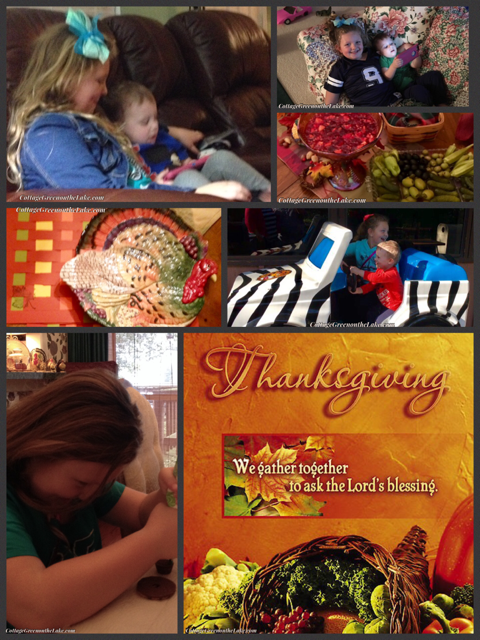
For us … it was a wonderful, blessed week of our family “gathering together” again. Days of mishaps and bruises … laughter and tears … “simmer’s” and smiles … indulgences and exceptions … understanding and camaraderie – all experienced with the blessed assurance that the emotions and remembrances shared were sheltered under the wonderful umbrella of Love … the halcyon days of our family!

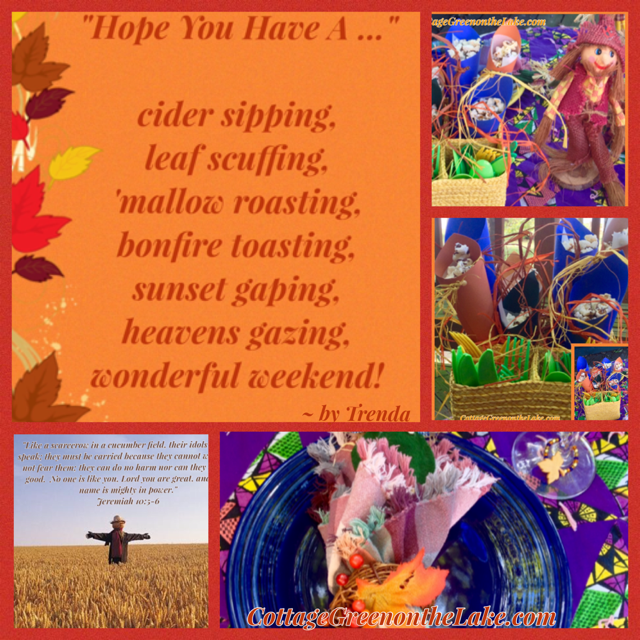
Beautiful autumn days …

Park days & pizza …

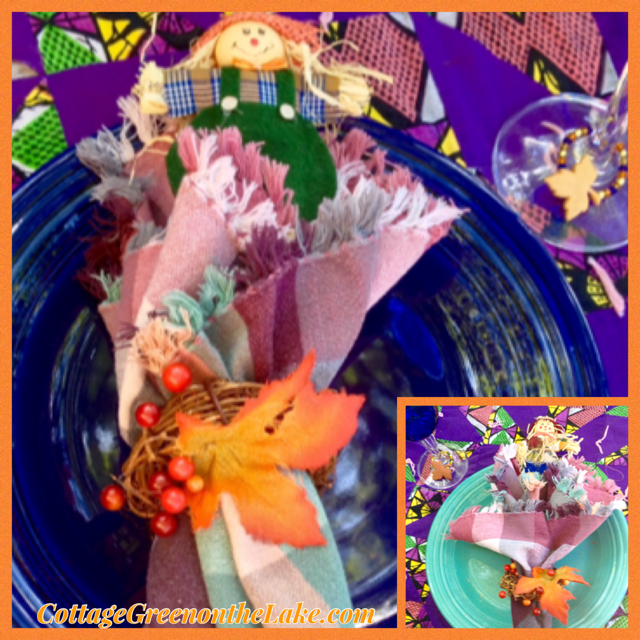
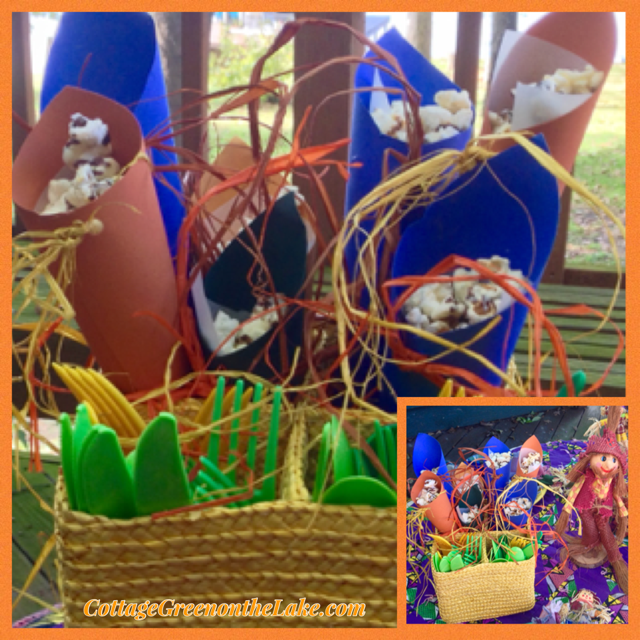
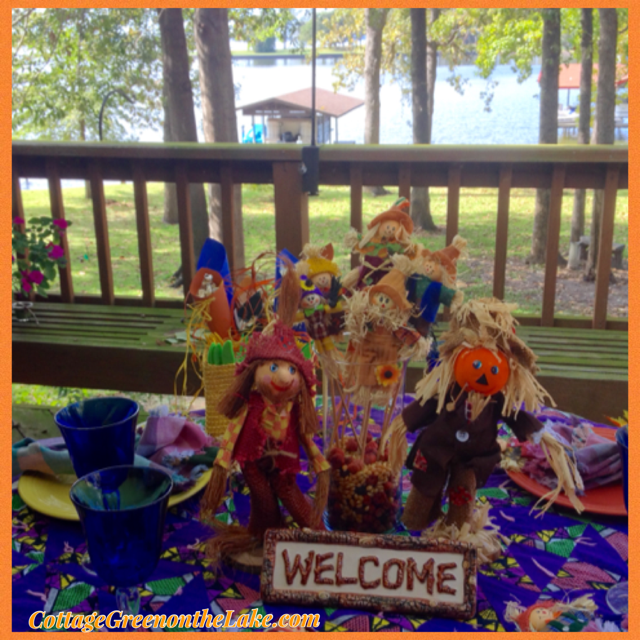
crafts with Grandma …

A day at the zoo!

Feasting and football …

golf cart rides … grandkid-time … and late night snuggles!

and during it all … I was Thanks-giving! (:
““““““““““““““““““““““““““““““““““““““““““““““
Next … (: I know you’re going to love this recipe I’ve included below! It is one of my family’s favorite side dishes … Apple-Cranberry Salad and it is delicious, beautifully showy, and it is so easy to make! I found this recipe years ago in the Gooseberry Patch Cookbook “Taste of Autumn” which was submitted by Carla Hyde from Fletcher, North Carolina.
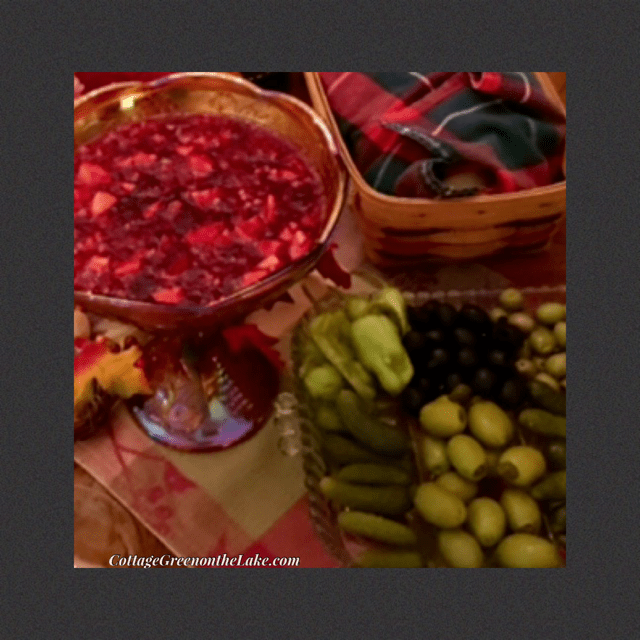
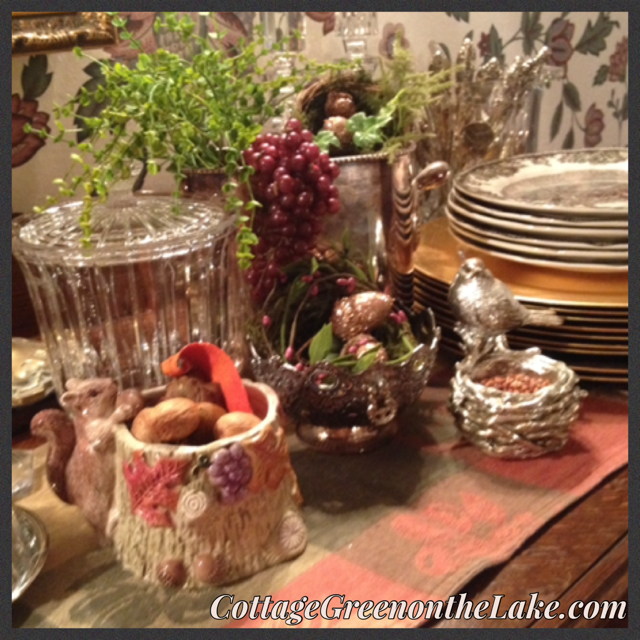
I’m always collecting vintage dishes and planters and I love using them in unexpected ways in my home and on the table. This ruby colored salad is always the “crown jewel” setting on the table, but I think it looks especially beautiful in this petite Carnival Glass Punch Bowl that I was thrilled to find in an antique store, complete with 5 darling punch cups!
Apple-Cranberry Salad
- 6-oz. pkg. of red colored gelatin (I use cherry)
- 1 cup boiling water
- 16-oz. can whole cranberry sauce
- 16-oz. can crushed pineapple
- 1 red apple, cored and diced
- 1/4 cup chopped nuts (I use pecans and add more to taste!)
- 1/4 cup golden raisins (I omit these)
Dissolve gelatin in boiling water. Add cranberry sauce and stir until berries are separated. Add remaining ingredients; chill until set. Makes 12 servings.

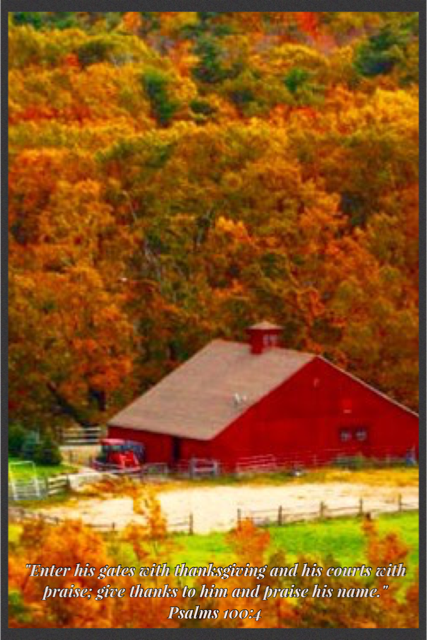
What a blessing it was to be “gathered together” once again …. “to ask the Lord’s blessing; He chastens and hastens His will to make known; The wicked oppressing now cease from distressing; Sing praises to His Name, He forgets not His own.” ~ Adrianus Valerius, 1597

From my cottage to yours ~ Trenda
I am delighted that you read my blog, today. I’d love to hear from you! Please leave any questions or comments you have, below.


 by Trenda


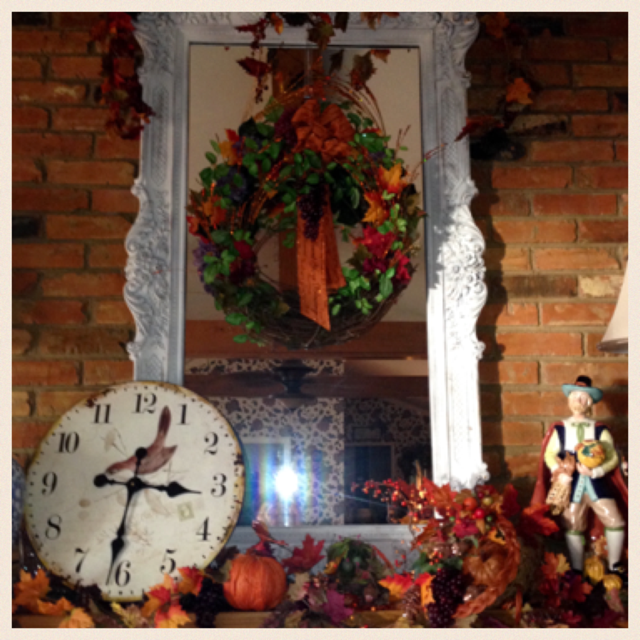
 Our “Beau” Pilgrim (I told you we like to name things around here!) made by Fitz and Floyd resides over the Mantle Harvest and has his own thanksgiving offerings … some maize and a pumpkin, in his hands.
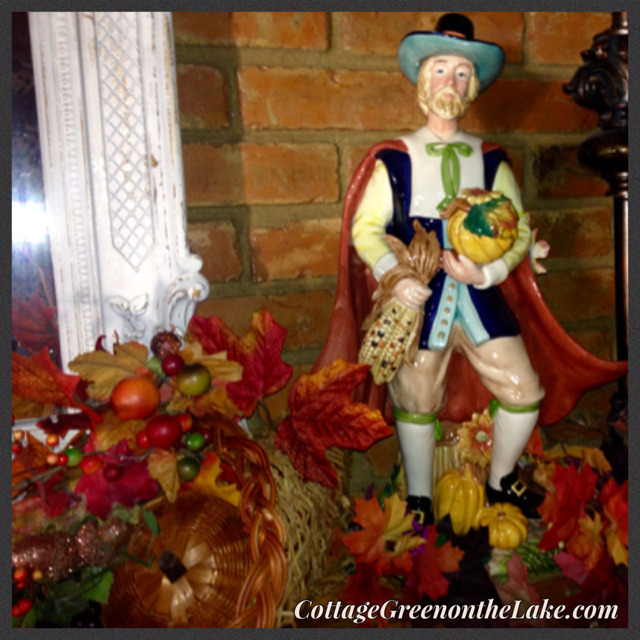


 .
.


 You honor Veteran’s Day remembering … “The price of freedom, isn’t free.”


 For us … yesterday was a carefully orchestrated frenzy of driving to different places in 4 different cities and spending time with all of our family. Adding to the enjoyment of all our Halloween activities, it was also Grandparent Day at our granddaughter’s school! (: We were finally able to relax a while when our son, daughter-in-law and little grandson came over, that evening, and we all sat down together for our traditional Halloween family dinner, getting ready and “fueled” for the rest of the evening’s activities.


![PicCollage[608].png](https://cottagegreenonthelake.com/wp-content/uploads/2016/10/piccollage608.png?w=840)


![PicCollage[614].png](https://cottagegreenonthelake.com/wp-content/uploads/2016/10/piccollage614.png?w=840)
![PicCollage[618].png](https://cottagegreenonthelake.com/wp-content/uploads/2016/10/piccollage618.png?w=840)
![PicCollage[620].png](https://cottagegreenonthelake.com/wp-content/uploads/2016/10/piccollage620.png?w=840)


![PicCollage[577].png](https://cottagegreenonthelake.com/wp-content/uploads/2016/10/piccollage577.png?w=840)

![PicCollage[570].png](https://cottagegreenonthelake.com/wp-content/uploads/2016/10/piccollage570.png?w=840)

![PicCollage[586].png](https://cottagegreenonthelake.com/wp-content/uploads/2016/10/piccollage586.png?w=840)

