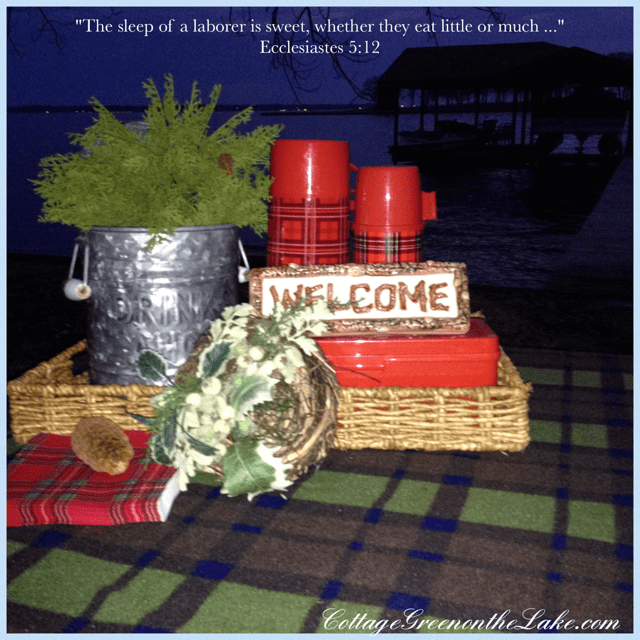
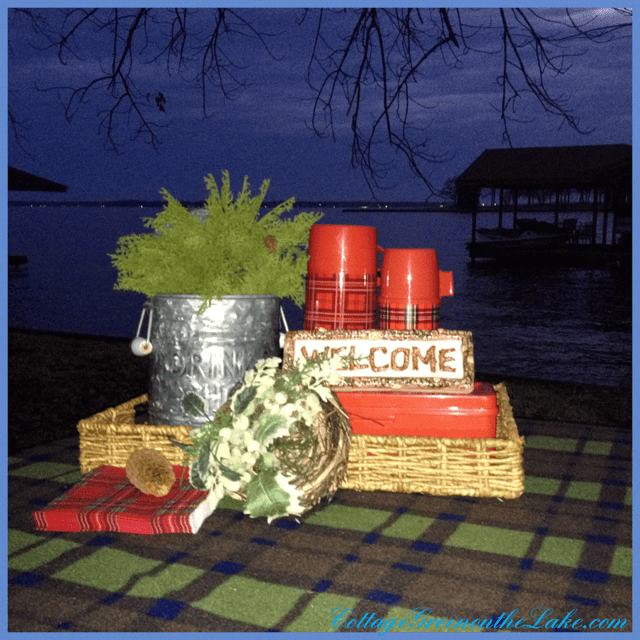
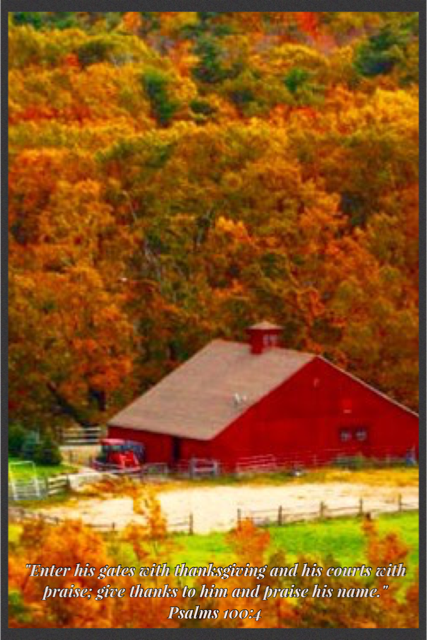
“… the gentle caress of autumn steals the sultry heat of summer …” author unknown
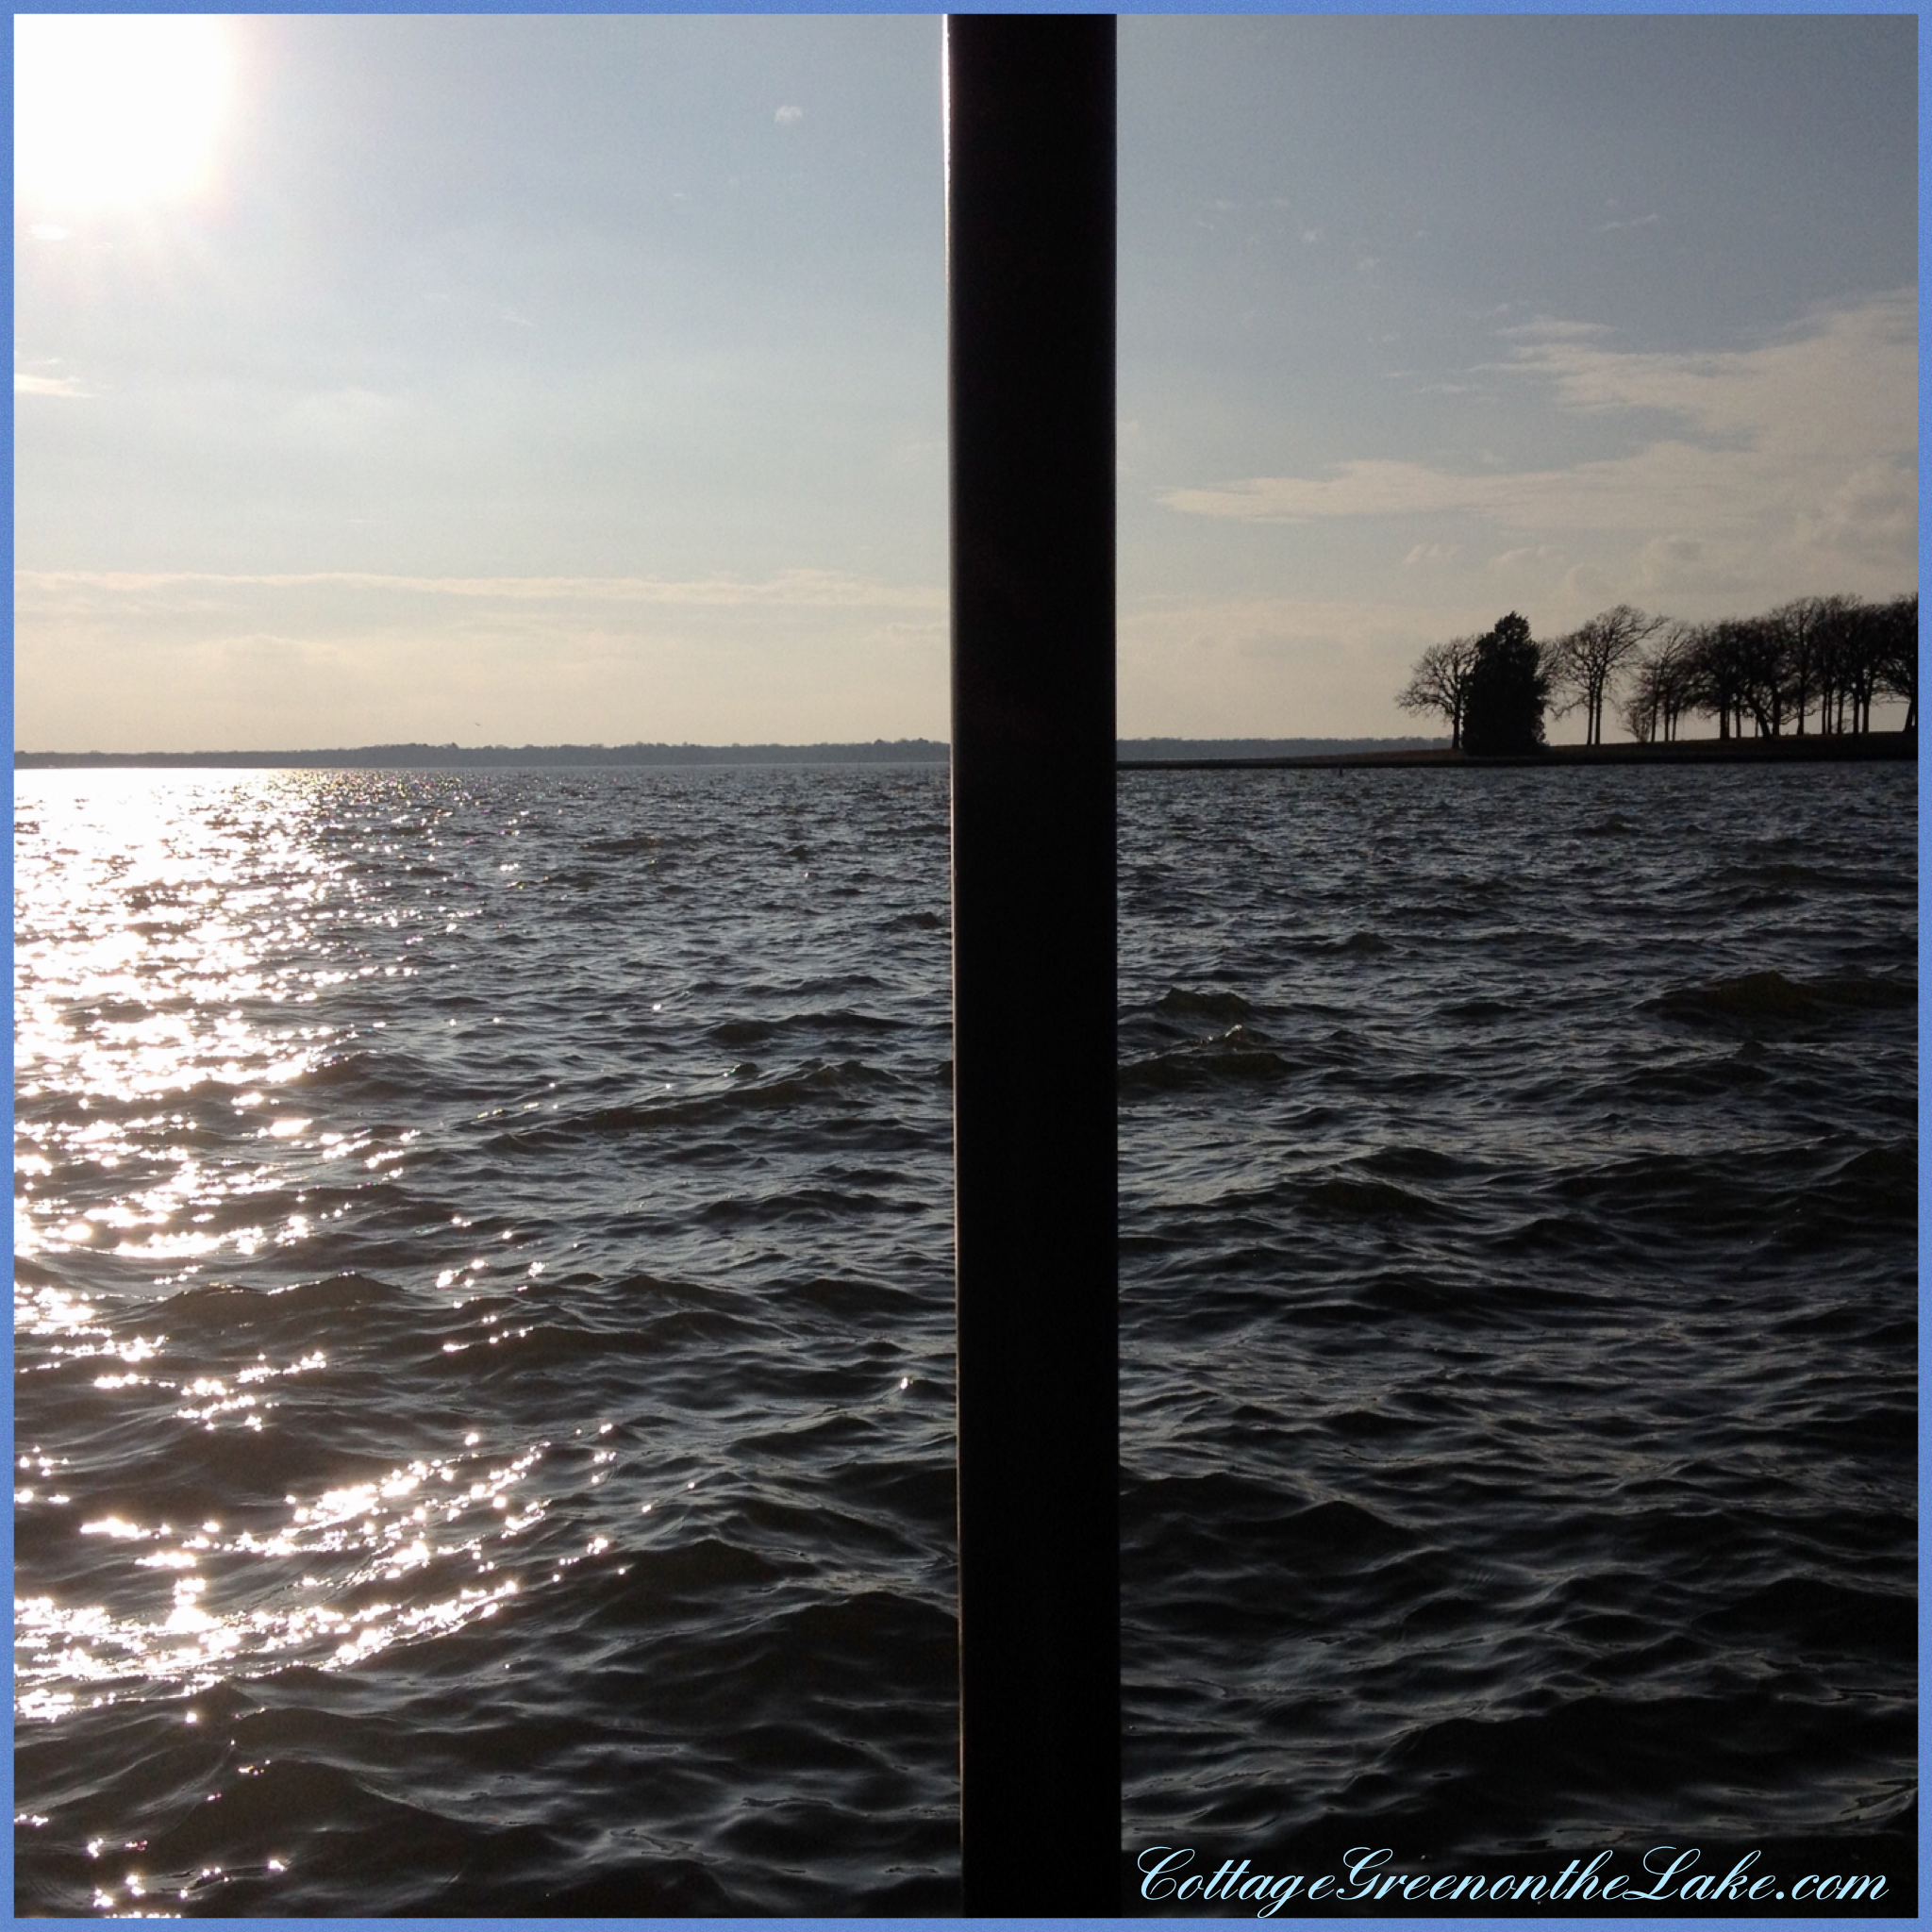
Autumn comes gently in the South with the days slowly becoming cooler and just the tips of burnished leaves can be seen shining in the golden sunlight.

Our Beauty Berry Bush is laden with brightly colored berries in a gorgeous shade of purple … autumn delicacies for our “feathered friends.”

A little birdhouse tucked among the leaves and blooms of an Encore Azalea that is putting on it’s “final act” with brilliant autumn blooms. A flying squirrel, while house-hunting, decided this little house was going to be his new home with it’s green roof, lichen covered walls, and view of the lake. Without waiting for “a showing” he gained entry by nibbling his way into the opening and took up residency! (;

The sunlight in autumn highlights the green of the grass and leaves against the azure blue lake and sky.

Lantana with harvest gold and red blossoms, red periwinkles, and Marguerite (ornamental sweet potato vine) “glow” in the autumn light.

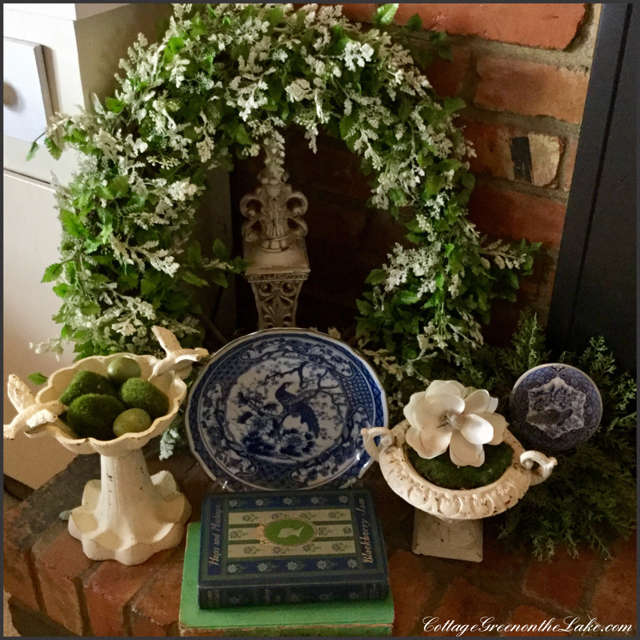
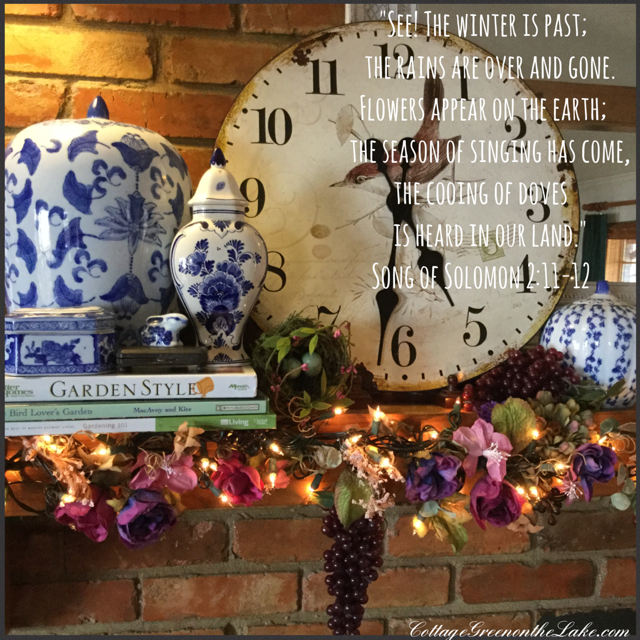
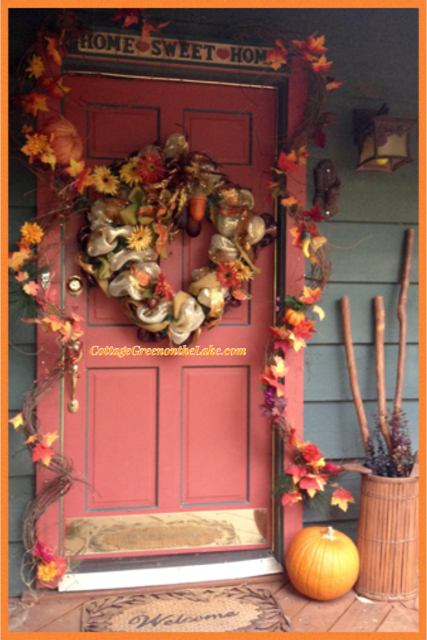
“The gentle caress of autumn” can also be seen inside our cottage as I add some touches of the season.
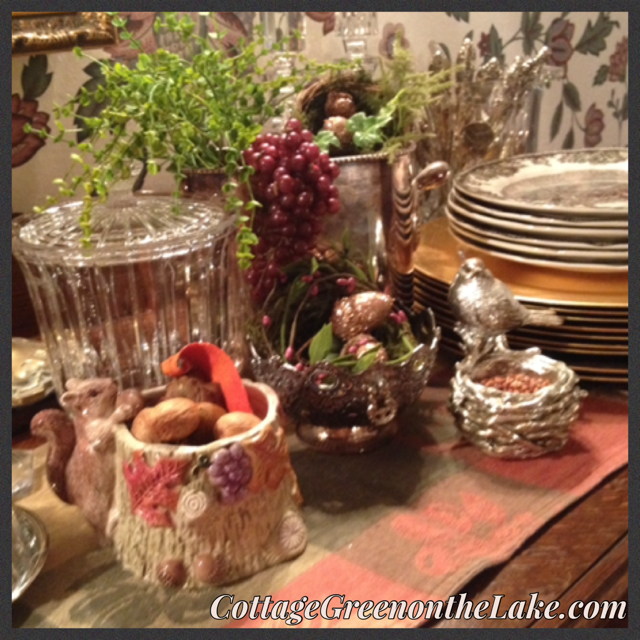
Copper glittered ACORNS rest on golden leaves …

Are tucked into moss-lined nests …

… dangle from a display stand and top a Fitz & Floyd “trinket box.”

An array of soaps in scents of pumpkin “and spice and everything nice.”

Glossy pumpkins perch on chunky urns …

And contrast strikingly with blue and white Ginger jars …

And in the kitchen … a Swarovski crystal squirrel “gathers” provisions! (:

I love adding whimsical touches and reminders of the season to our home … and for all of us, this is just the beginning of all things pumpkin and harvest to come! Have fun using your imagination and “putting some autumn jewelry” on your house!
![PicCollage[8584].png](https://cottagegreenonthelake.com/wp-content/uploads/2017/09/piccollage8584.png?w=600&h=600)
From my cottage to yours ~ Trenda

Thank you so much for reading my blog today! This week I’m joining:
Courtney with Feathered Nest Friday


 Down the staircase is a favorite picture … “The Lord is my Shepherd” and a metal vase filled with fragrant eucalyptus and peacock feathers.
 A little alcove under the hall tree … another perfect nesting spot!
 “Bird watching” (; … this vertigo green bird blends beautifully with the green shades of this collection of antique dishes from England.
 Antique dishes on the lower deck … “The Old Curiosity Shop” by Currier and Ives.
 A nest entwined with spring buds and new leaves is perched on a miniature bird bath filled with millet.
 Little birds stand guard on a cake plate watching over two sweet eggs nestled on a bed of moss. A mercury glass bird and a fairy tale toadstool look charming together, sheltered under the glass canopy.
 A silver bird perches on the edge of his nest … the perfect cache for a little treat of birdseed! (; The color of the millet matches the hues in the painting above and the in-laid wood of the tea cart.
 A beautiful azalea from our own front yard almost “glows” in an antique bird planter. Under a “twiggy” lamp with a little wire nest ensconced in it’s branches, a cloche covers a pair of sweet owls and a moss-lined nest filled with speckled eggs.
 The dusty red blossomed “trumpets” of Crossvine cover our fence and are climbing over an antique variety of Boxwood growing nearby. The buzzing bumblebees and bright blossoms seem to proclaim …


 “Love is patient, love is kind …”


 Later, as I drifted off to sleep, the last lines of Henry Wadsworth Longfellow’s poem, “Under A Spreading Chestnut Tree” came to mind.


 Presuming it will freeze tonight, I gazed a little sadly at our still blooming Encore azaleas, roses, begonias, impatiens, coleus, and ferns. However, Richard (forever surprising me) brought in one last winter rosebud he found blooming in our yard, put it in an antique vase that belonged to my grandmother, and set it on my vanity, where I happily discovered “it” after I showered! (imagine a picture of a heart, here!)
 Getting ready for “winter-on-the-lake” comes with a long to-do list … filling bird feeders, decorating the outside of the house with Christmas decorations, putting the potted begonias and impatiens away in their winter residence -our cedar greenhouse (: and last, covering the boat and draining our sprinkler system (which our son came over and helped his father with. PLUS … he also helped his father with our latest DIY project, the remodeling of our upstairs bathroom (pictures upon completion!)


 Look at these darling, tiny, sterling silver, salt cellar spoons! I love using these “fairy spoons” and it feels so elegant adding salt in this old-fashioned and queenly way!
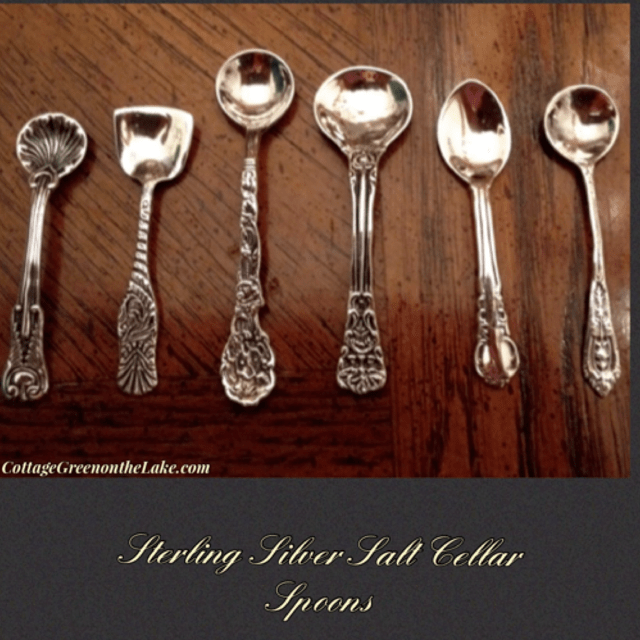


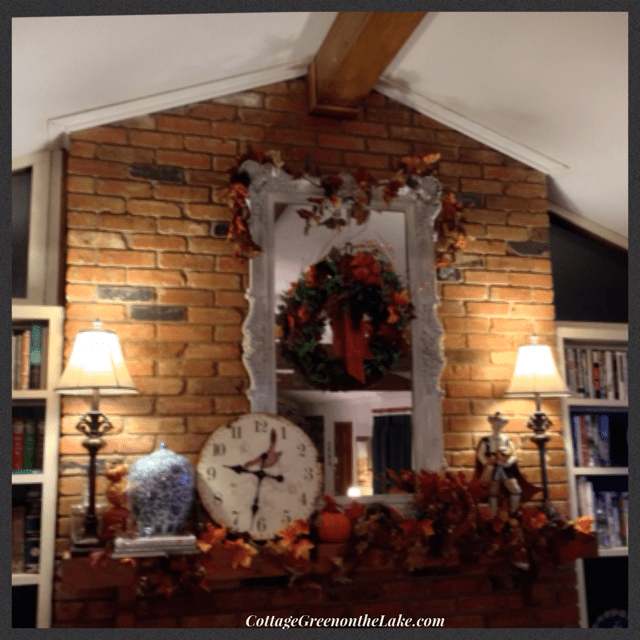
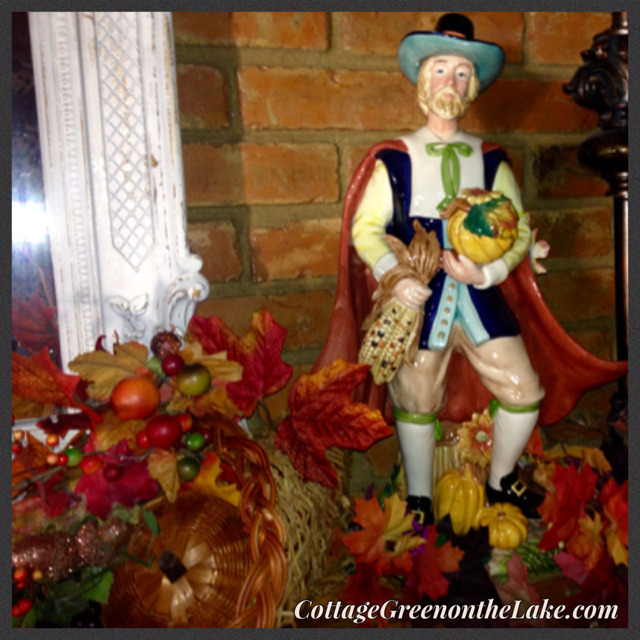
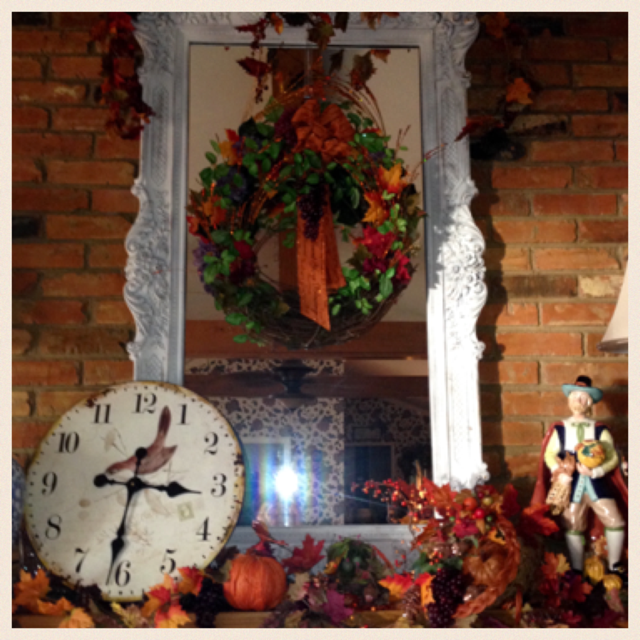
 Our “Beau” Pilgrim (I told you we like to name things around here!) made by Fitz and Floyd resides over the Mantle Harvest and has his own thanksgiving offerings … some maize and a pumpkin, in his hands.