by Trenda
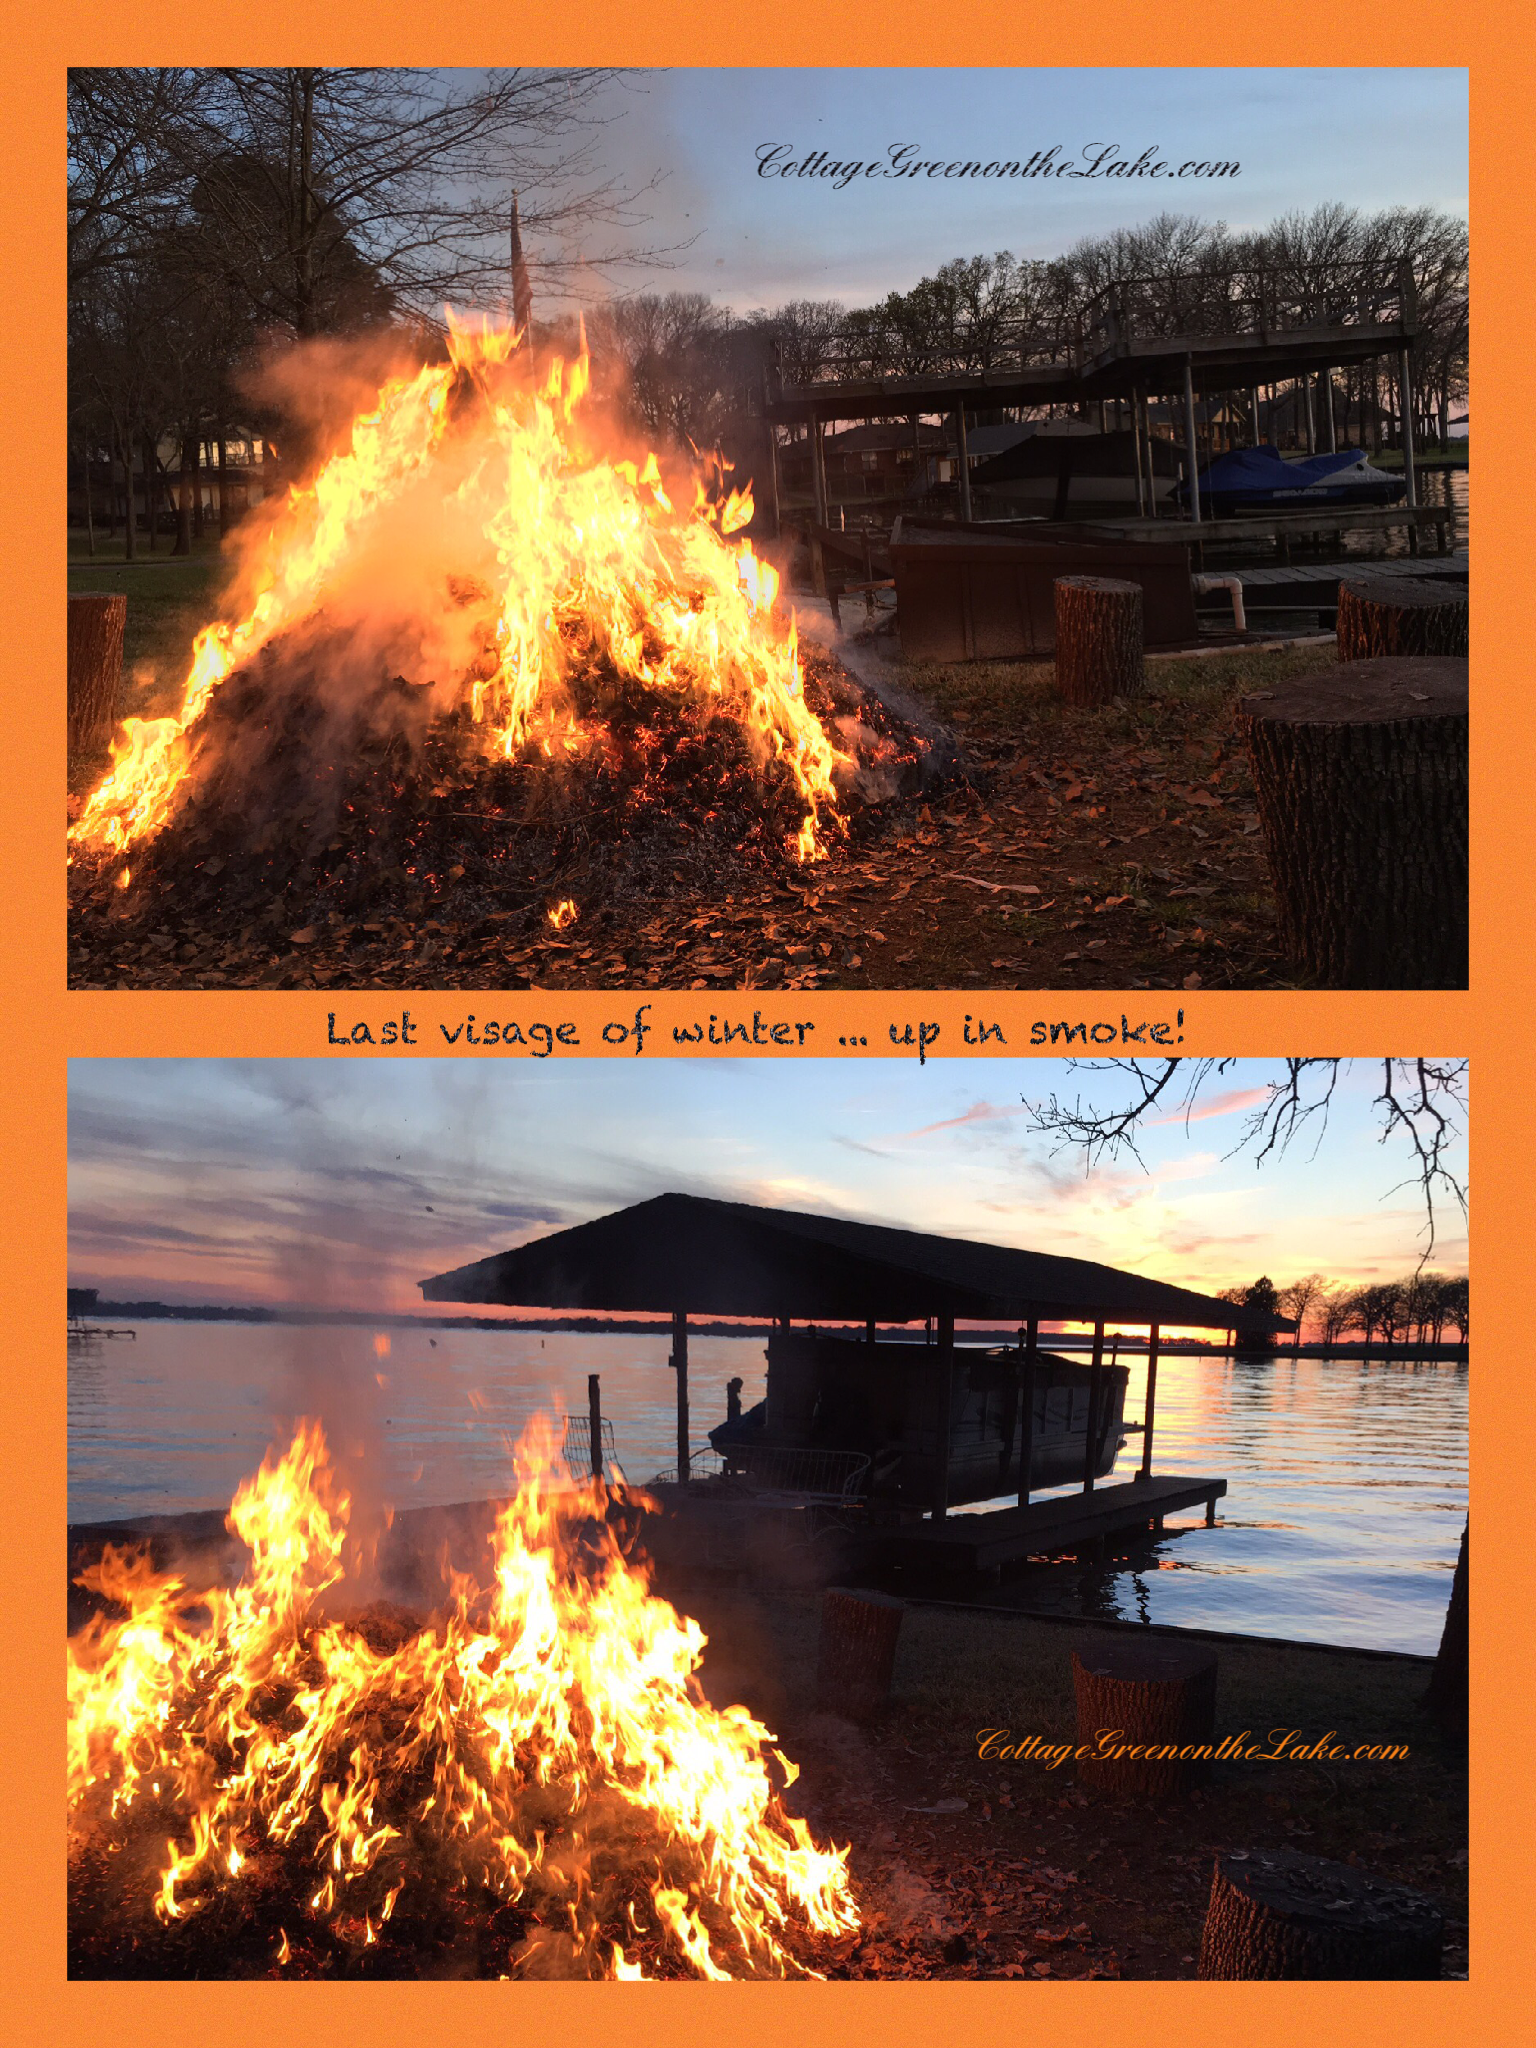
For the last two weeks we have been cleaning out landscape beds, training wandering Wisteria along trellises … and raking, raking, raking! With our beautiful shade trees, there are a LOT of leaves! (: This mountain of leaves is just one our many heaps we burned from the gigantic pile of leaves Richard raked up! With all the debris we cleaned up, it’s hard to believe this is just the “remnants” or leftovers, after all our autumn raking! After our day of work, we sat in the twilight and enjoyed watching the last embers glowing … gazing as the last visage of our winter went up in smoke!
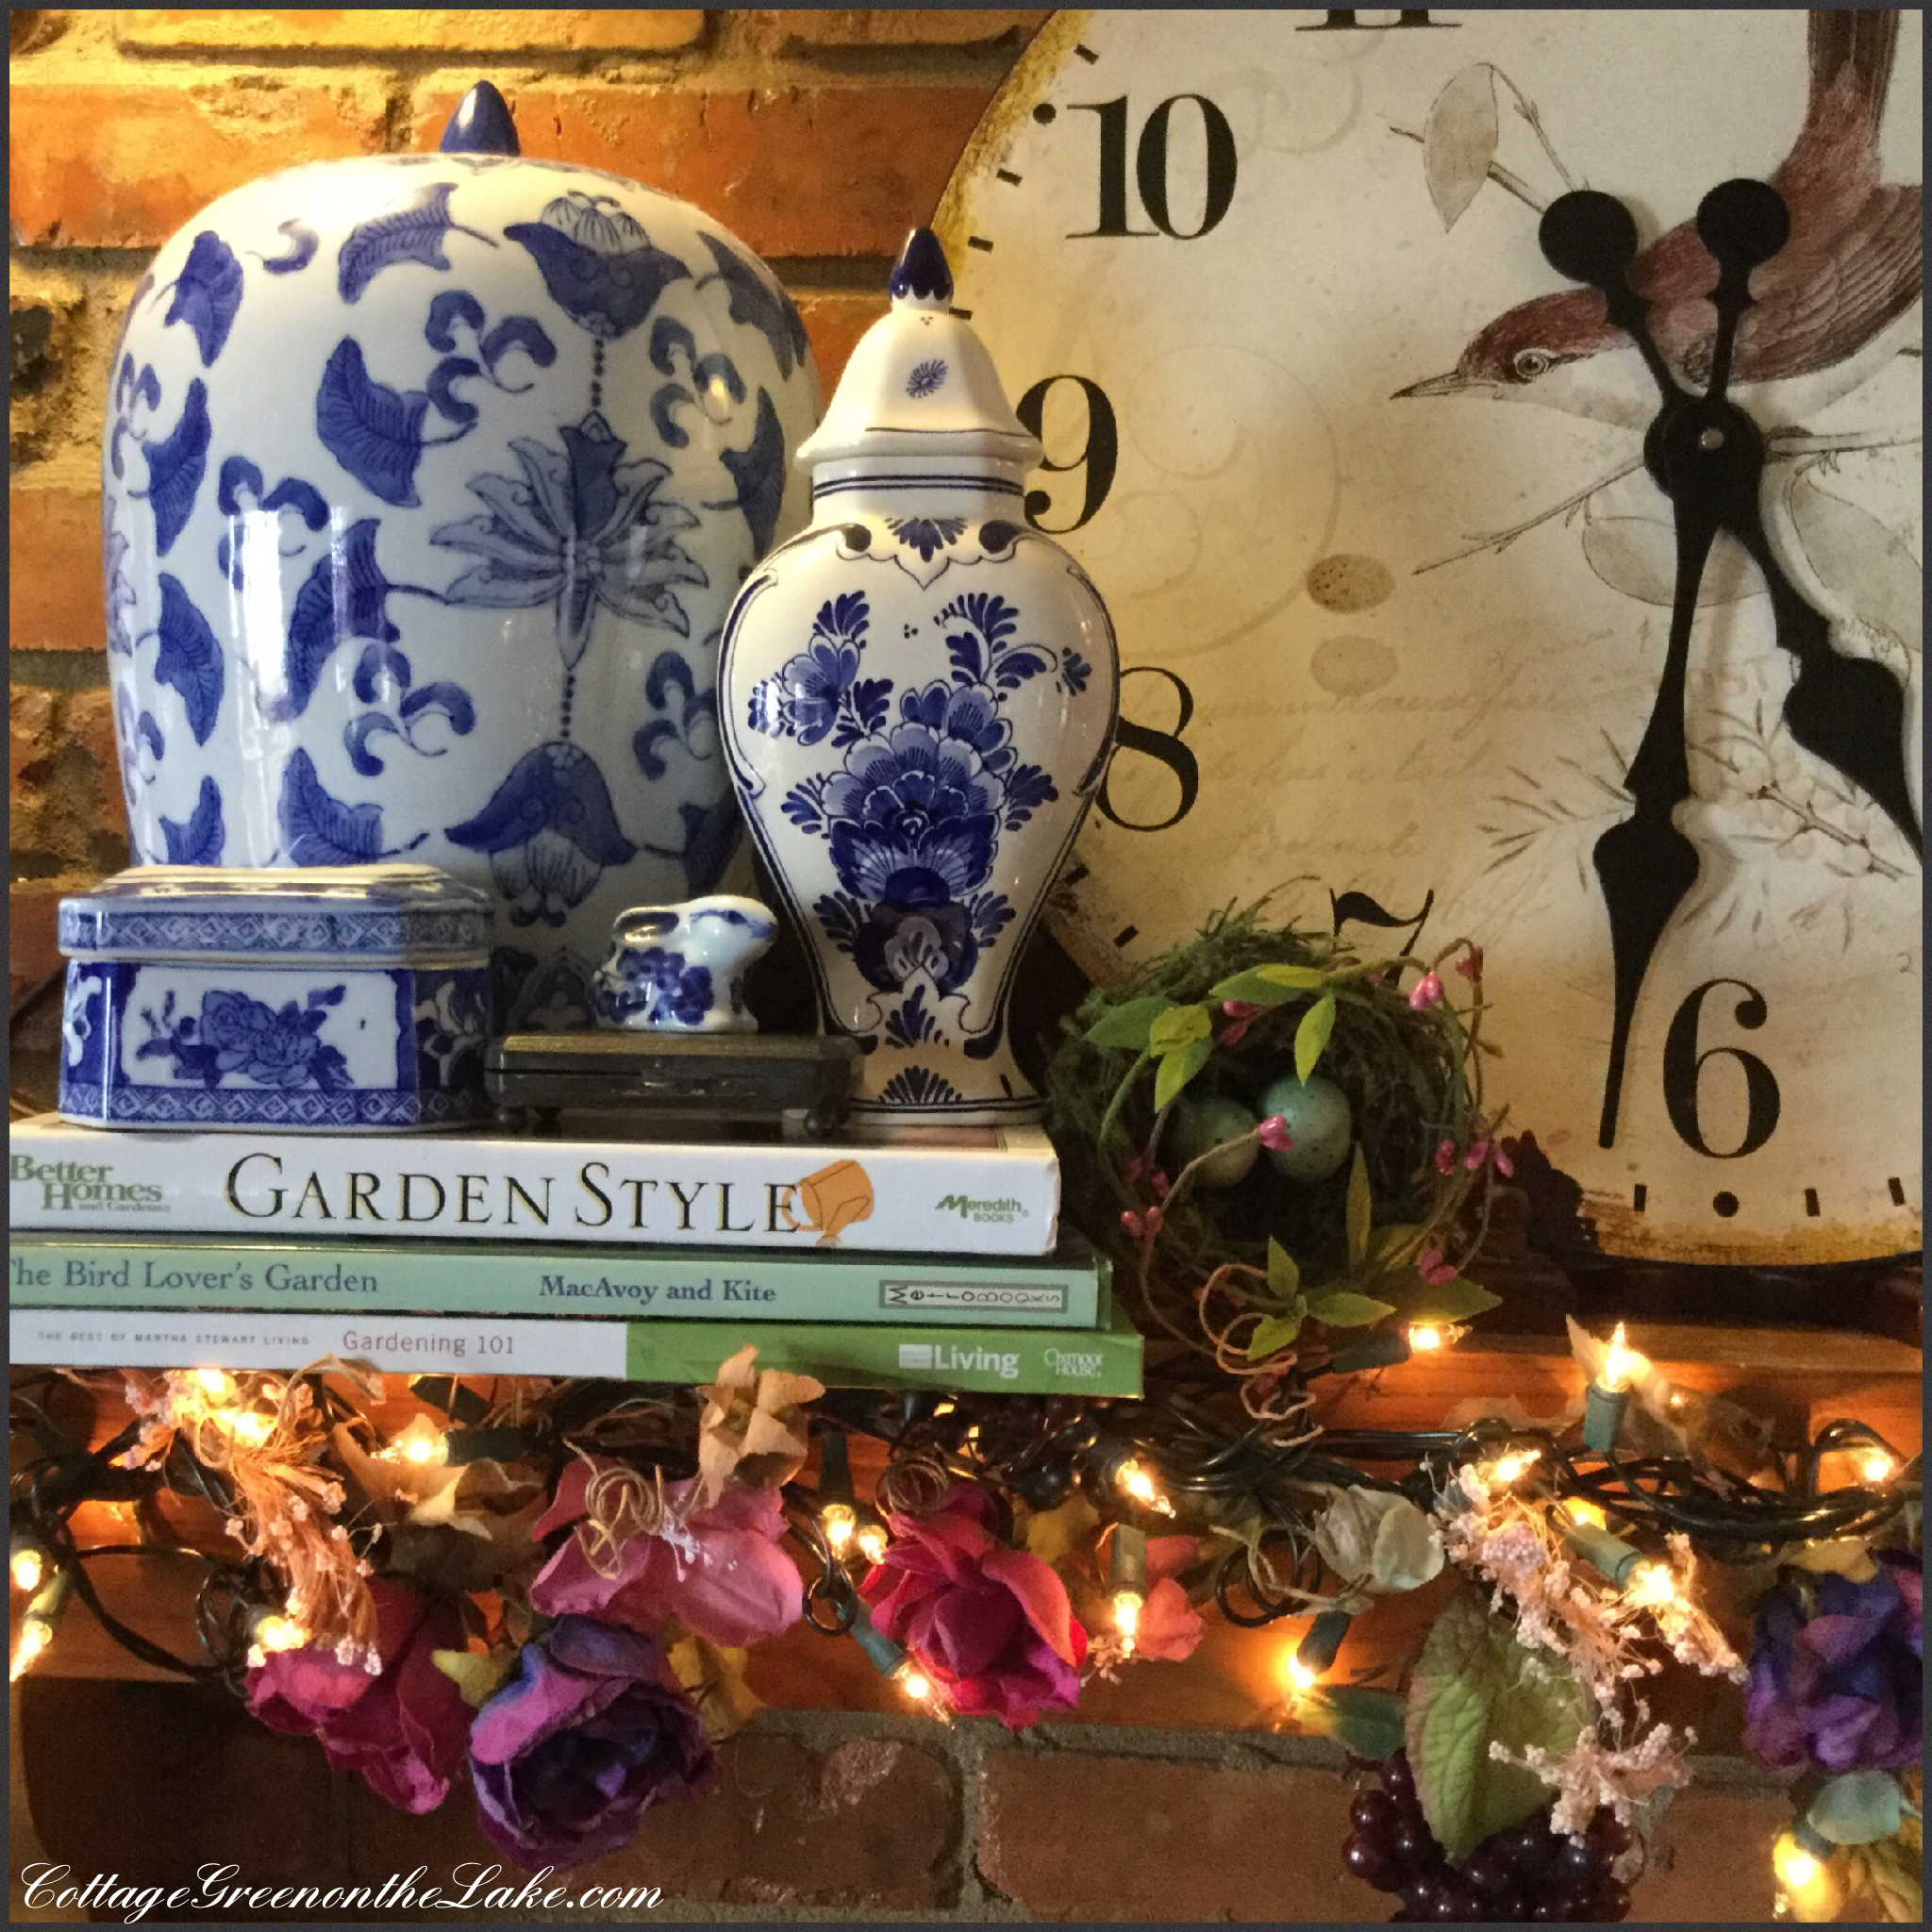
Inside the cottage … spring cleaning and decorating continues. (: I love this time of year and bring out my collections of birds and little nests filled with eggs. You can find them perching in unexpected places, peeking out of nooks and crannies, and on tabletop vignette’s.
A Saucer Magnolia swag drapes over the hall tree …

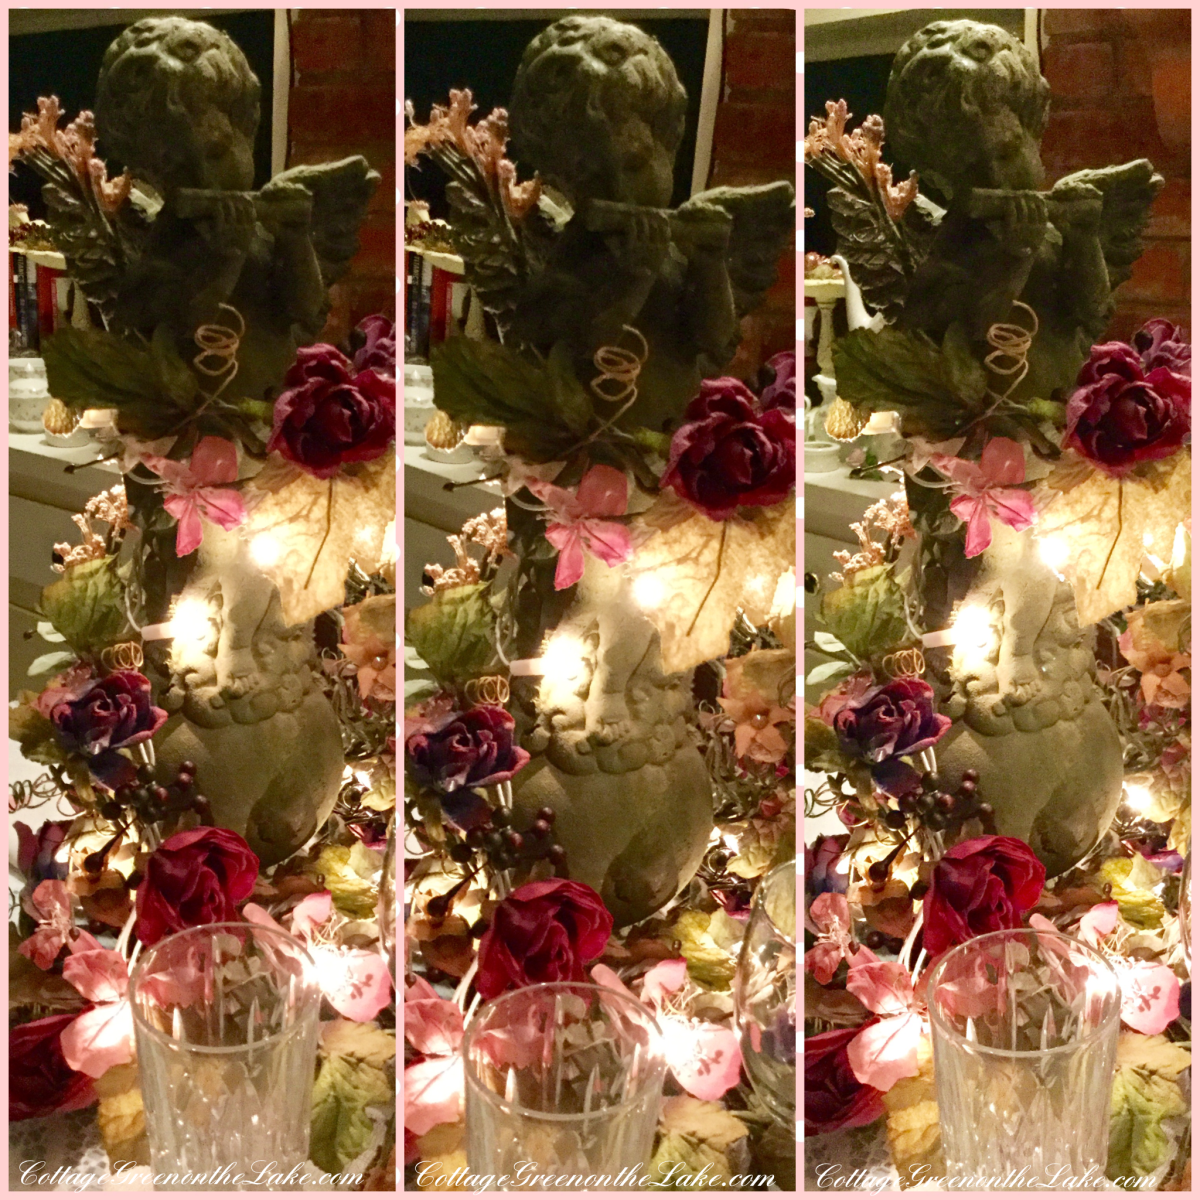
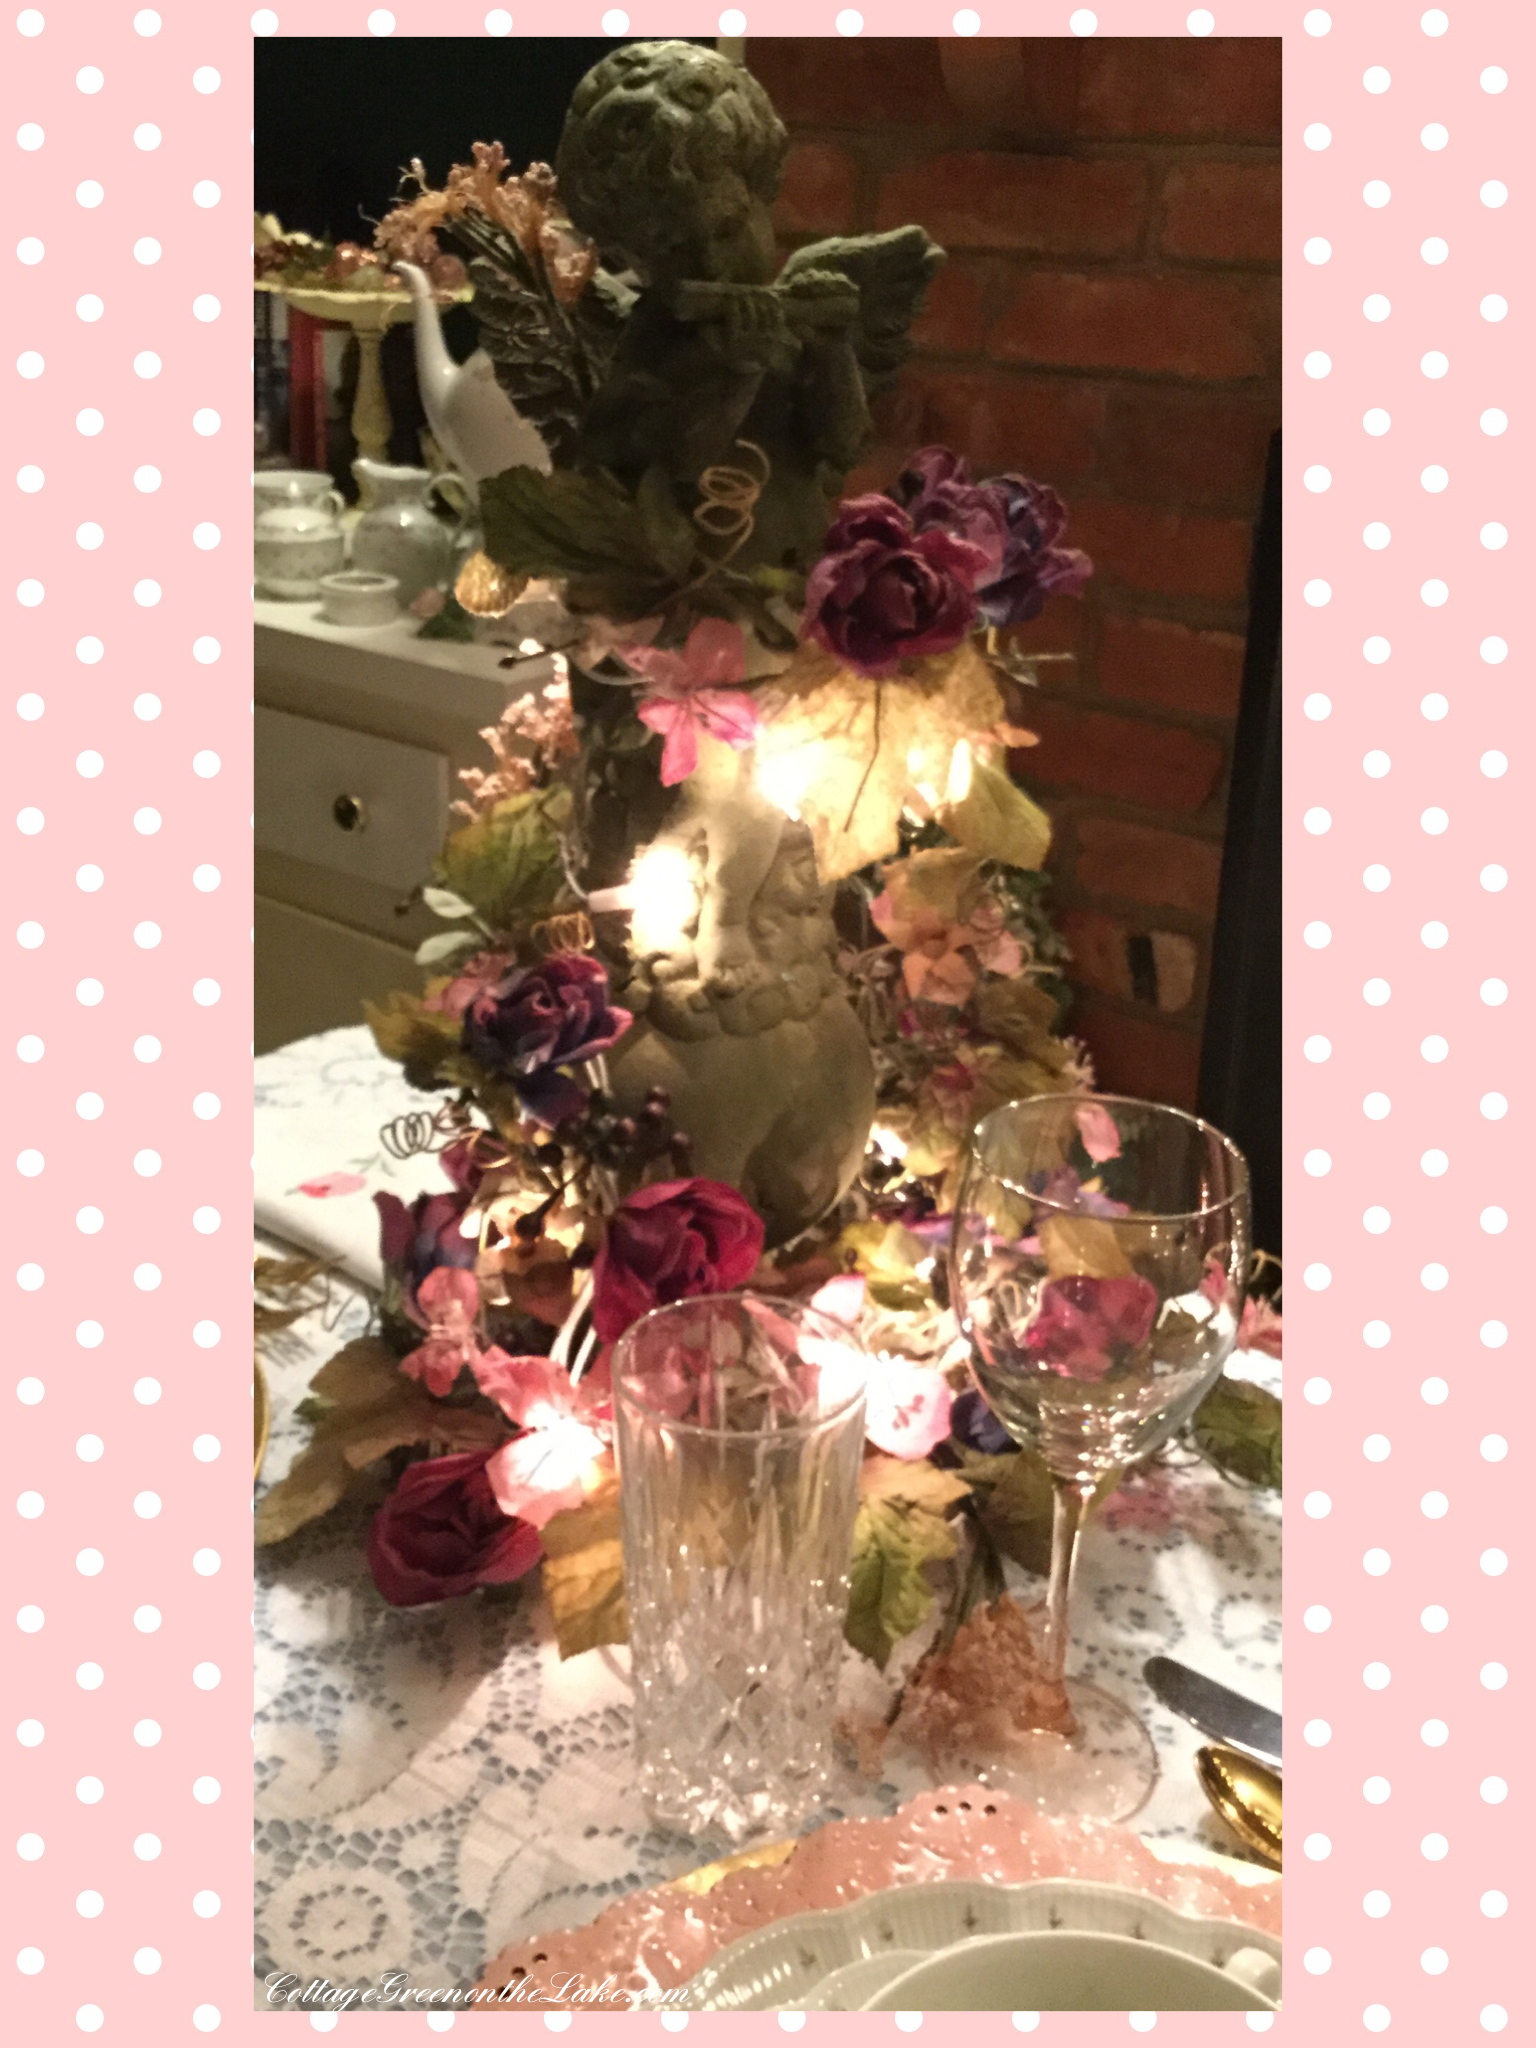
A little nest nestles at the base of this Angel garden statuary …
 Down the staircase is a favorite picture … “The Lord is my Shepherd” and a metal vase filled with fragrant eucalyptus and peacock feathers.
 A little alcove under the hall tree … another perfect nesting spot!
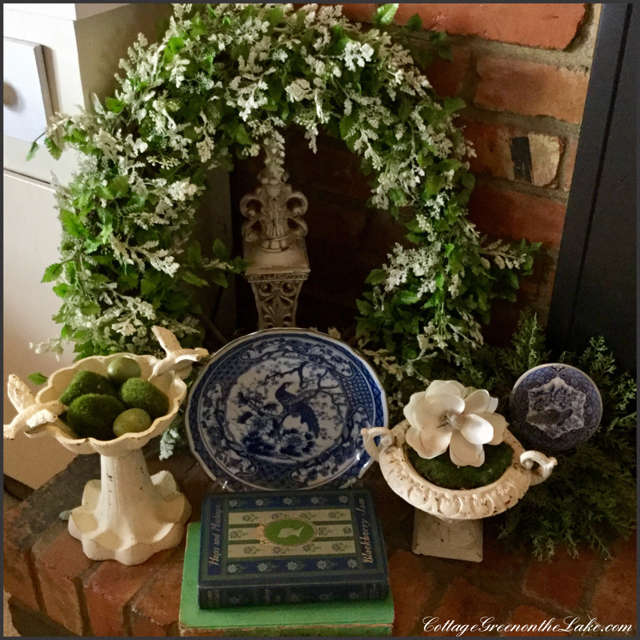
 “Bird watching” (; … this vertigo green bird blends beautifully with the green shades of this collection of antique dishes from England.
 Antique dishes on the lower deck … “The Old Curiosity Shop” by Currier and Ives.
 A nest entwined with spring buds and new leaves is perched on a miniature bird bath filled with millet.
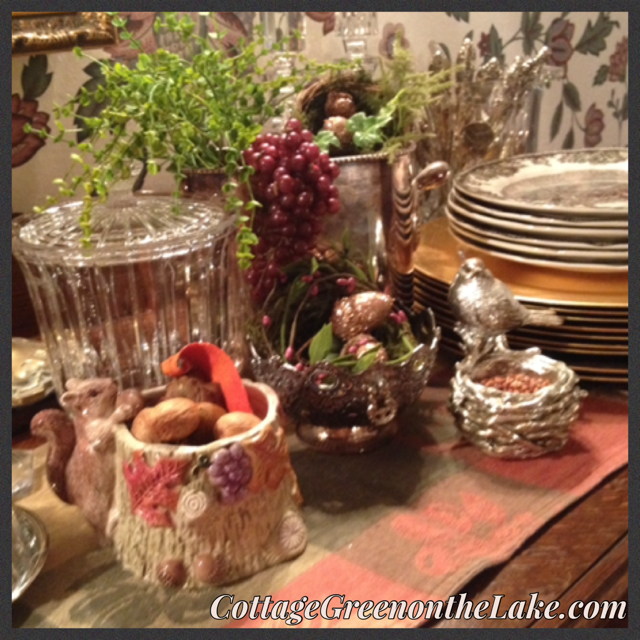
 Little birds stand guard on a cake plate watching over two sweet eggs nestled on a bed of moss. A mercury glass bird and a fairy tale toadstool look charming together, sheltered under the glass canopy.

A blown glass cloche with a bird “finial” covers a little nest holding a glittered acorn.
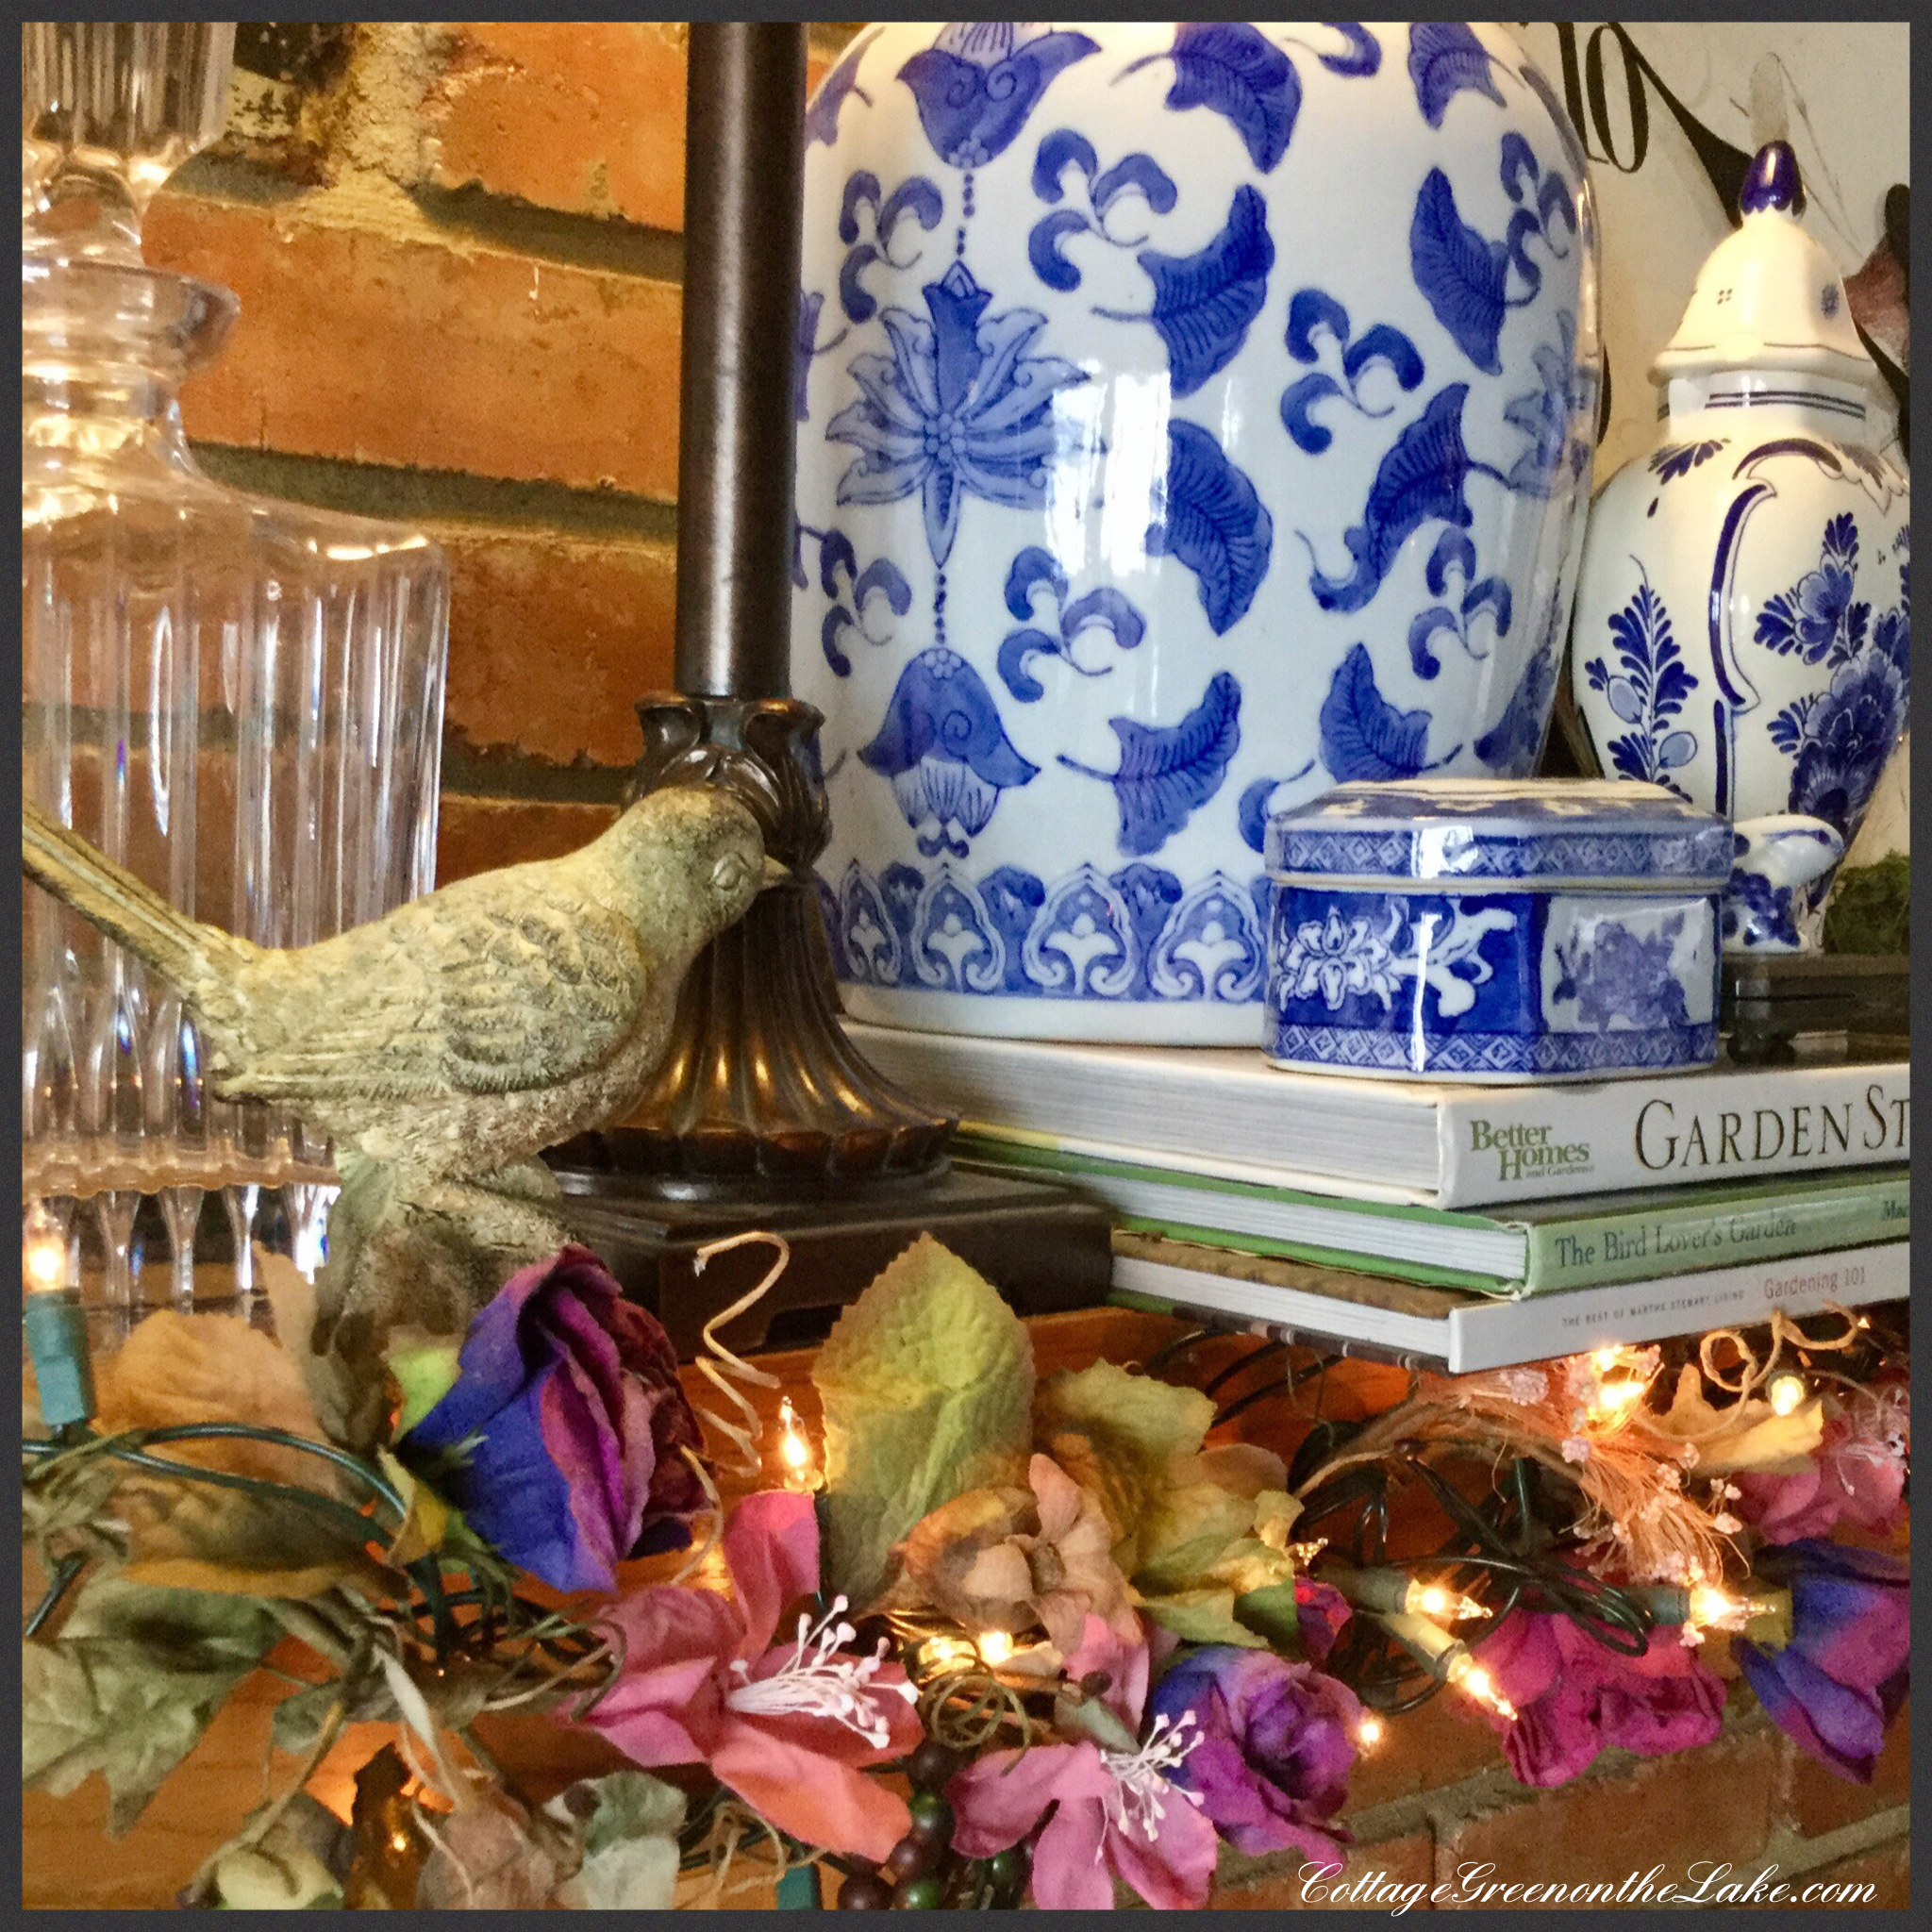
 A silver bird perches on the edge of his nest … the perfect cache for a little treat of birdseed! (; The color of the millet matches the hues in the painting above and the in-laid wood of the tea cart.
 A beautiful azalea from our own front yard almost “glows” in an antique bird planter. Under a “twiggy” lamp with a little wire nest ensconced in it’s branches, a cloche covers a pair of sweet owls and a moss-lined nest filled with speckled eggs.
 The dusty red blossomed “trumpets” of Crossvine cover our fence and are climbing over an antique variety of Boxwood growing nearby. The buzzing bumblebees and bright blossoms seem to proclaim …
“WELCOME SPRING…!”

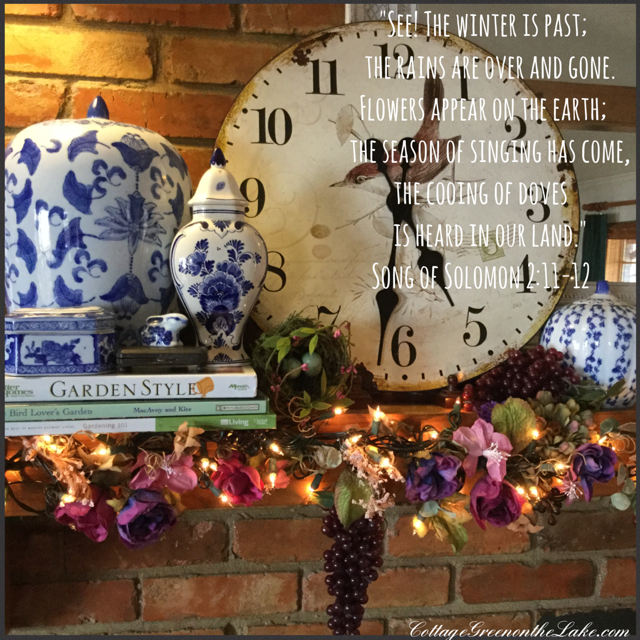
“FLOWERS APPEAR ON THE EARTH: THE SEASON OF SINGING HAS COME. THE COOING OF DOVES IS HEARD IN OUR LAND. THE FIG TREE FORMS ITS EARLY FRUIT; THE BLOSSOMING VINES SPREAD THEIR FRAGRANCE.” SONG OF SOLOMON 2:12-13

From my cottage to yours ~ Trenda

Thank you for spending some time with me today! Please click on the box marked FOLLOW in my blog above to have each new post delivered directly to your e-mail address. I’m joining Chloe Crabtree with Celebrate & Decorate (click here) and Lynn from The Vintage Nest (click here) for other great decorating ideas and DIY projects!


 “Love is patient, love is kind …”


 Later, as I drifted off to sleep, the last lines of Henry Wadsworth Longfellow’s poem, “Under A Spreading Chestnut Tree” came to mind.


 Presuming it will freeze tonight, I gazed a little sadly at our still blooming Encore azaleas, roses, begonias, impatiens, coleus, and ferns. However, Richard (forever surprising me) brought in one last winter rosebud he found blooming in our yard, put it in an antique vase that belonged to my grandmother, and set it on my vanity, where I happily discovered “it” after I showered! (imagine a picture of a heart, here!)
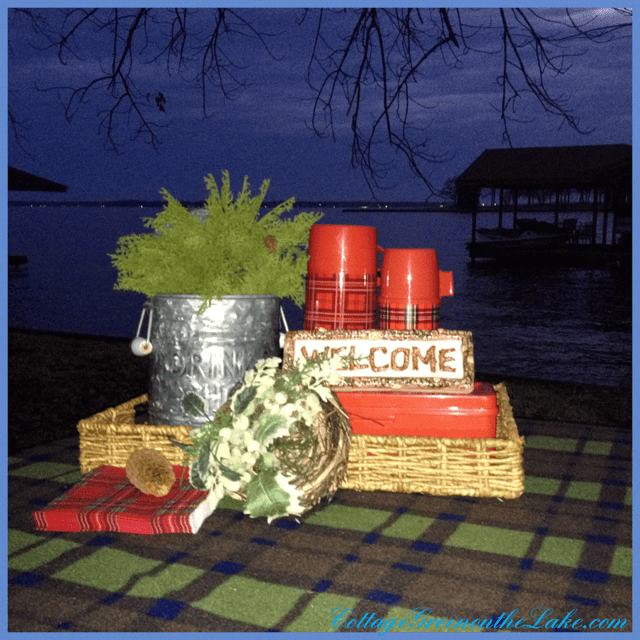
 Getting ready for “winter-on-the-lake” comes with a long to-do list … filling bird feeders, decorating the outside of the house with Christmas decorations, putting the potted begonias and impatiens away in their winter residence -our cedar greenhouse (: and last, covering the boat and draining our sprinkler system (which our son came over and helped his father with. PLUS … he also helped his father with our latest DIY project, the remodeling of our upstairs bathroom (pictures upon completion!)


 Look at these darling, tiny, sterling silver, salt cellar spoons! I love using these “fairy spoons” and it feels so elegant adding salt in this old-fashioned and queenly way!
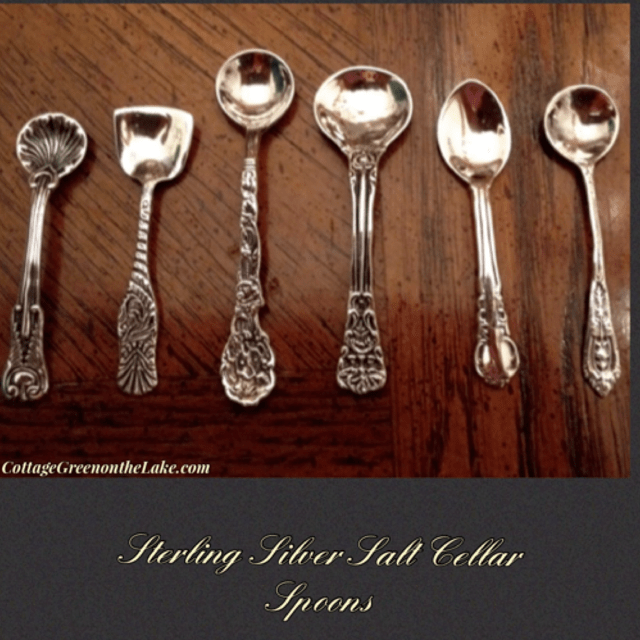


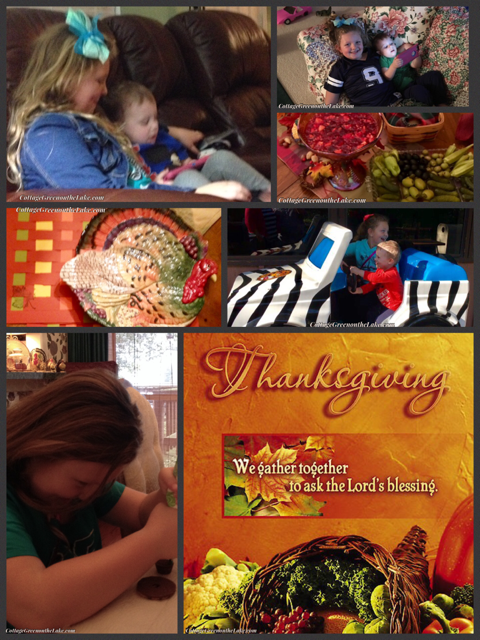


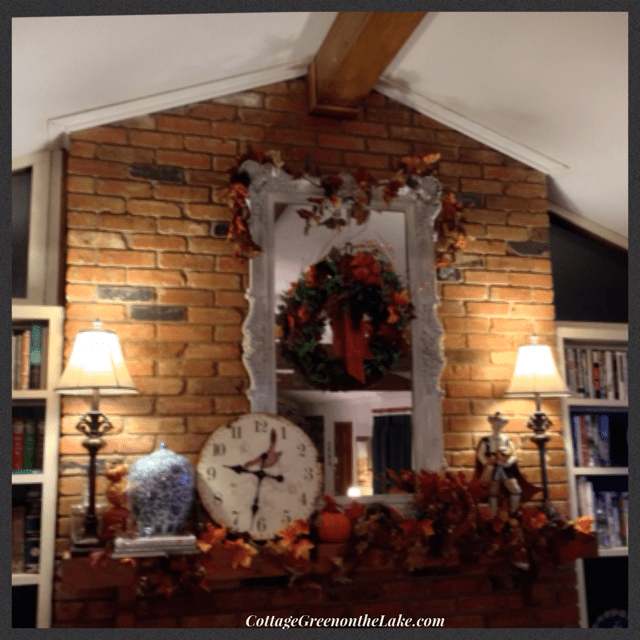
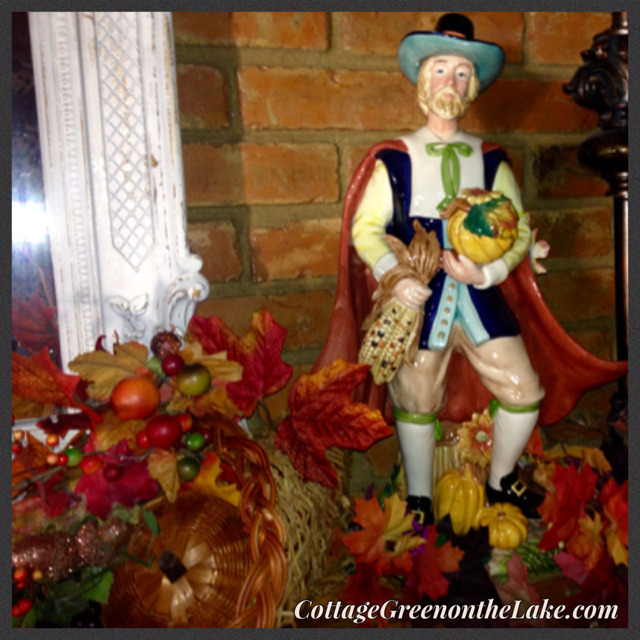
 Our “Beau” Pilgrim (I told you we like to name things around here!) made by Fitz and Floyd resides over the Mantle Harvest and has his own thanksgiving offerings … some maize and a pumpkin, in his hands.