EASY RECIPE for Tuscan Tomato Soup … and Winter Weather

When I was a little girl I remember coming in from the cold with cheeks stinging and hands frozen (inside inadequate mittens) and seeing bowls of steamy tomato soup that our mother had made.  I loved the flavor of the soup, but I always liked to add a little “flotsam and jetsam” to the broth! (:  I would get a slice of American cheese, fold it into smaller pieces and drop them into my soup.

I can remember how scratchy this little wool hat was and couldn’t stand to have it tied under my chin!  See the gum in my mouth?!? (:

playing in the snow.jpg

Just a little detour before I share my recipe.  Here are some interesting FUN FACTS I discovered when I was looking up Campbell’s Tomato Soup that I thought you’d be interested in, also.  Campbell’s Condensed Tomato Soup  is still the top 10 grocery items that American buy … it has been in the market since 1895 (123 years!) … 85 million cans of Campbell’s Tomato Soup are still sold each year …Campbell’s sent the Tomato Soup to the Paris Exposition of 1900 where it won the Gold Medallion of Excellence which is still displayed proudly on every can of Tomato Soup … out of 100+ varieties of Campbell’s Soup available today, Tomato Soup is still one their 3 top sellers along with Cream of Mushroom Soup and Chicken Noodle Soup! (:Campbell KidsMy mind still links Tomato Soup and cold winter days together and we had a “snow day” this week which made me want to make “Tuscan Tomato Soup.” (first pictured on my blog “Al Fresco Dining in Autumn”) This soup is just a combination of ingredients I keep on hand … a can of Tomato Soup and a bag of frozen Beef Ravioli (which provides the “flotsam and jetsam” I still love adding to my Tomato Soup!) It’s so easy to make … in 20 minutes or less, you’ll have a delicious soup Mama Mia herself would be happy to serve to her own family! (;Tuscan Tomato Soup header .jpg

Tuscan Tomato Soup

Ingredients:

  • 4 cups frozen beef ravioli (or if you prefer, cheese tortellini) from a family sized bag, cooked and drained according to directions (mine cooked in only 6 minutes) 
  • 1 Tablespoon butter
  • 1/2 cup finely chopped onion
  • 3 cups chicken stock or 3 cups of water with 3 cubes or 3 teaspoons of chicken bouillon granules or reduced sodium chicken bouillon added
  • 1 Family size can (23.2 oz) Campbell’s Condensed Tomato Soup
  • 1/2 cup finely chopped fresh spinach or kale (I used and loved Trader Joe’s Triple Washed Organic Baby Spinach!  Even after a week in the refrigerator, all spinach leaves are still so fresh)
  • grated Parmesan cheese
  • black pepper

Directions:

  1. Cook frozen ravioli (or cheese tortellini) according to directions, and drain
  2. Meanwhile, melt butter in another large saucepan or Dutch oven
  3. Add onion to melted butter and saute until translucent
  4. Add chicken stock or water with chicken bouillon added and turn heat to medium/medium-high 
  5. Pour in condensed Tomato Soup and stir with whisk, continuing to warm 
  6. Add chopped spinach or kale 
  7. Add cooked ravioli and warm all ingredients in saucepan until thoroughly warmed, without bringing to a boil
  8. Dish into bowls and top with grated Parmesan cheese sprinkled with black pepper

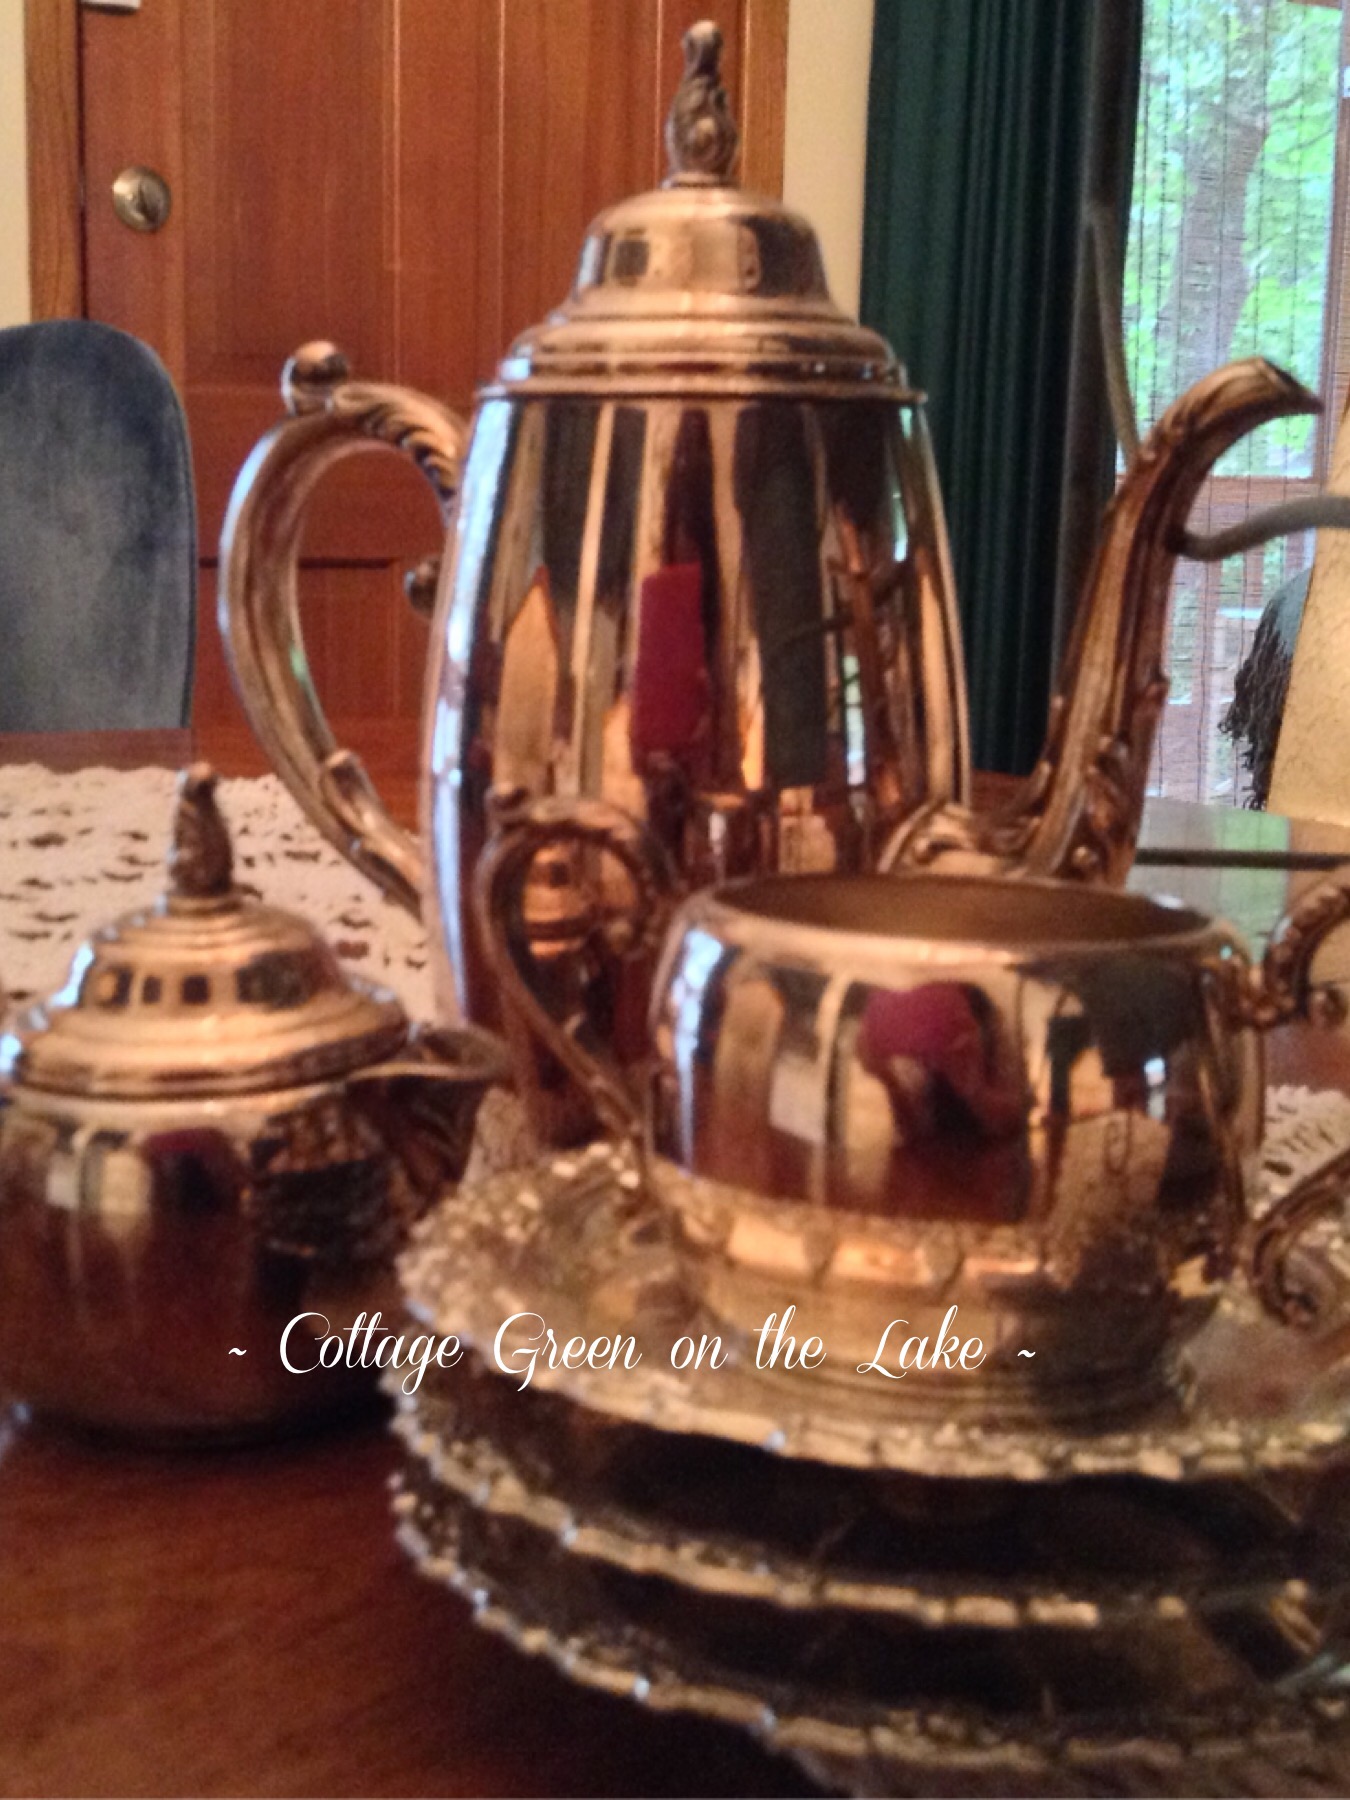
Woodland free printable tags decorate sweet napkins rings made of miniature grapevine wreaths and are tied on with a satin ribbon …
Tuscan Tomato Soup.jpgWinter weather managed to push past the borders of Texas earlier this week, and obliged us with a deposit of sleet and snow!  We were excited when the weather forecasters predicted the possibility of us getting a wintry mix and began to look expectantly for our guests’ arrival.  At 10:00 pm Monday evening the sleet arrived, right on time and entertained us for 2 hours before tiny snowflakes began falling!  Snow is always a thrilling sight in our area of TEXAS and Richard and I watched the enchanting display from our opened door until shivering, we reluctantly left our vigil to warm up, before checking again.  We finally went to bed around 2:00 am; the flakes were still swirling and our driveway and deck were covered.  The weather forecasters deserve a gold star … not only did they get their predictions correct, our winter guests were punctual and came exactly when expected! (;

Front Deck …snow covered benchSide yard and cobbled pathway …sideyard font.jpgWaiting for Spring …robin with bannerBackyard and lake …snowy backyardView from our bathroom the next, sunny but cold day!south side.pngHope you have a wonderful weekend with moments enjoyed padding around in warm fuzzy socks, mugs of coffee in hand, snuggled under comforters, comfy within and without!snow scripture

From my cottage to yours ~  Trenda

cropped-cropped-img_0452-e1510254818805.png

Thank you for reading my blog!  To have all my posts delivered to your email address, just click FOLLOW in my post above … or click on my site: cottagegreenonthelake.com

FOLLOW ME on PINTEREST! 

Trenda@cottagegreenonthelake.com

This week I’m joining: Lynn from The Vintage Nest

Chloe Crabtree from Celebrate & Decorate

Sandra with Sweet Sensations

Christmas Tablescape “Up on the Housetop Reindeer Pause …”

The table is set and ready for a Christmas Brunch with Fitz and Floyd “Florentine Christmas White Stag Reindeer” dressed and ready for their important flight on Christmas Eve! Saddles are trimmed with holly and tassels and lie cushioned on the reindeer’s back atop cheery red and green blankets (that look like they were made by Santa’s elves!)  Encircling their necks are pine branch harnesses festooned with pine cones, holly leaves and bows.

reindeer

Antique snack sets are stacked and ready to be filled with finger foods.  Christmas punch or Percolator Spiced Tea will fill the matching cups that set in special compartments on the glass trays.

s&p snack sets

A gauzy runner with beaded edges weaves around a pine garland with tiny twinkle lights that add a touch of Christmas magic.

tablescape

 Shimmering gold is repeated in the brass stand holding a carafe … a shiny picture frame, … and a line of dessert spoons.  The colors in the picture “Noel” are a perfect match to the colors of the reindeer and serving pieces, so it became a bit of “whimsy” and a part of the tablescape, propped on a golden easel.  Nearby, a sweet little creamer and sugar bowl are nestled close and adorned with Christmas bows.

.    NOEL … From Church Latin in reference to the birthday of Christ, from natus, past participle of nasci “be born.” 

NOEL

Gold forks and linen napkins edged in lace are lined up for easy buffet-style serving.

napkins.jpg

This Fitz and Floyd “Florentine Christmas” Canape Plate will hold Peanut Cluster Blitz-ens!  (; topped with Christmas sprinkles!

dessert plate

Fitz and Floyd “Snowy Woods” stacked serving platter is waiting to be loaded with Cheesy Bacon Pinwheels  shortly after the Christmas guests, arrive.

duo dessert tray.jpg

Fitz and Floyd “Jolly St Nick” platter awaits Delicious Yuletide Appetizer – Chicken Enchilada Dip

serving platter

Everything is set and ready …

“Ho-Ho-Ho who wouldn’t go …” ??? (:

Santa bowing.png

From my cottage to yours ~  Trenda


cropped-cropped-img_0452-e1510254818805.png


Thank you for reading my blog!  To have all my posts delivered to your email address, just click FOLLOW in my post above … or click on my site: cottagegreenonthelake.com

FOLLOW ME on PINTEREST!

Trenda@cottagegreenonthelake.com

I’m joining Chloe Crabtree with Celebrate & Decorate


Christmas Advent Calendar “Countdown to Christmas” DIY Project

It’s hard to believe, but it’s time to,

"Deck the halls again now...
For we need a little Christmas
Right this very minute
Candles in the window
Carols at the spinet
And we need a little Christmas
Right, this very minute
We need a little Christmas now."


~ written by Jerry Herman for the Broadway musical Mame

The countdown to Christmas has begun and these miniature envelopes you make yourself (use free link below) are a charming way to mark off the days until Christmas.

Continue reading “Christmas Advent Calendar “Countdown to Christmas” DIY Project”

Halloween Tablescape “Trick or Treat … Give Me Something Good to Eat!”

smell my feet.jpg

Just in time for Halloween night S’more Ghost Peeps and Candy Coated Pretzel Wands are easy to make.  These festive looking treats are perfect to grab “on the go” or to serve after your Halloween dinner and they are “something good to eat!”

S’more Peeps – The best part of these adorable treats … there is  “no baking” required!  Just “gather” ingredients and put them into treat bags!


Ingredients & Supplies:

  • graham crackers
  • fun size Hershey bars
  • Ghost Peeps
  • favor bags (I used Wilton’s small, clear, favor bags from the baking aisle in Michael’s)
  • Halloween ribbon
  • package of blank gift tags or tag punch (I used my Recollection tag punch)
  • Halloween stamps
  • ink pad
  • standard hole punch
  • Halloween plastic rings (I bought mine from the Dollar Tree)

duo

Instructions:

  1.  Open gift tags or punch out gift tags, using a die-cut punch  
  2. Stamp each tag with a Halloween stamp of your choice (since I was adding spider rings to my treat bags, I stamped each tag with a picture of a spider
  3. Using a standard hole punch, punch a hole in the top of each tag
  4. Break a graham cracker sheet into 2 squares and slide both squares into a clear favor bag
  5. Place 2 fun size Hershey bars on top of the graham crackers
  6. Top Hershey bars with one Ghost Peep
  7. Tie top of bag with Halloween ribbon in a simple knot
  8. Slide tag onto ribbon and knot again
  9. Slip Halloween ring over knot

s'more.jpg

Candy Coated Pretzel Wands

Ingredients & Supplies

  • 1 bag of Salted Pretzel rods
  • Wilton vanilla baking chips (I used bright green and purple)
  • Halloween sprinkles and nonpareils 
  • large treat bags, large enough to cover entire pretzel (I used Wilton’s large favor bags located on the baking aisle in Michael’s)
  • Halloween ribbon
  • black tulle 
  • Halloween plastic rings (I bought mine at Dollar Tree)

Directions: 

  1. Melt baking chips according to directions on package (I used a tall mug to melt my baking chips)
  2. After baking chips are melted, insert pretzel rod into candy and swirl to cover. 
  3. Place candy covered pretzel on wax paper placed on a cookie sheet 
  4. Repeat until pretzels are all covered with candy
  5. If you are only coating your pretzels with one coat of candy and one color, sprinkle the warm candy coating with decorations and nonpareils.  Do not sprinkle decorations on the pretzels that you want to coat with a 2nd layer of melted candy. (See picture below)
  6. Place cookie sheet in freezer to speed up hardening of candy
  7. If you would like a 2nd color of candy coating on your pretzel, repeat process of melting baking chips and dipping pretzel, after the first coating has hardened (10-15 minutes in freezer)
  8. Sprinkle 2nd coating of candy with sprinkles or nonpareils
  9. Cool until candy hardens.  NOTE: I placed my cookie sheet filled with pretzels into the freezer to harden.  If cooling in freezer, do not place pretzels in favor bags until coating has reached room temperature to prevent condensation from forming in favor bag!
  10. Slide candy coated pretzel into favor bag and close the opening by tying with a 7-8″ strip of black tulle and Halloween ribbon.
  11. Place Halloween ring over the knot in the ribbon

assembly pretzels.jpg

 Ready to eat!

completed pretzel.jpg

It’s Halloween!!!  Time to …

“Unfurl the tablecloth, set out the plates!

tscapefinal


Put out the punch bowl, if tarnished, that’s great!”  It’s Halloween Night! by Trenda

punch bowl.jpg

Glitzy Spider Napkin Rings add a little bling to black and white napkins covered with bats.

glitzy spider napkin rings.jpg

Little Ghost S’mores don’t scare anyone, but they look so cute standing upright on a antique relish tray, next to a twinkly gazing ball.  Candied Pretzel Wands are tucked into a copper canister with Boo! tags, spiders, and bats …”oh my!”

gazing ball

Dangling from spooky branches painted black our Treat Bags are filled and ready to be “picked” by our kids and grand kids, coming for Halloween dinner.

4.jpg

Hope you have a spook-tacular Halloween with plenty of “sweets” and even sweeter moments to look back on.  

From my cottage to yours  ~  Trenda

scripture Halloween


Thank you for reading my blog!  To have all my posts delivered directly to your email address, just click FOLLOW in my post above … or click on my site: cottagegreenonthelake.com

FOLLOW ME on PINTEREST!

Trenda@cottagegreenonthelake.com

img_0452

This week I’m joining Chloe Crabtree with Celebrate & Decorate  


“The Cottage Series”…….. by Trenda

cot·tage /ˈkädij/ noun

  1. a small simple house, typically one near a lake or beach.
    • a dwelling forming part of a farm establishment, used by a worker.  “farm cottages”
synonyms: cabin, lodge, bungalow, country house, shack, chantey

Cottage decorating is an unpretentious approach of displaying collected treasures and keepsakes that have been accumulated over the years, or that have been passed down through the generations.  Each objet d’art in our home is reminiscent of our family’s lives together and reflects cherished memories.  Tucked away in kitchen cupboards, displayed on bookshelves, or in free standing vignettes, I love and display these memories in what I call … “the Cottage style.”

 Periodically, I am going to be writing posts about “the Cottage Style” with pictures of cottage decor … simple cottage recipes … how to fill cottage shelves, cache’s, and cupboards with collections and keepsakes … that I am calling “The Cottage Series.”  Let me know how you enjoy this new series!

Rustic Welcome

To display my collection of dishes and other keepsakes, Richard removed some of the doors from our kitchen cabinets.  I have a passion for cubby’s and shelves and just hearing the word “cupboard” my mind conjures up delightful visions of stacked plates, old creamers in the shape of cows or thatched roofed cottages, and folded piles of embroidered tablecloths, cup towels, and napkins edged in carefully stitched crochet!  I painted the interior of these cabinets a deep mulberry color and instantly loved the charm it added and how it made the cabinets look like a built-in hutch.

final french cupboard.png

I topped my shelves with a grape swag that reminds me of the picturesque vineyards we saw on the hills of Germany, France, Italy, and Spain (a surreal “thrill” from our years of living in Germany!) Among the thatch roof cottage dishes and under the grape clusters seemed the perfect setting for Beau and Belle with their bare feet, wide brimmed hats and a basket of  “just picked grapes” in Belle’s hands.

2Mon Cherie

The whole cupboard is filled with crystal stemware and different sets of dishes and cookware “at-the-ready” to be used or placed on the table.  Villeroy and Boch dishes are  are a special keepsake and gift from Richard when we visited the little town of Bacharach, Germany located on the Rhine River.  The dishes and cookware shown here are in the “Naif” collection and are designed by Gerard Leplau from Corsica, France.  His paintings feature charming family and village scenes and occasionally biblical motifs, like “Noah’s Ark” pictured on the top shelf.

VB duo .png

 Intermingled among the dishes and adding some whimsy to the cupboard are sweet little gifts given or made for me by our children.  A cherished collection of Boyd’s Bears collectibles, “Words of Wisdom for Mothers” complete with a tiny easel for display, a beloved birdhouse painted by dear little hands, and a miniature tea service.

collage last one.png

A mixed collection of antique thatch-house sugar bowls and creamers look right at home with my village scene dishes.  This cottage creamer is filled with a treasured collection of silver baby spoons, some still bearing sweet indentations of little teeth … and this exciting find at an antique store, one little fork embossed with the word Baby.

baby spoons.png

On the bottom shelf are stacks of Kaiser Romantica (I even love the name!) porcelain china in the Marseilles pattern. Pink and blue flowers rim delicate scalloped plates and are sprinkled with tiny pink rosebuds.  Richard and I hand selected each piece of this china from the German Kaiser Porcelain factory, near the Czech border.  I was 9 months pregnant, with our daughter and we didn’t realize so much effort was going to be required, picking out our china. The porcelain pieces were displayed in stacks on shelves of planked wood which were propped up on cinder blocks.  We both began the treasure hunt, but after much bending and the stooping required to find the perfect pieces, I had to finally sit down.  I “passed the baton” on to Richard who finished the selection with precision and zeal!  He finished choosing all of our dishes, a service for 12 complete with all the serving pieces, a coffee and tea service with warming cache’s, a soup tureen with 12 darling soup bowls, a pedestal cake plate, a covered vegetable bowl, platters, serving trays, porcelain napkin rings, and decorative roses to place upon the table.  Every time I set the table with these dishes, I remember his endearing effort and patience while performing the task. ❤

Kaiser.png

 An elegant coffee server with a clock is standing in  “good company” with some cabbage-leafed teapots, just the right size for tea parties.  Also, tucked under the cloche is a cherished souvenir glass in a brass stand with an emblem saying “San Francisco Cable Car.”  My father gave this keepsake to me when he came back from a business trip to California, many years ago. ❤

cabbage teapots.png

Displayed in a vignette under the glow of lamplight and basking beneath the golden gleam from the picture frame is a recent “find” at a flea market that was unbelievably priced at only $1.50!!! … a set of silver antique bread and butter knives from England!  I “fell in love” with the little clasped case they came in before I even saw the price!

bread knives outside.png

clasp.png

From Richard’s and my research, the silver markings on these knives and their deep blue Bakelite handles helped us conclude that they were made around the 1930’s.  However, the age and silk lining of the case and silk “hinges” indicate, they may be even older.

bread and butterr closeup.png

Hope you enjoyed seeing how I display some of my collections.  Have fun looking over your collections and thinking where you can “showcase” them to enjoy every day in the “Cottage Style” – and yes, I do have folded piles of embroidered tablecloths, cup towels, and napkins edged in carefully stitched crochet … perhaps they’ll be featured in the next “Cottage Series!” (:

scripture truffle.png


From my cottage to yours  ~  Trenda

final xoxo

Thank you for spending some time reading my blog today!  To have all my posts delivered directly to your email address, just click on FOLLOW in the post above … or click on my site: Trenda @cottagegreenonthelake.com

This week I’ll be joining Kelly from The Essence of Home

and Courtney with French Country Cottage


Garden-themed Tablescape  

My husband, Richard, bought this darling Verdi Green planter for me from T. J Maxx, 2 weeks ago, during the hottest part of our “Dog Days of Summer” here in East Texas.  We had 8 days in a row with temperatures in the 100’s and the heat index being anywhere from 106-109 degrees!

The following week we were blessed with much cooler weather and a week of rain! (a cause for celebration in August, typically our hottest and driest month here in East Texas!)  I was so tickled with my new planter, I couldn’t wait for cooler temperatures, or for the rain to stop, before I filled it!

Instead of scooping up potting soil and filling the charming pots with flowers, I “planted” my silverware and napkins in the metal pots and made the planter the focal point of my garden themed tablescape and set it atop our dining room table!

 I didn’t want the top bucket to appear top-heavy, so I filled that flower pot, with napkins.

There, under the sweet little spigot and “blooming” like flower petals, I tucked in white embroidered napkins trimmed with a simple lace corner and a single, pink flower.

Then I “planted” a few sage green napkins to match the green of the flower pots.

In the lower bucket, I “softened” the look of the metal before adding my silverware by lining it with 2 napkins, one sage green napkin and one white embroidered napkin.

Then I randomly placed my cutlery in a seemingly haphazard way … some handles up, some down, to create a casual, but elegant display.

I love the embellished and intricate ends of the silverware, but I also love looking at the gleaming, shiny, blades, tines, and scoops!

A crystal vase holds additional pieces of silver to the right of the cascading flower pots and keeping with my garden theme, I placed two tiny antique books and topped them with a teeny bird and a piece of bark I found in the backyard that was covered in a lovely colored lichen that blended perfectly with the green tones of the flower pots, books, and bird.

I tried out a different look and added a little color while still maintaining the garden theme.  In lieu of the crystal vase filled with cutlery, I displayed two of my favorite bird books … “A Complete Guide to Bird Feeding” and “Beyond the Bird Feeder” both wonderful books illustrated with pictures and written by John V. Dennis. 
Which display do you like better?

To balance out the left side, I placed a silver coffee pot, a silver creamer, and adding some height, I stacked some miniature silver chargers and placed the silver sugar bowl on top.

My garden themed tabletop, a perfect backdrop for a cool summer lunch of chicken salad croissants, cucumber salad, and deviled eggs … all served with sweet Southern tea!  (:
Hope your enjoying these last days of summer and that you are managing to beat the heat, wherever “home is” for you!  I’m anxiously awaiting to see the first violas, snapdragons, pansies and flowering kale of the season … and my favorite chrysanthemums and purple asters!

From my cottage to yours ~   Trenda

Cottage Green on the Lake … “Feathering the Nest” by Trenda

Living on the lake, the scenery just beyond our window panes is always the focal point. The beautiful views outside make decorating “within” a challenge.  So, rather than compete with God’s artistry outside … I try to enhance those views by bringing the outside … in!


Thinking about the “feathering of our nest” … I took pictures of all things “birdie” throughout our home.  I wanted you to see how easy it is to incorporate items that are typically associated outside of the home … in our decor.

1) Using garden statuary  …
A cement cherub, playing a fife, looks “at home” and as angelic atop our hall tree, as he does in the garden. 


A bird, made of cement, looks quite content sitting at the base of a crystal vase, among a selection of nesting materials.


2) Using miniature birdbaths and filling them with birdseed, instead of water … 

A rustic bird stands near a crystal ice bucket and a tin bucket covered in moss … nearby, an unusual birdfeeder!


A little silver bird is perched on the edge of his nest, that’s filled with millet.  Above him is a darling cake-plate, adorned with 4 sweet birds and a collection of salt cellars. 


3) Perching teeny birds in unexpected places …
A bird dangles from a pine-flowered swag.  Clutched tightly, he holds a tiny offering of pinecones.


Sitting high above a music armoire is a little bird, just outside his antique cage … and a collection of all things “birdie.”
 4) Tucking bird nests in floral arrangements or peeking out of almost-hidden niches …

A moss-covered nest with a sprinkling of flower buds looks “sweet” in an ornate sugar bowl.


Tucked among some greenery in a silver bucket, a nest adds visual interest to a stack of plates and moss-colored napkins.

What do you enjoy collecting?  Whatever your passion is, use those items to decorate and “cozy up” your home.
I hope you have enjoyed seeing our “feathered nest” and the unexpected ways you can bring “the outside” into your home!

Home is … the perfect nest!


From my cottage to your’s! ~ Trenda