by Trenda
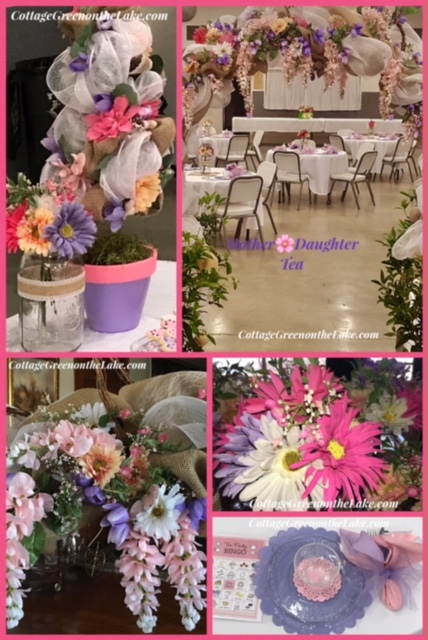
With the coming of Spring there are a lots of opportunities for celebrations. Whether you host a Spring Luncheon, a Tea Party, a Cinco de Mayo Fiesta, a Kentucky Derby Party, a Mother’s Day Brunch, a Graduation dinner, or wedding buffet (whew!) one of the first things you’ll need is a centerpiece to “anchor” your tablescape. Putting together a centerpiece can be daunting task. Recently, I was asked to make the floral arrangements and decorations needed for a Mother/Daughter Tea for the Women’s Ministry at our church. Today I am going to share some of the tips I used when I made the 25 centerpieces needed for the Tea … tips that helped make this job easy and fun!
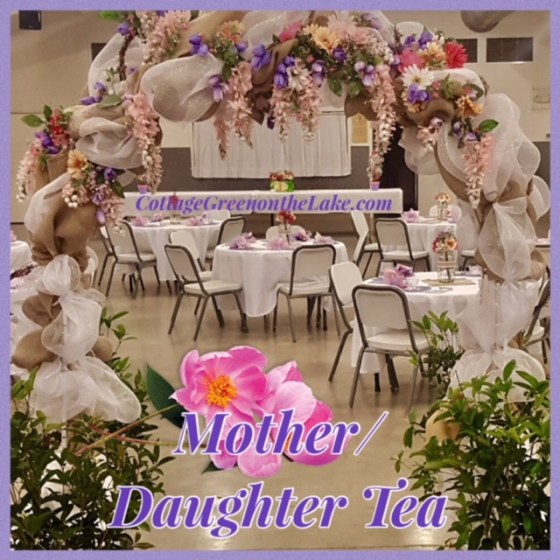
1. The first thing that you need to decide in making your centerpiece is what color and type of flowers you are going to use. Unless your arrangement is all roses, the general rule of thumb in flower arranging is to use at least 3 different sizes of flowers for visual interest. Do you want your centerpiece to be elegant, rustic, casual, playful, spring-y, lush, or whimsical? These questions will help you decide what type of container to place your flowers in. The theme we wanted to portray for our Mother/Daughter Tea was a combination of three themes: a springtime/rustic/casual elegance theme. Springtime flowers were chosen … daisy’s, daffodils, tulips, narcissus, and wisteria (none too fussy!) in a profusion of spring colors!

2. Mason jars dispel any hint of stuffiness and had dainty embossed filigree on the fronts and added just the right touch of casual elegance. Then, to add texture and a hint of rustic flair, I hot-glued a strip of burlap ribbon edged with lace around each Mason jar.

3. Whenever you work with flowers that are a part of a bouquet, cut each stem from the bunch and trim off all the leaves to make them easier to arrange. To determine the length I wanted my flowers in the centerpiece to be, I gathered the stems of my largest sized flowers (the Daisy’s) and bent the heads of the flowers so they looked natural. Then I cut the stems so my flowers would stand upright in the Mason jar, with the blooms gently draping over the rim.

4. The Mason jars I used will be used again for other events. For ease in changing out arrangements, I wrapped clear packing tape near the flower heads (so the tape wouldn’t be seen) to keep each arrangement together and so they can be easily removed.

5. The smaller flowers … the tulips, narcissus, and daffodils had much smaller stems and were easy to tuck into the arrangement of larger flowers already taped together. These smaller flowers extended beyond the tops of the daisy’s so they would “peek” over the top of the arrangement, adding dimension and interest to the bouquet.

6. The last thing to add to any centerpiece is the “filler.” The filler ties the whole arrangement together. Like the name suggests, filler “fills” in the gaps of the arrangement and “softens” the look of all the separate flowers and unites and blends them into one arrangement. The filler can be … small flowers … baby’s breath … grasses … decorative filament … eucalyptus … seed pods … or any variety of decorative picks.

The filler I used for these centerpieces were tiny flowers and buds with leaves.

Look at all these sweet little arrangements … jars of Spring ready to be placed on the table! Wouldn’t they look charming dangling from a shepherd’s hook lining the walkway to a woodland wedding or filled with sunflowers along the way to a bbq and barn dance? Hmmm … perhaps another DIY on a future post! 🙂

Wishing you “beaucoups of bouquets” and many happy Spring celebrations! (:
From my cottage to yours ~ Trenda

Thank you for reading my blog! To have all my posts delivered to your email address, just click FOLLOW in my post above … or click on my site: cottagegreenonthelake.com
FOLLOW ME on PINTEREST!
Trenda@cottagegreenonthelake.com

This week I’m joining:
Marie-Helene from Kingsbury Brook Farm
Chloe Crabtree from Celebrate & Decorate


 Gazing beyond the window at blue skies and spring blossoms, and inside … lace-y tree branches reflected on my grandmother’s glass-topped table … a dreamy place to work!


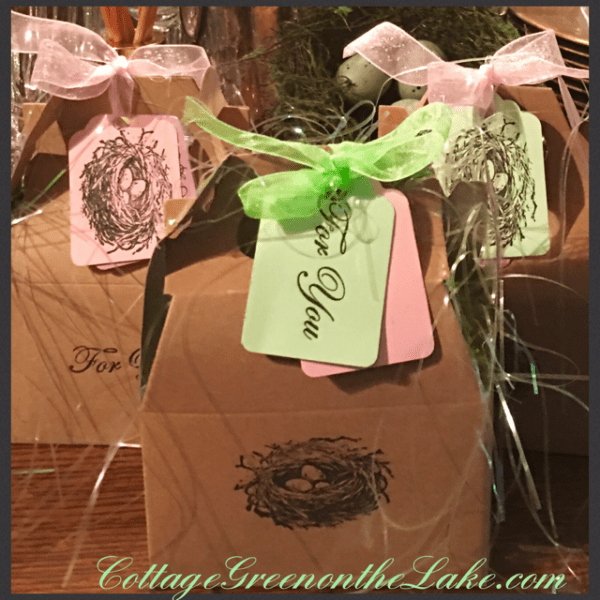
 I bought a package of these little boxes at Hobby Lobby on the party aisle where the crepe paper and favor bags are. They are called Gable boxes and they come 12 to a package for only $3.99. (Download the Hobby Lobby App to get 40 percent off on one regular priced, that can be used each time you shop at Hobby Lobby!) Using my Recollection tag die-cutter, I punched out tags from stock card in a variety of Spring colors and stamped them with bird nests, “For You” and a filigree frame (I wrote each guest’s name inside the frame) and used my hole puncher to punch a hole in each colored tag. Then, I filled each favor box with a fine sparkly shredded grass, nestled in some individually wrapped chocolates, tied a ribbon around each box and added a “set” of tags (1 of each … a bird nest tag, a “For You” tag and a filigree frame with the guest’s name on it) and tied them on to the ribbon of each favor.


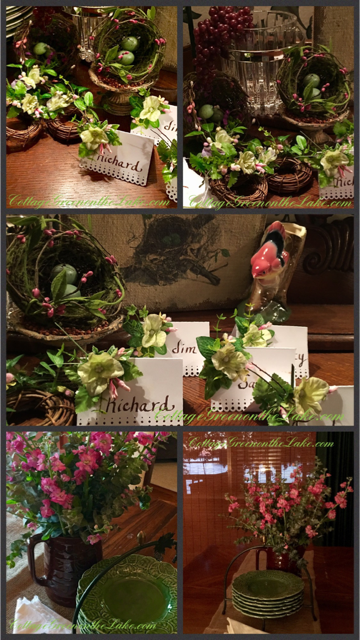
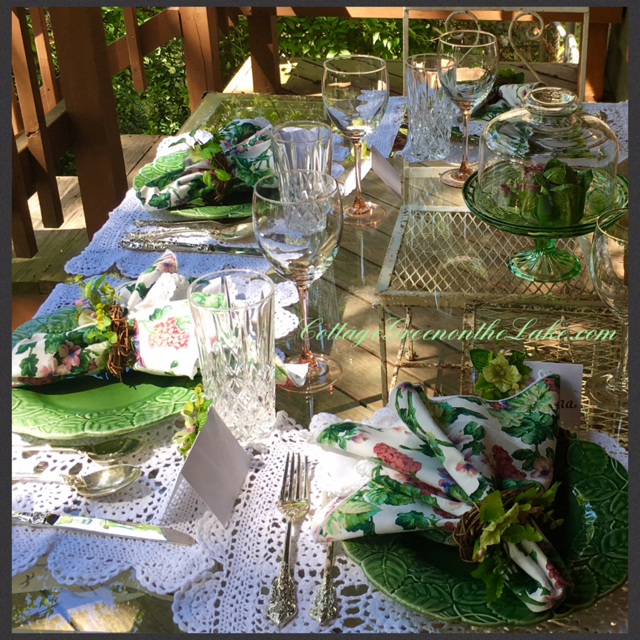
 “Tra la! It’s May! The lusty month of May!” Vanessa Redgrave sang in the Broadway musical, CAMELOT. The charming but now archaic definition of lusty, according to Merriam-Webster is merry and joyous. Looking out our open screen door to blue skies and hearing the birds joyously “tra-la’ing” as they go merrily about picking up choice “bits and pieces” to line and feather their nests, it is definitely “the lusty month of May!” The month of May is filled with promise, celebrations and events. One of the preparations I enjoy the most before any holiday or get together is getting the table ready and “dressed” for the occasion. Look at these darling place cards I made with matching grapevine napkin rings; perfect for a woodland theme Bridal shower, a Spring Tea Party or Mother’s Day Brunch!


 Leatherleaf Mahonia nestled next to Coral Bells ‘Azaleas’ …
 Charming “greenhouse” among the azaleas …
  Beautiful blooming White Dogwood Trees shading George L. Taber Azaleas.
  Stone columns mark the entry to a quaint stone bridge … just the sort-of-bridge that a Troll might live under and 3 Billy Goats would like to trot over! (:
  A bronze statue of a little girl in overalls with a picking basket stands among the Azaleas and Aucuba …
 A large jardiniere filled with ivy and a cobble-stoned walkway along lichen covered walls.
 Al Fresco Dining at it’s best! “Table for 2?” Yes, please!” (:
 Side courtyard …
 The perfect spot to read (: … tucked behind a diminutive wrought iron fence, this reader is in “good company” with Angel Wing Begonia, azaleas, and a hedge of boxwood.
 A charming basket filled with frolicking bunnies … I would love to hang a basket like this from one of our trees!
 Red tulips are particularly striking against a backdrop of wine-colored Loropetalum.
 A double hedge of azaleas …
 Pine trees tower over brilliant azaleas …
 A little cherub greets visitors as they come into the garden.
 I hope you enjoyed your stroll along the Azalea Trails today! The last picture I’ve added is a picture of our own Coral Bells ‘Azaleas’ blooming in our front yard at Cottage Green on the Lake! Hope your day is filled with blossom and bird song! (:


 All right, we’re off! First stop … The Secret Garden. The first time our daughter saw this forgotten garden she was only 9 years old. In excitement she breathlessly told me, “Mommy, I found the Secret Garden!” (: We’ve called it “The Secret Garden” ever since. ❤ These yellow roses rambling over a beautiful wrought iron fence are the more common variety of the Lady Banks Rose … and still reflect the hands that once planted and cared for them.
 Gorgeous grape-like clusters of Wisteria dangle from the tangled vines within “The Secret Garden.”


 Azalea Majestic’s bright magenta buds, blossoms and green foliage contrast beautifully with the texture of the rough landscaping bark.
 It’s time to head home. Hope you are enjoying some beautiful weather where you are, even if it is only February! If you are still in the “throes of winter” … I hope these pictures will remind you that Spring is “right around the corner” and soon you will be seeing “adorably lovely Robins” showing off in your own backyard! (:


 Down the staircase is a favorite picture … “The Lord is my Shepherd” and a metal vase filled with fragrant eucalyptus and peacock feathers.
 A little alcove under the hall tree … another perfect nesting spot!
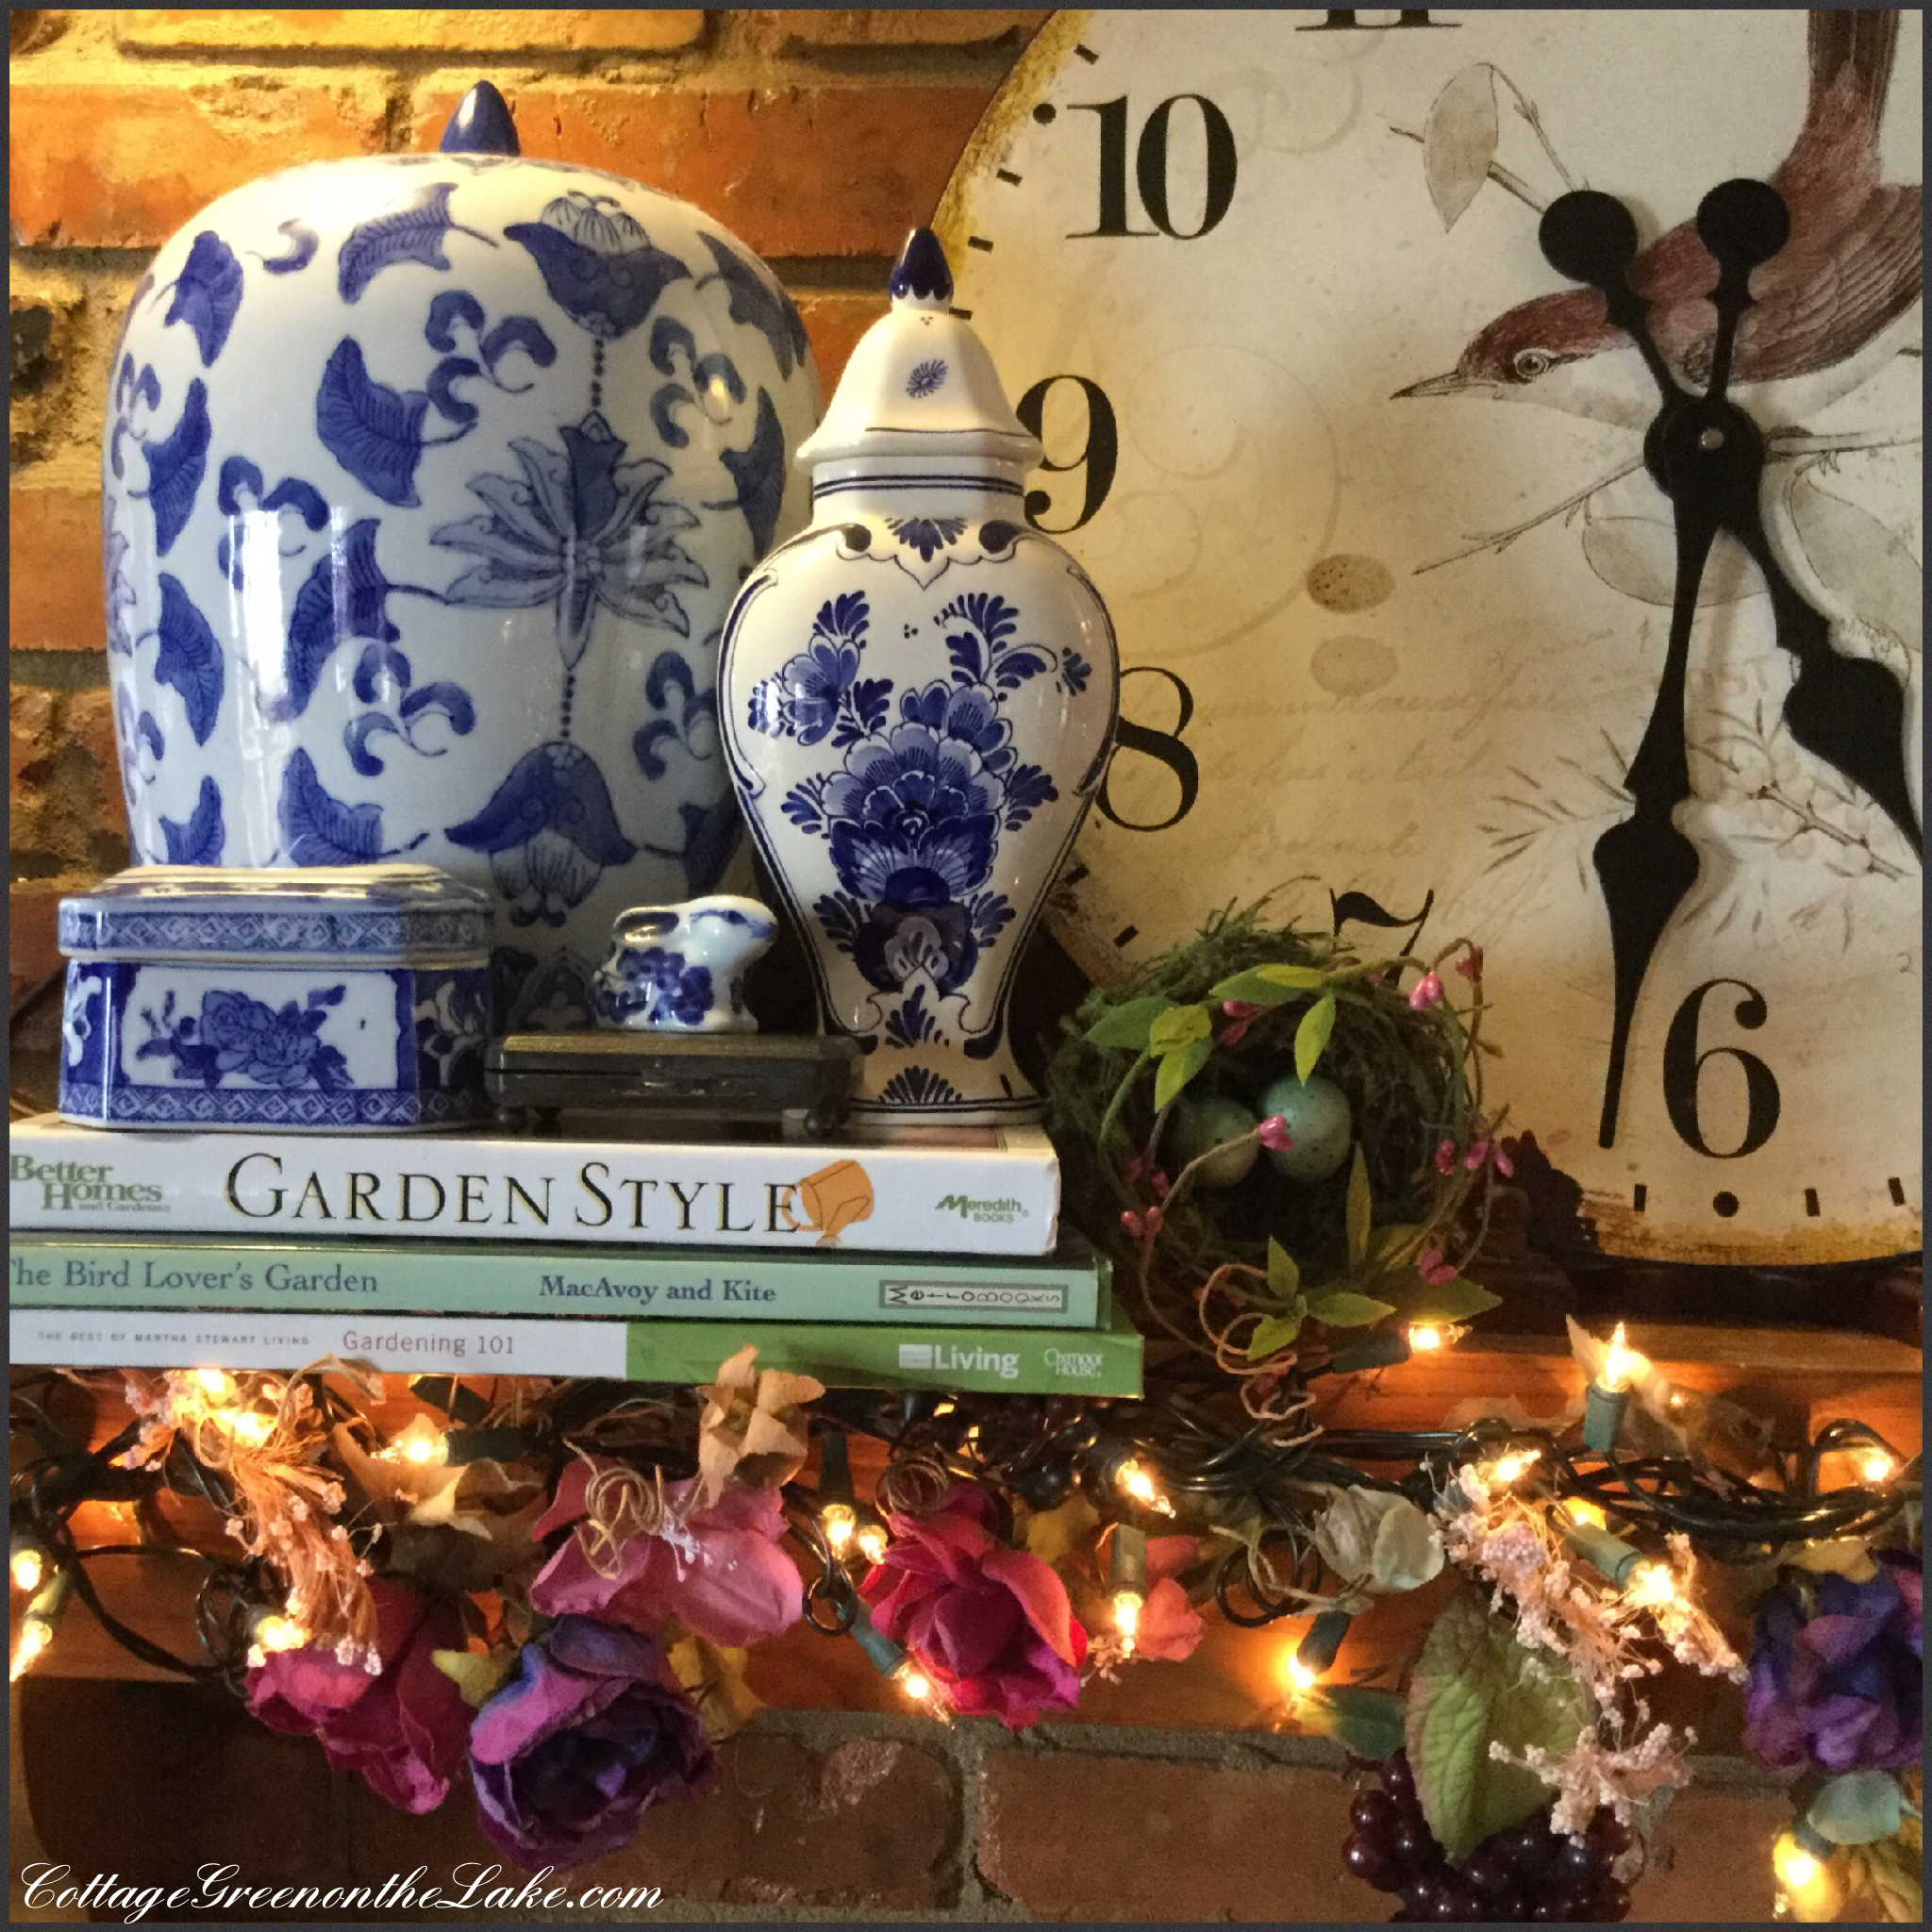
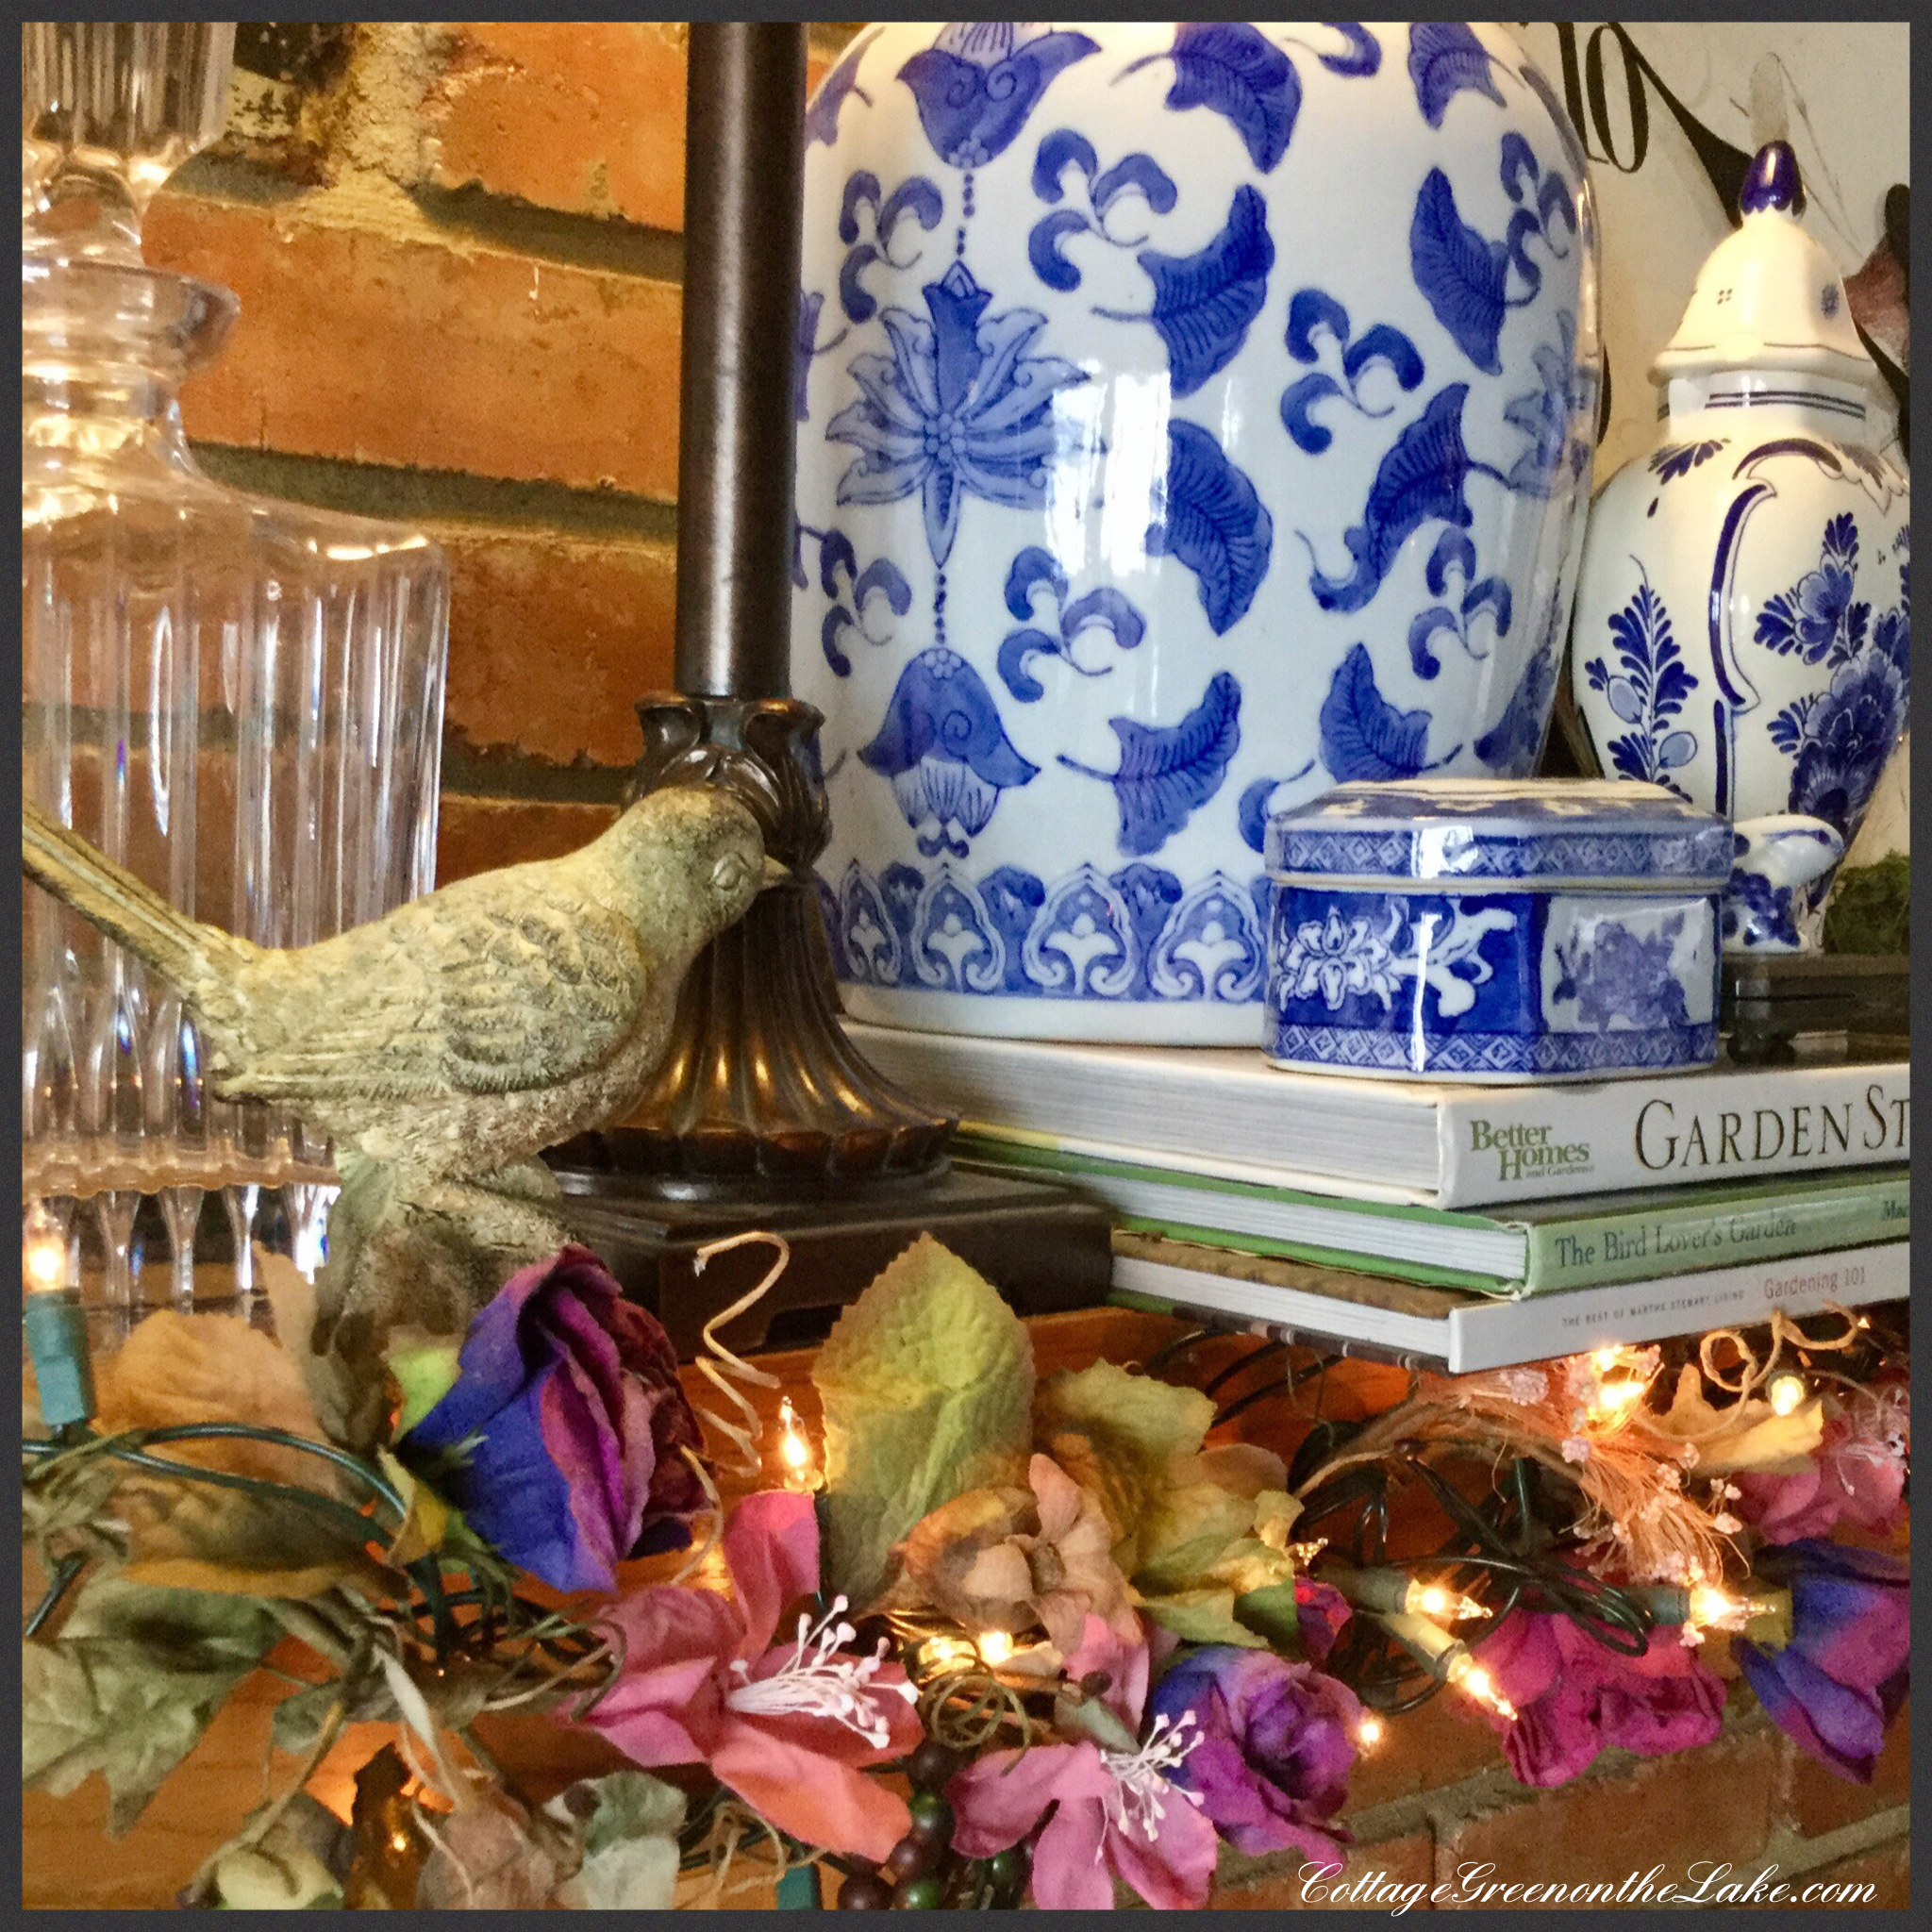
 “Bird watching” (; … this vertigo green bird blends beautifully with the green shades of this collection of antique dishes from England.
 Antique dishes on the lower deck … “The Old Curiosity Shop” by Currier and Ives.
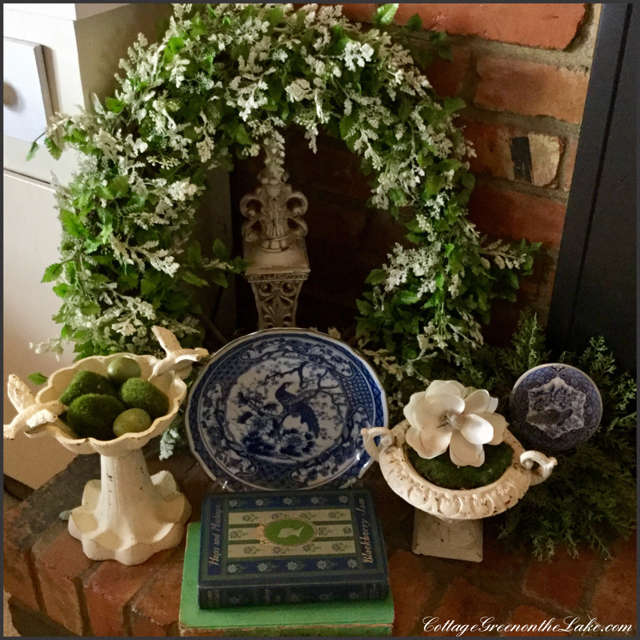
 A nest entwined with spring buds and new leaves is perched on a miniature bird bath filled with millet.
 Little birds stand guard on a cake plate watching over two sweet eggs nestled on a bed of moss. A mercury glass bird and a fairy tale toadstool look charming together, sheltered under the glass canopy.
 A silver bird perches on the edge of his nest … the perfect cache for a little treat of birdseed! (; The color of the millet matches the hues in the painting above and the in-laid wood of the tea cart.
 A beautiful azalea from our own front yard almost “glows” in an antique bird planter. Under a “twiggy” lamp with a little wire nest ensconced in it’s branches, a cloche covers a pair of sweet owls and a moss-lined nest filled with speckled eggs.
 The dusty red blossomed “trumpets” of Crossvine cover our fence and are climbing over an antique variety of Boxwood growing nearby. The buzzing bumblebees and bright blossoms seem to proclaim …