My husband, Richard, bought this darling Verdi Green planter for me from T. J Maxx, 2 weeks ago, during the hottest part of our “Dog Days of Summer” here in East Texas. We had 8 days in a row with temperatures in the 100’s and the heat index being anywhere from 106-109 degrees!
The following week we were blessed with much cooler weather and a week of rain! (a cause for celebration in August, typically our hottest and driest month here in East Texas!) I was so tickled with my new planter, I couldn’t wait for cooler temperatures, or for the rain to stop, before I filled it!
Instead of scooping up potting soil and filling the charming pots with flowers, I “planted” my silverware and napkins in the metal pots and made the planter the focal point of my garden themed tablescape and set it atop our dining room table!
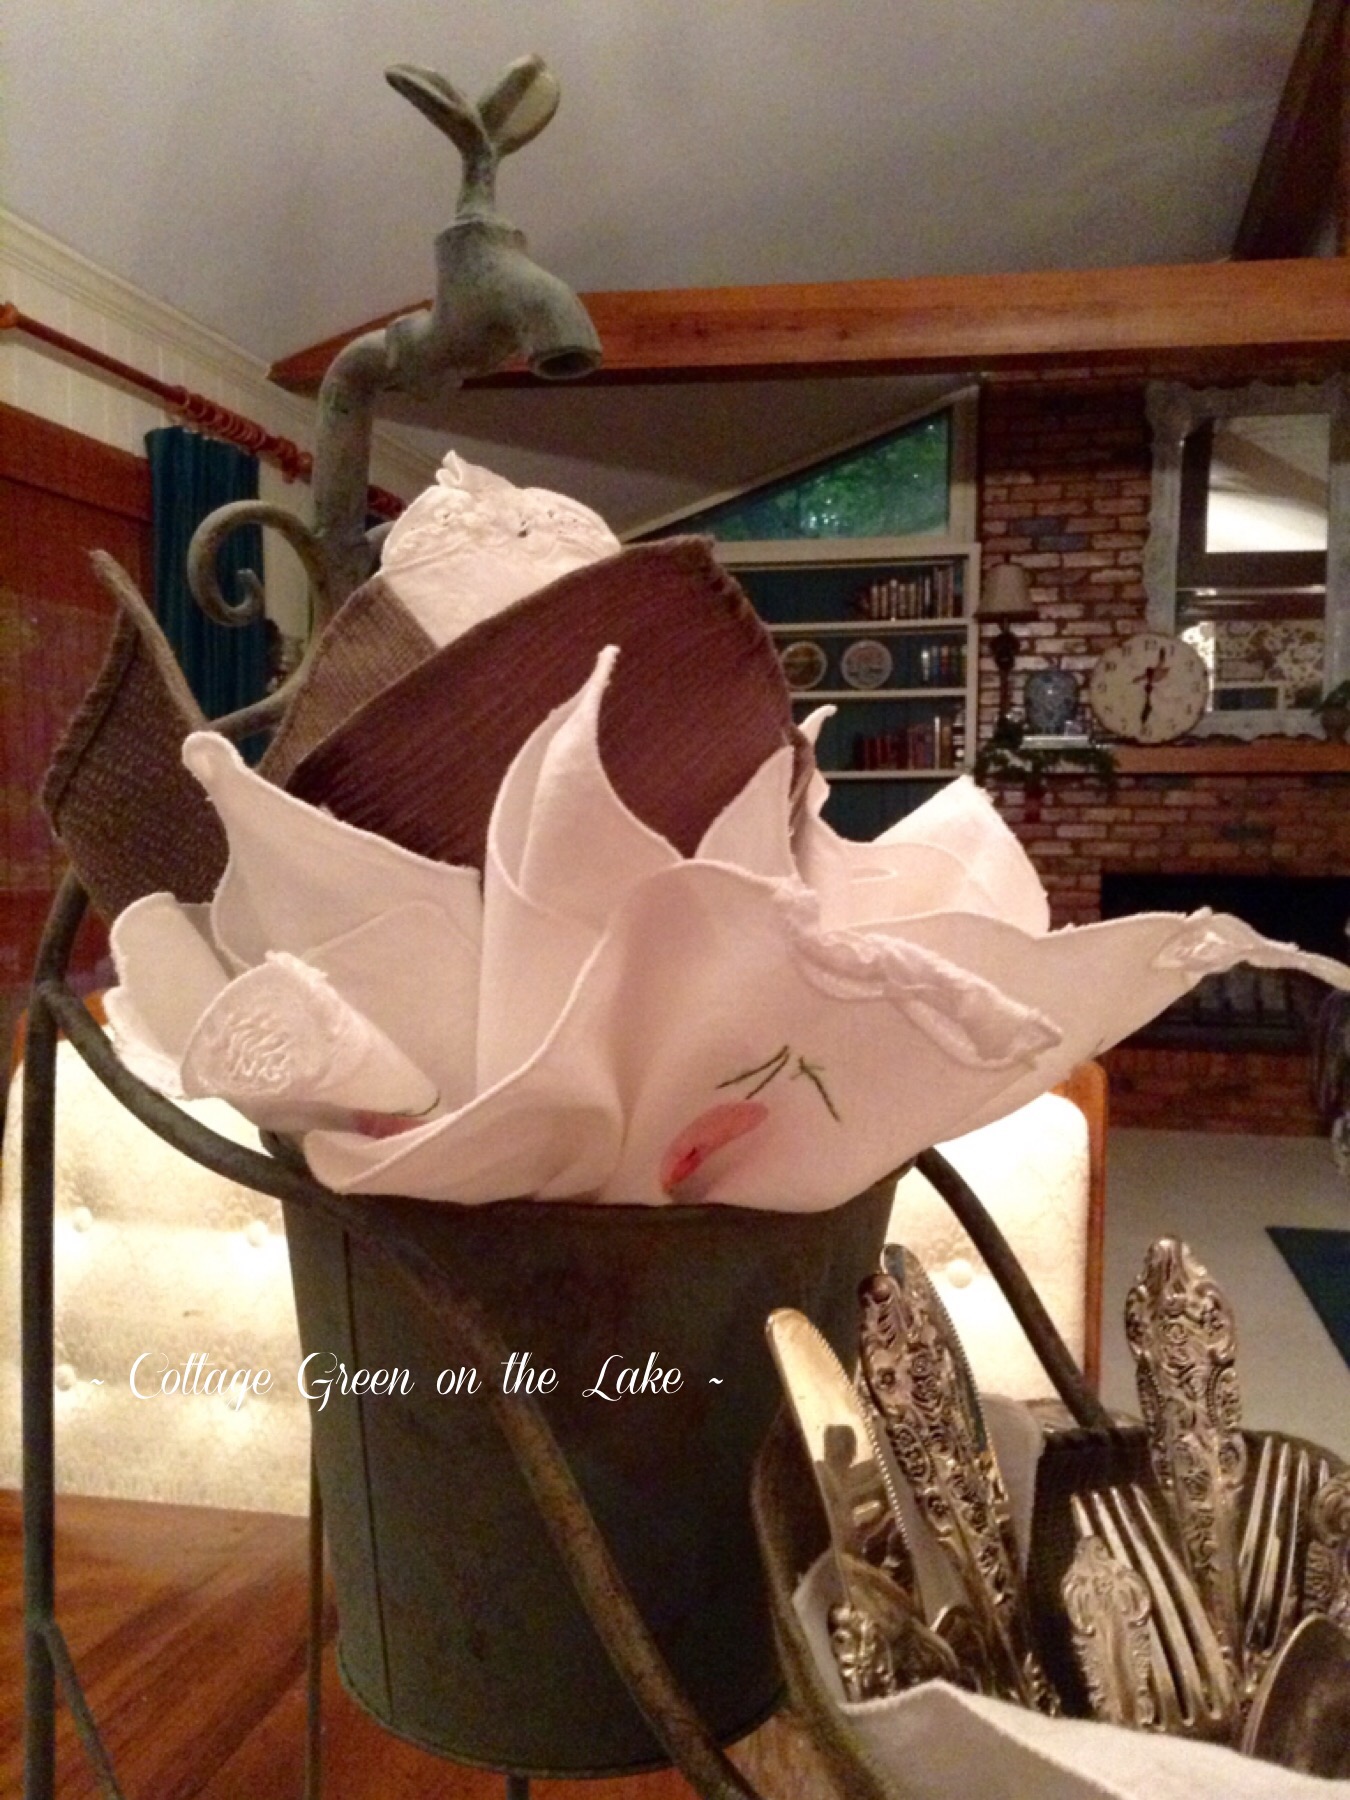
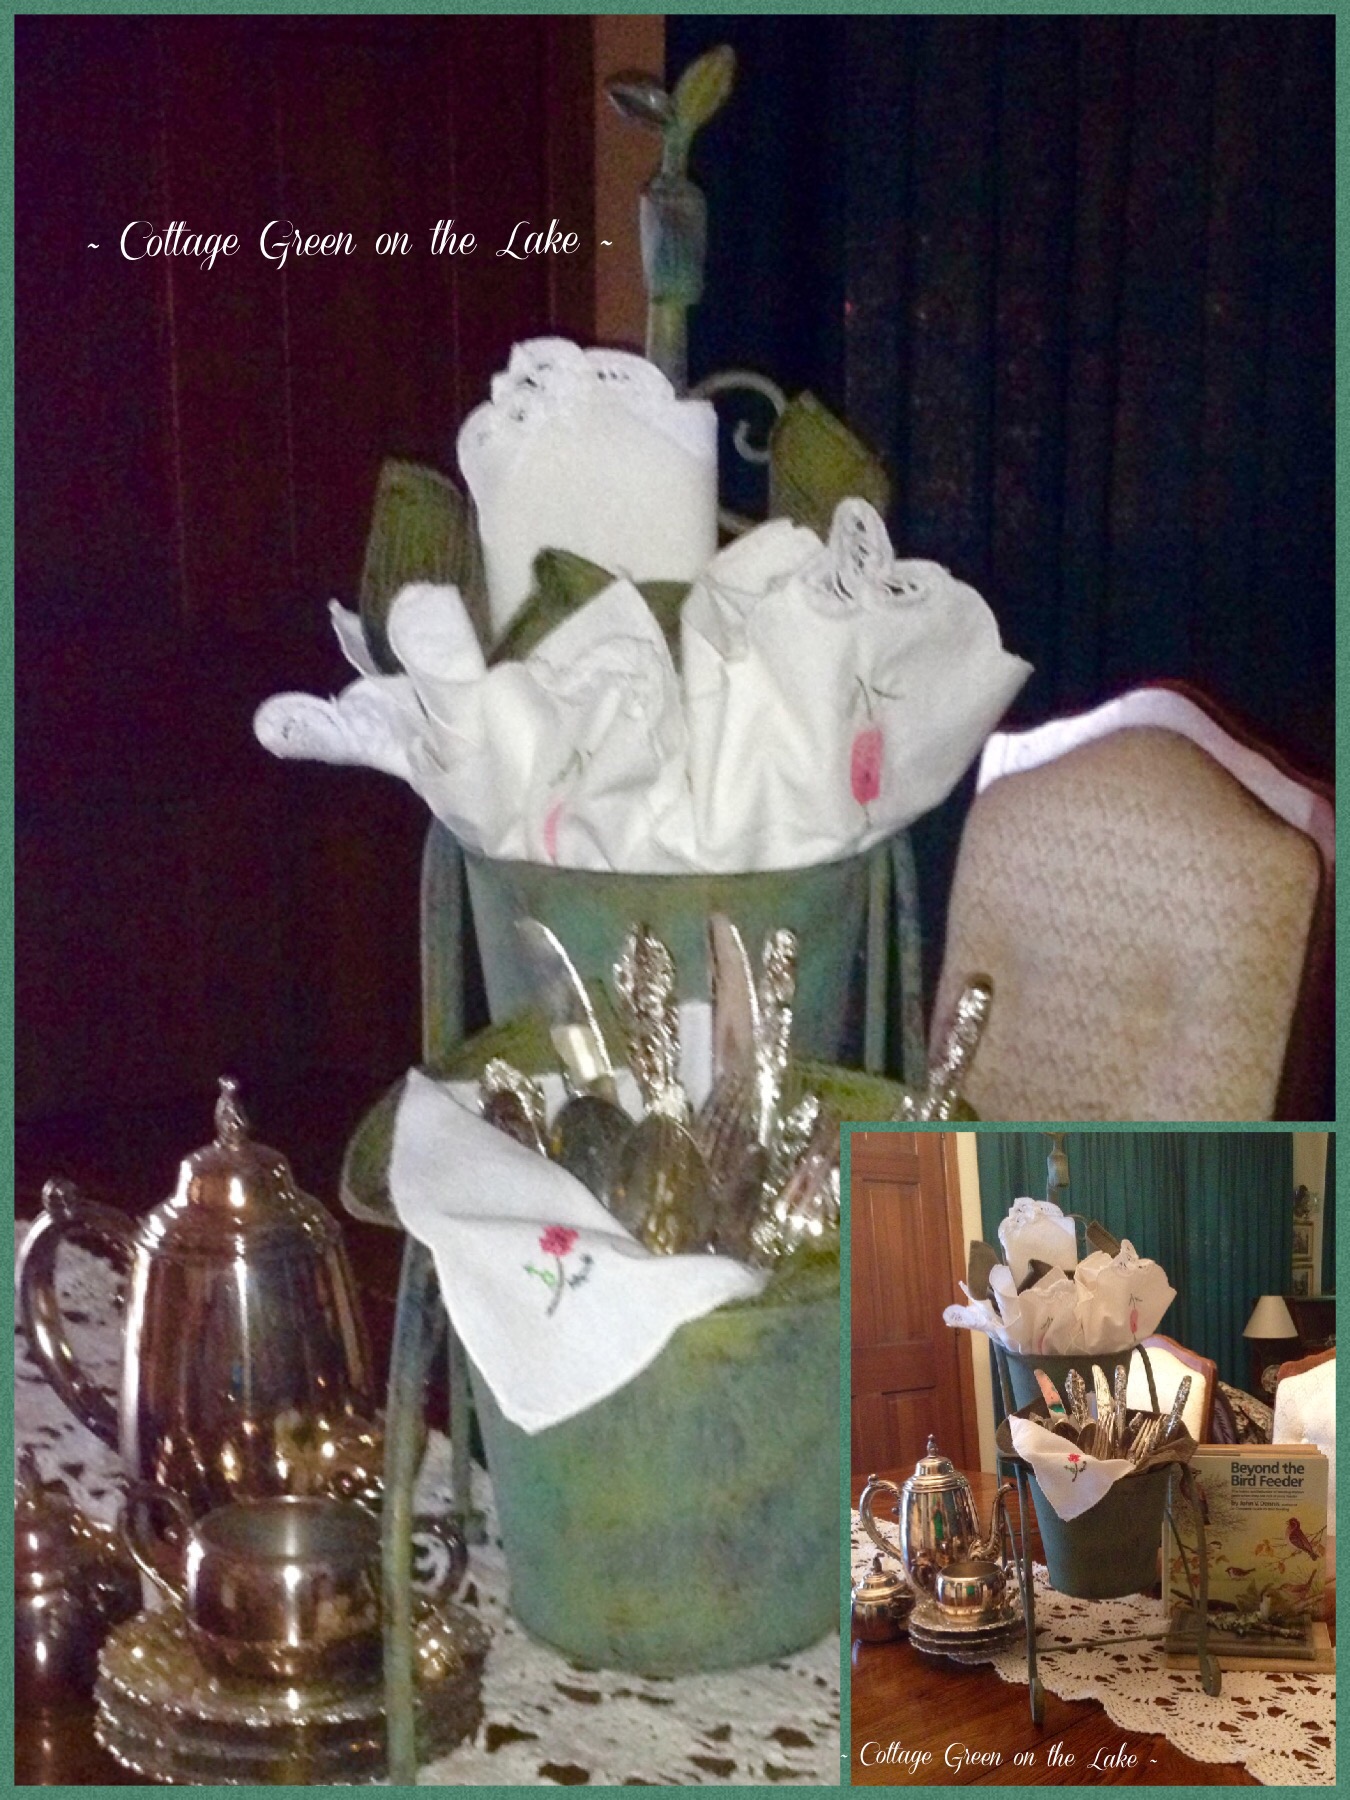 I didn’t want the top bucket to appear top-heavy, so I filled that flower pot, with napkins.
There, under the sweet little spigot and “blooming” like flower petals, I tucked in white embroidered napkins trimmed with a simple lace corner and a single, pink flower.
Then I “planted” a few sage green napkins to match the green of the flower pots.
 In the lower bucket, I “softened” the look of the metal before adding my silverware by lining it with 2 napkins, one sage green napkin and one white embroidered napkin.
Then I randomly placed my cutlery in a seemingly haphazard way … some handles up, some down, to create a casual, but elegant display.
I love the embellished and intricate ends of the silverware, but I also love looking at the gleaming, shiny, blades, tines, and scoops!
 A crystal vase holds additional pieces of silver to the right of the cascading flower pots and keeping with my garden theme, I placed two tiny antique books and topped them with a teeny bird and a piece of bark I found in the backyard that was covered in a lovely colored lichen that blended perfectly with the green tones of the flower pots, books, and bird.
 I tried out a different look and added a little color while still maintaining the garden theme. In lieu of the crystal vase filled with cutlery, I displayed two of my favorite bird books … “A Complete Guide to Bird Feeding” and “Beyond the Bird Feeder” both wonderful books illustrated with pictures and written by John V. Dennis.
Which display do you like better?
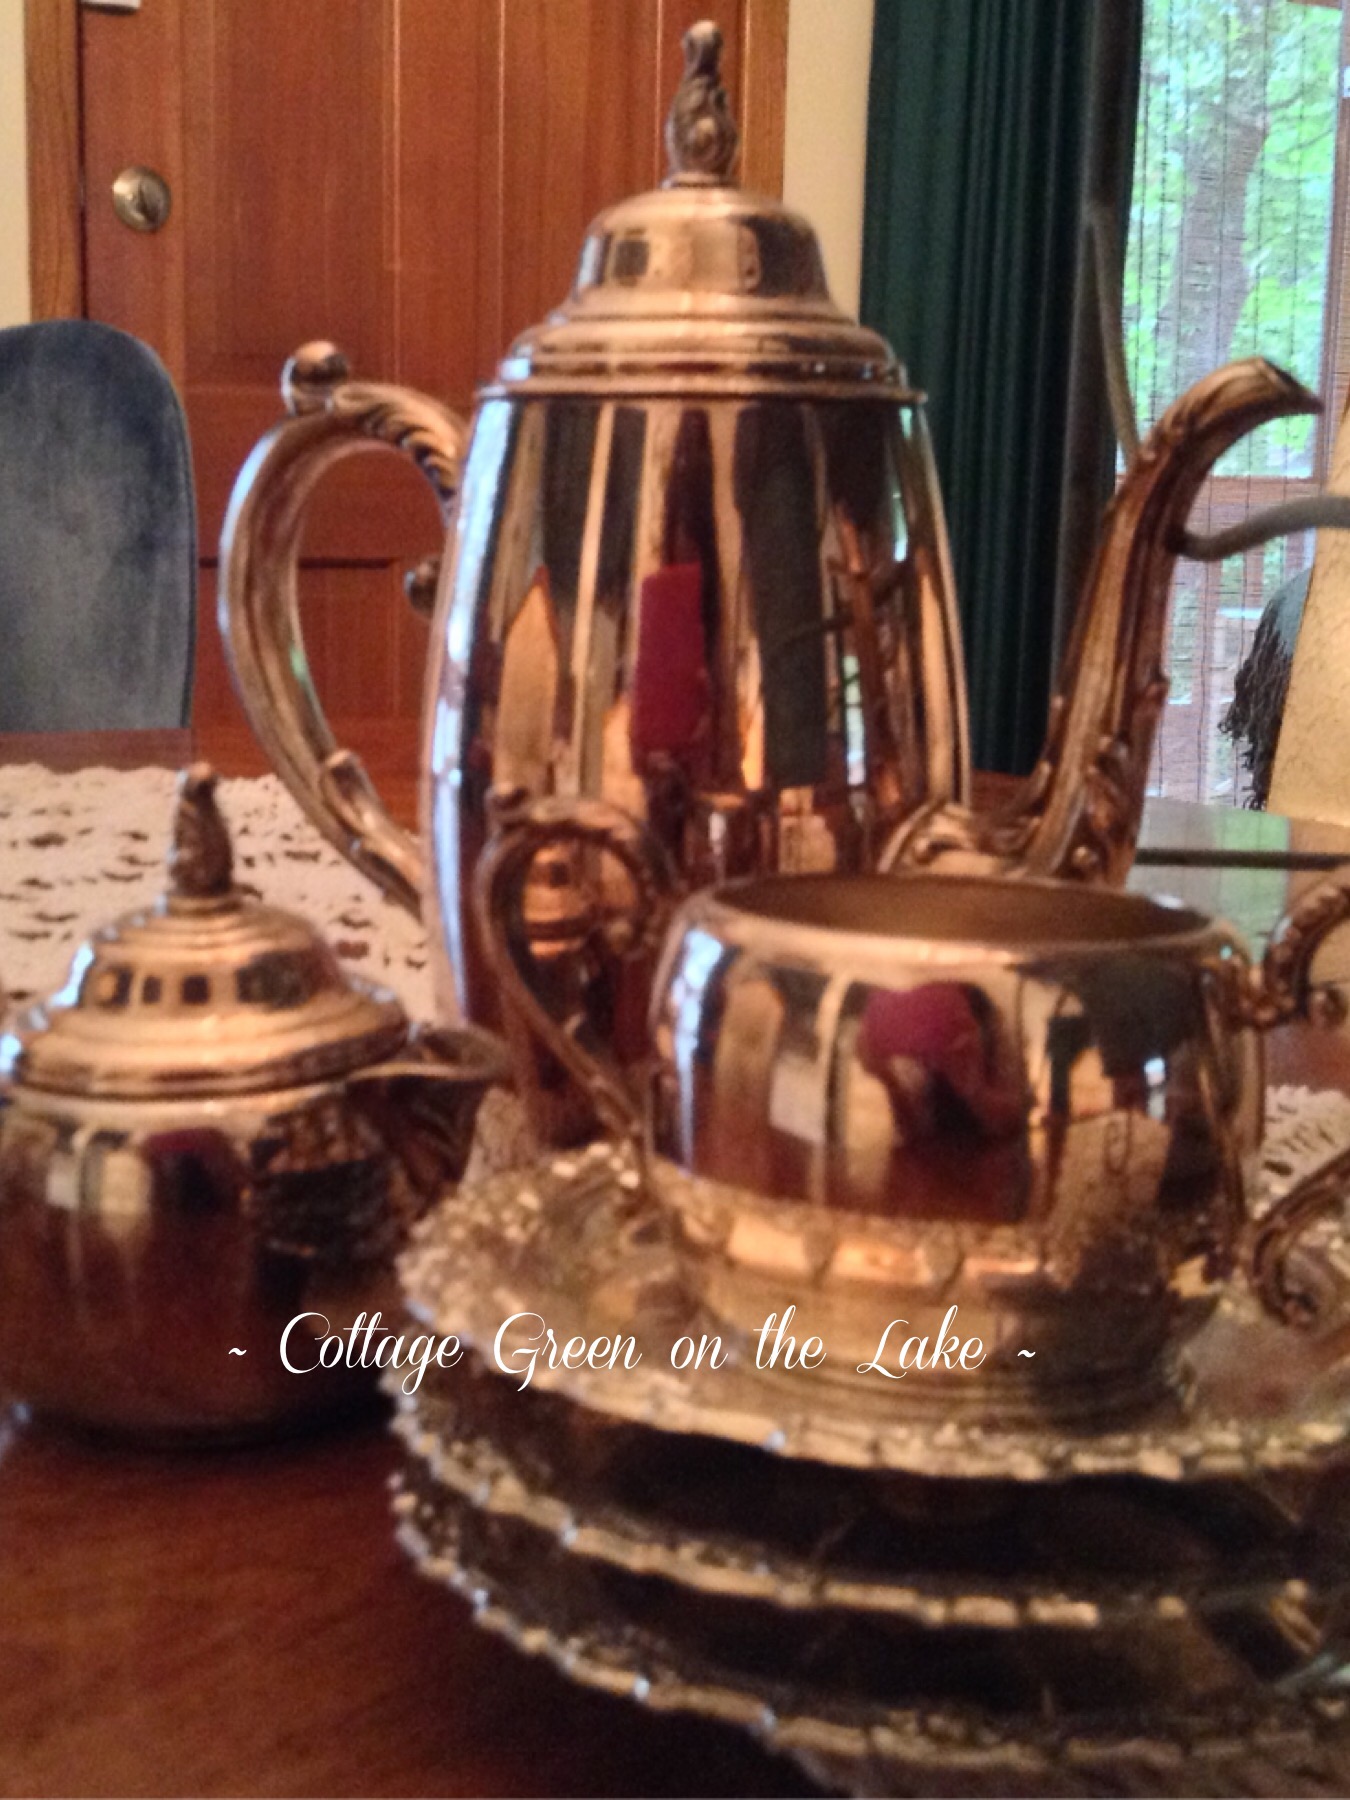
 To balance out the left side, I placed a silver coffee pot, a silver creamer, and adding some height, I stacked some miniature silver chargers and placed the silver sugar bowl on top.
 My garden themed tabletop, a perfect backdrop for a cool summer lunch of chicken salad croissants, cucumber salad, and deviled eggs … all served with sweet Southern tea! (:
 Hope your enjoying these last days of summer and that you are managing to beat the heat, wherever “home is” for you! I’m anxiously awaiting to see the first violas, snapdragons, pansies and flowering kale of the season … and my favorite chrysanthemums and purple asters!
From my cottage to yours ~ Trenda