Part 2 – A “Welcome Home” for Thanksgiving 

by Trenda

COLLAGE.png

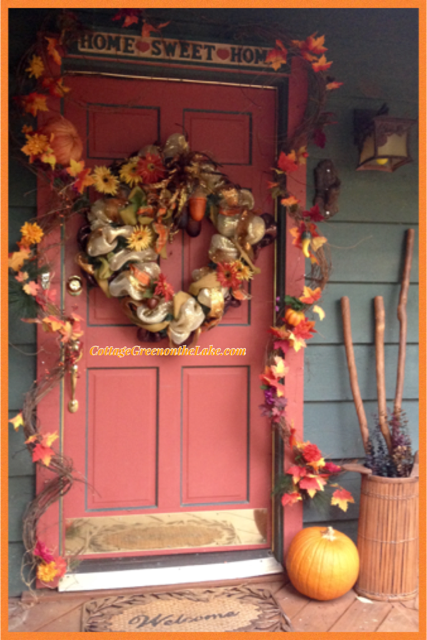
Anticipating and looking forward to our family coming home next week, I love decorating and creating a “welcome home” for each dear person that will be here for Thanksgiving. Last week our “welcome home” to Thanksgiving began with decorating the front door.  Today, we’re going to take a peek behind the front door.
door4

As you walk in our front door the first thing you see is our antique buffet.  It’s a beautiful piece of furniture; I was giddy when I found it hidden away in a dark corner in an antique store in Tyler. (:  The interior cabinets and drawers are as beautiful as the outside and sometimes I imagine the buffet’s “past life” … and different hands than mine putting away carefully stitched napkins and tablecloths, or special Christmas dishes, into it’s confines.

Come on in!  I’m so glad you’re here! (:  On Thanksgiving, all desserts and pies are displayed out on the buffet; it’s a tantalizing spread for everyone who enters!

wreath entry.png

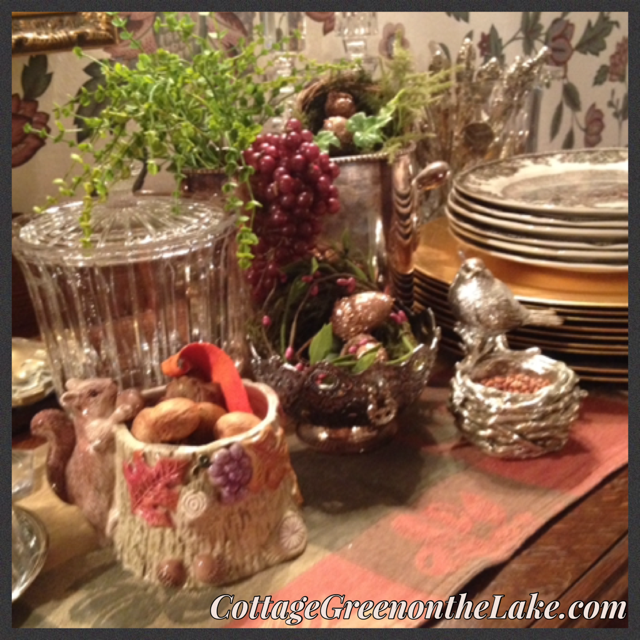
The buffet is filled with autumn’s bounty and has a woodland feel with birch pillar candles, squirrels posing on oak leaves or peering into logs, little nests filled with acorns, and perching birds near their feeders!  A beautiful Fitz and Floyd harvest platter and charming squirrel dish.

squirrelcloseup.png

The Friendly Village dishes by Johnson Brothers are ready on chargers for the Thanksgiving tablescape and another stack of dessert plates are stacked on a plate server ready to be loaded with everything delicious!

rsidebuffet.png

Woodland friends … 

rsidebuffetcloseup.png

A favorite “souvenir” from a vacation spent in Italy … an inlaid wooden tea cart is stacked and ready to stand-in as a portable side table.  The tea cart is filled with necessary items for the feast … plus a few additional items for a little “glitz and glow!”(:

2teacart.png

Below … more Johnson Brothers Friendly Village dishes, a turkey platter, a stack of antique silver “nut” trays, a crystal biscuit barrel and a silver coffee service.

teacartbottom.png

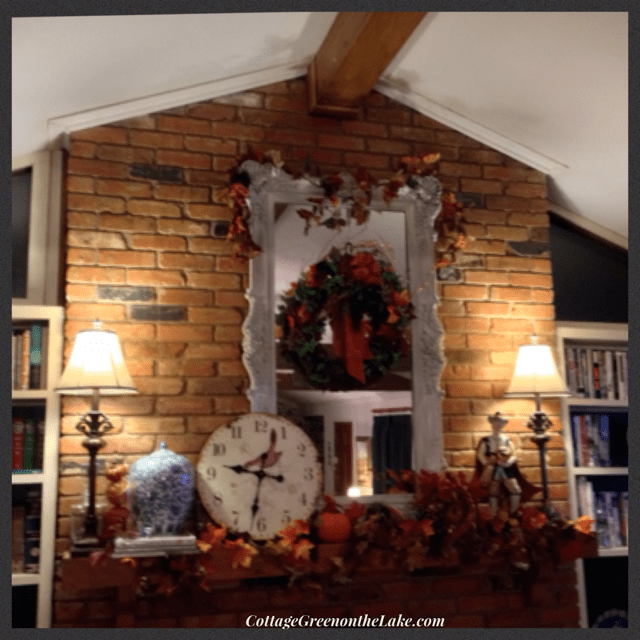
Our fireplace is questionably (since it has to compete with the view outside!) the focal point of our living room … and is all “decked out” for Thanksgiving. 

sunshinelrm.png

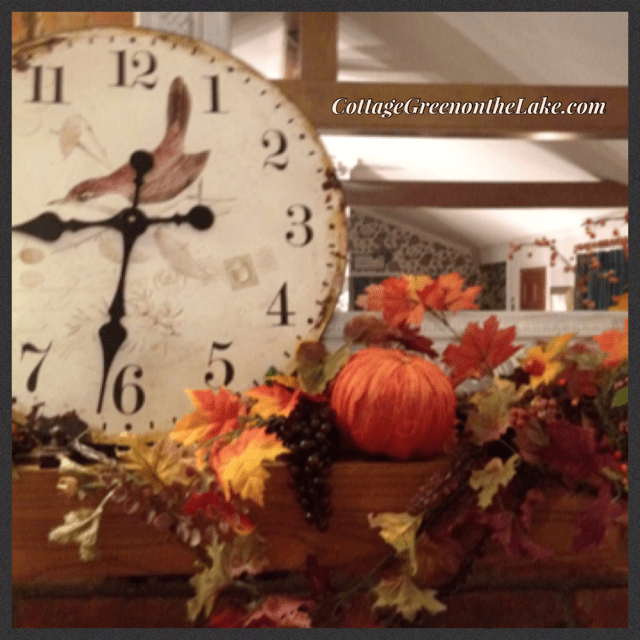
 Harvest has “spilled out” onto the mantle with pumpkins, clusters of grapes, bittersweet, and walnuts all accenting an autumn swag.
ceiling3.png

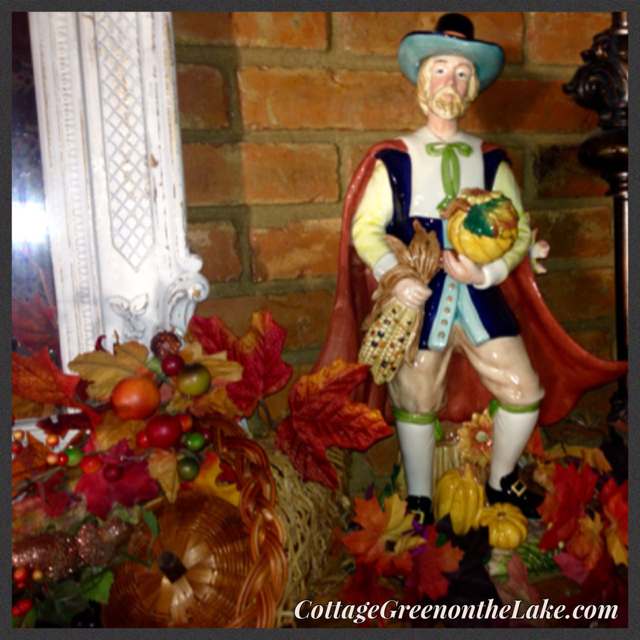
clock3Our “Beau” Pilgrim (I told you we like to name things around here!) made by Fitz and Floyd resides over the Mantle Harvest and has his own thanksgiving offerings … some maize and a pumpkin, in his hands.
Beau.png

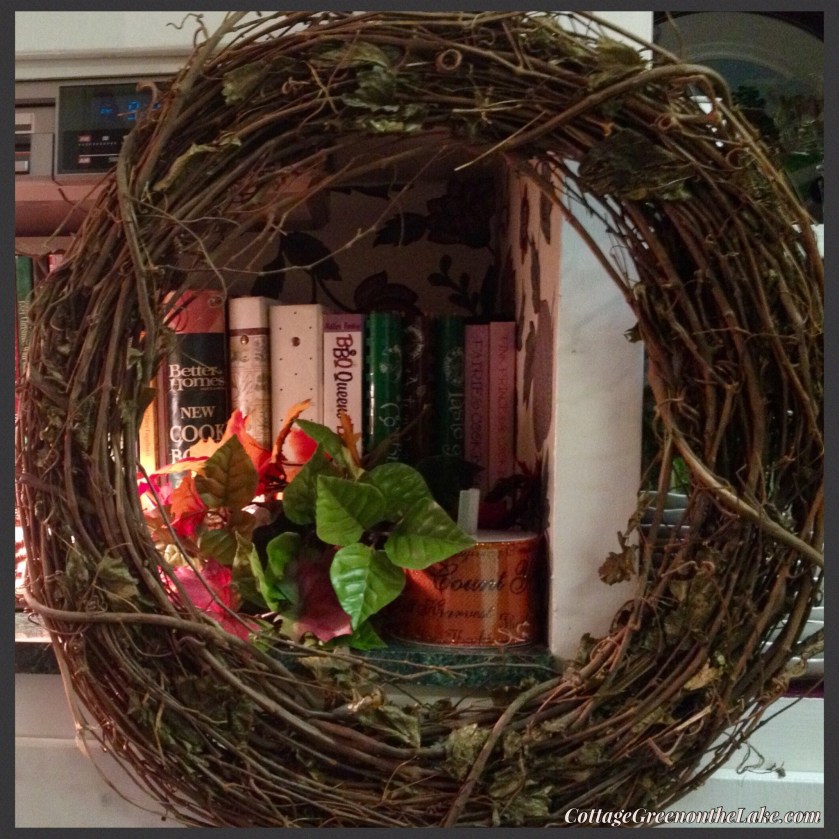
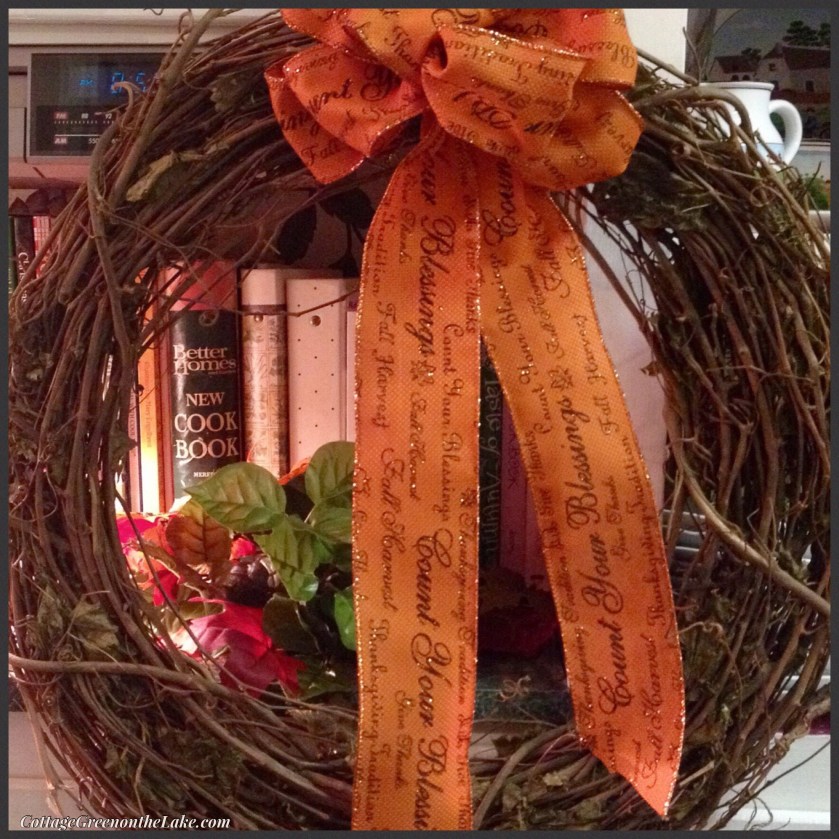
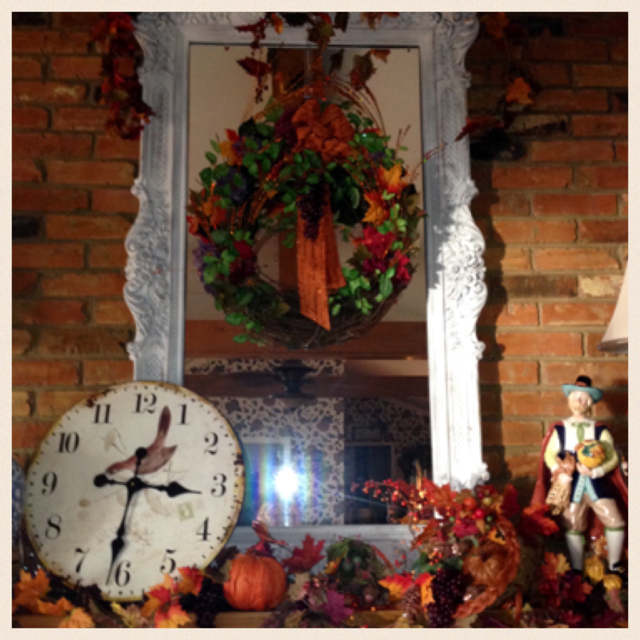
A Thanksgiving wreath (DIY instructions in a subsequent post!) trimmed with a bow and ribbon that says … Count Your Blessings, Fall Harvest, Thanksgiving Tradition, and Give Thanks.
mirror-closeup

mirror.png

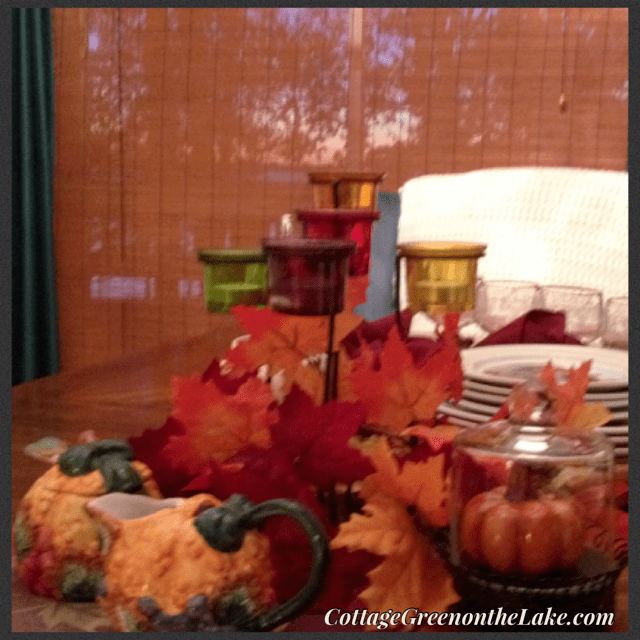
Before I have the fun of setting our table for Thanksgiving, I keep a simple setting on the table with all the essentials needed for an cozy autumn meal enjoyed with any friends and family that arrive before “the day.”  A part of the tablescape and ready to disperse are  … a stack of Villeroy & Boch (design Naif) dinnerware, napkins encircled with mini grapevine wreaths (click here for instructions for DIY Autumn napkin rings) silverware in a ginger jar, etched glasses, and a creamer and sugar bowl for after-dinner coffee. 

duotop.png

Gorgeous view beyond the window … twilight on the lake.
twilight.png

An autumn ginger jar holds silverware …

ginger.png

I love these etched glasses from Germany and they are particularly enchanting when filled with ambrosia or holding a miniature compote  …

German2.png

Little pumpkin showcased under a cloche …

pumpkin.png

Looking around, I love how our “Cottage Green” looks festive and says “welcome home” to all for Thanksgiving.  Now, I have to get to the shopping, cleaning, and cooking done!!!  But, like the ribbon on the wreath says … during this “Thanksgiving Tradition” and the blessing of our “Fall Harvest”  … “Count Your Blessings” and “Give Thanks.”

From my cottage to yours  ~  Trenda

COLLAGE.png

 Thank you so much for spending some time with me today!  I’d love to hear from you and I am truly delighted reading what you have to say.  Please leave any questions you may have or comments, below.  Don’t be dismayed if you don’t see your comment “appear” right away.  Word Press checks everything I receive for SPAM and all have to be approved, before posting.  

Easy Thanksgiving favors & DIY Autumn Wreath

by Trenda

collage

Today our first dear arrivals are coming for a much anticipated Thanksgiving week of being t-o-g-e-t-h-e-r!  I still have too many things that haven’t been crossed off of my “To do” list, but I have finished some of those special projects that I love doing from my “wanna-do” list. (:

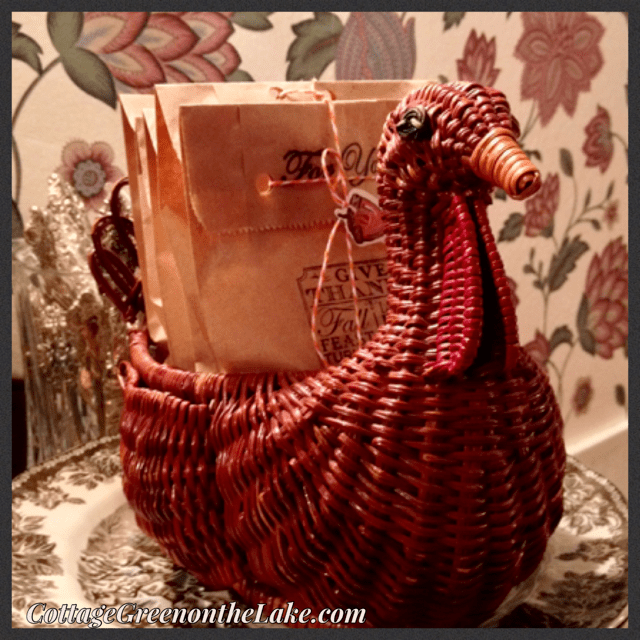
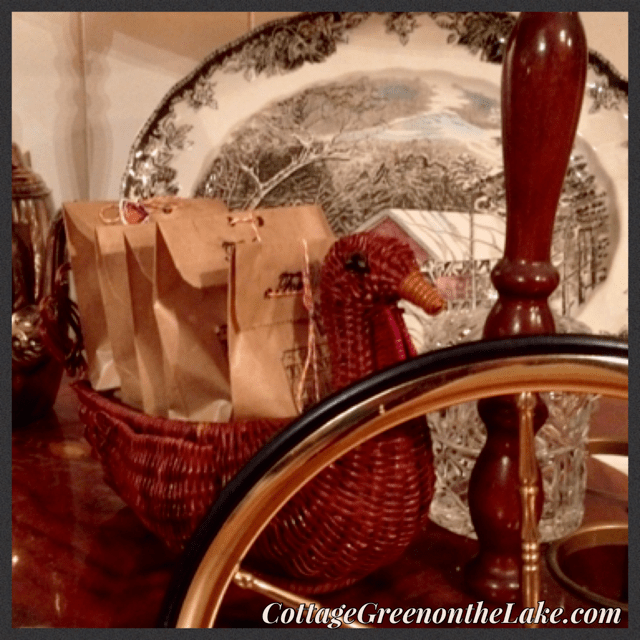
Look at these cute little favor bags!  They were so easy to put together, I made them the night before everyone arrived!  I love the way they look displayed in this dear, quirky turkey basket my husband bought for me years ago … the ones that didn’t fit, I tucked into a crystal biscuit barrel.

solitaire turkey.pngteacart.png

Each little bag is filled with a sweet mixture of tiny maple cream cookies, some maple peanut clusters, Sixlets in sparkly autumn colors I found at Cracker Barrel and some darling maple leaf-shaped chocolates that Richard found for me at World Market … all in the “flavors of autumn!”

Materials and supplies needed: treat sacks, stamps, ink pad, twine, table confetti, scissors, hole punch, and ruler

supplies

Instructions:

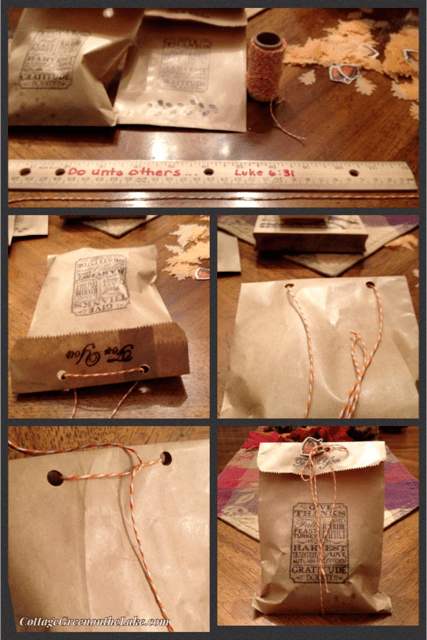
  1. Begin by folding over the top of each bag (I bought my treat sacks at Hobby Lobby – $2.49 for 24 count) On the folded area at the top, I stamped For You.  Then, to decorate the front of the bag I stamped another image with the words Give Thanks, Gratitude, Blessed, Hayride, Family, and Tradition on it.  (Any Thanksgiving or autumn stamp can be used to decorate your treat bag!)       
  2. Fill bag with your treats before proceeding to the next steps.
  3. Punch 2 holes in/and through the folded layer at the top of the bag, with a hole puncher.
  4. For each bag, cut off 2 1/2 feet of twine (I bought my twine at Michael’s on sale for 5o cents) and “threaded” both ends of twine through the front of my bag.  Then cross the twine in back and pull one piece of twine back over the top of the bag and the other piece of twine, wrap around the back of the bag to meet up with the twine in front.(See pictures above)
  5. From a small package of table confetti with leaves and acorns (on sale at Michael’s for $1.00) I punched a hole in the paper acorns and added the acorns to my twine before tying the two ends of twine into a bow.

closeup bag.png

biscuit barrel treats.png

DIY Autumn Wreath

Now … the instructions I promised you in my last post, on how to make the autumn wreath that I pictured hanging over our living room mirror. (click here to see)

img_0009

This is my favorite spot to make my wreaths.  It’s in our kitchen over a little cookbook cubby that has a little counter for holding all my supplies and materials needed to make my wreath.  There’s also an outlet for my glue gun and the knob of the upper cabinet is the perfect height for hanging my wreath, while I work on it.  The first thing I do is to wrap a pipe cleaner through the back of my wreath, forming a loop to hang it from.  This pipe cleaner loop is also the hanger I’ll use to display my finished wreath.

img_0001

Making the bow …

  1.  The first step in making a bow is to pull out the ribbon needed for the “tail” of your bow.  I always “allow” a little extra ribbon since I can trim the length of my “tails” when the bow is completed and it is much easier than having to re-make my bow!  This is not a part of the bow you will be looping and twisting.
  2.  Begin working beyond the ribbon you have extended for the “tail.”  Grasp the length of ribbon (not at the end!) and loop the ribbon over your thumb and grasp the base of the small loop in your fingers.  This will be the center of your bow (the extra ribbon for tail will extend beyond this small center loop)
  3. Make your first bow loop.  This will determine how big your bow is. The larger the loop, the larger the bow.  Gather the ribbon together at the end of the loop and hold tightly in your fingers.
    Make sure your ribbon is facing right side up if you are using a single sided ribbon like mine, with printing facing up.  I slip a pipe cleaner into my center loop at this time.  It will balance there, resting on the twisted folds of ribbon, while you continue forming the bow.   bows.png
  4. Make your second loop on the opposite side, remembering to gather and twist the ribbon together in the middle where the imprinted side is facing up.
  5. Continue making loops, alternating sides until your bow is the size you want.  Make sure you have the same amount of loops on each side.
  6. When the bow is the size you want, allow extra ribbon length for your second “tail” before you cut the ribbon.  Twist the pipe cleaner in the center of your bow tightly (I use a pair of needle-nose pliers) several times to insure that it will hold your twisted ribbon; cut off excess pipe cleaner and push down the cut ends of pipe cleaner, so they won’t scratch you.
  7. Pull loops of bow to “fluff” to desired shape.

Hot glue your bow to your wreath.img_0006

I hot glued green leaves on first, as the “base” of my  wreath, making sure I kept both sides of my wreath balanced and “equal.”

greenleaves.png

Next, I glued on my colored autumn leaves.

autumn leaves.png

Last step … I tucked in a few chrysanthemums and some grape clusters, then added my “filler.”  “Filler” is usually diminutive, compared to the rest of the arrangement, and is added to blend and unify the look of the whole wreath.  On this wreath, my “filler” is glittered orange stems and a variegated ivy.

filler.png

I hope while crossing off  all your “have-to’s” … you get to enjoy some time decorating and creating some fun special “projects” while you are getting everything ready for the ones you love!

scripture.png

From my cottage to yours  ~  Trenda

Thank you so much for spending some time with me today!  I’d love to hear from you.  Please leave any questions or comments below.

Cottage Green on the Lake … “Feathering the Nest” by Trenda

Living on the lake, the scenery just beyond our window panes is always the focal point. The beautiful views outside make decorating “within” a challenge.  So, rather than compete with God’s artistry outside … I try to enhance those views by bringing the outside … in!


Thinking about the “feathering of our nest” … I took pictures of all things “birdie” throughout our home.  I wanted you to see how easy it is to incorporate items that are typically associated outside of the home … in our decor.

1) Using garden statuary  …
A cement cherub, playing a fife, looks “at home” and as angelic atop our hall tree, as he does in the garden. 


A bird, made of cement, looks quite content sitting at the base of a crystal vase, among a selection of nesting materials.


2) Using miniature birdbaths and filling them with birdseed, instead of water … 

A rustic bird stands near a crystal ice bucket and a tin bucket covered in moss … nearby, an unusual birdfeeder!


A little silver bird is perched on the edge of his nest, that’s filled with millet.  Above him is a darling cake-plate, adorned with 4 sweet birds and a collection of salt cellars. 


3) Perching teeny birds in unexpected places …
A bird dangles from a pine-flowered swag.  Clutched tightly, he holds a tiny offering of pinecones.


Sitting high above a music armoire is a little bird, just outside his antique cage … and a collection of all things “birdie.”
 4) Tucking bird nests in floral arrangements or peeking out of almost-hidden niches …

A moss-covered nest with a sprinkling of flower buds looks “sweet” in an ornate sugar bowl.


Tucked among some greenery in a silver bucket, a nest adds visual interest to a stack of plates and moss-colored napkins.

What do you enjoy collecting?  Whatever your passion is, use those items to decorate and “cozy up” your home.
I hope you have enjoyed seeing our “feathered nest” and the unexpected ways you can bring “the outside” into your home!

Home is … the perfect nest!


From my cottage to your’s! ~ Trenda