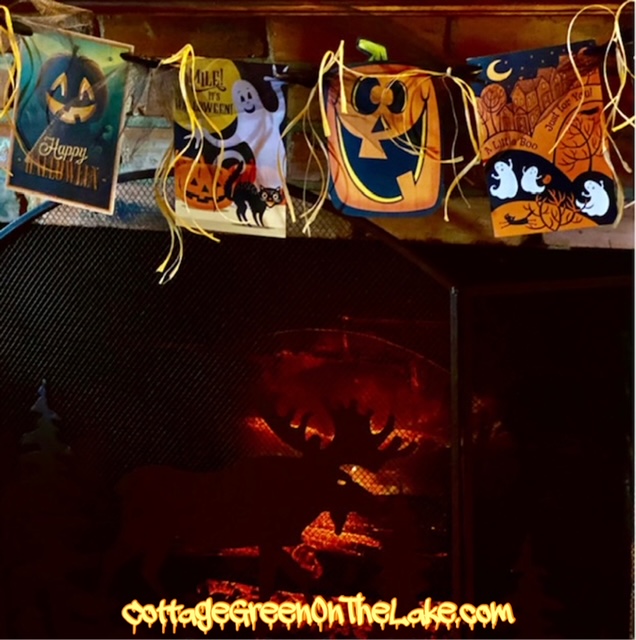
I love the nostalgic and rustic appeal of this Halloween banner. It’s so easy to make, the only hard part will be deciding where to hang it.

“Trick or treat, bag of sweetsA, ghosts are walking down the street.”
Author unknown
Supplies for Halloween Banner:
- Halloween greeting cards (I used 9 cards for my 8′ banner)
- raffia
- tulle (I used black tulle available in 6″ widths spools at WalMart or any craft store)
- hole puncher
- scissors
Depending on how long you want your Halloween banner will determine how many greeting cards you need to buy. I bought 12 cards (but saved 3 for our grandchildren!) so I only used 9 cards for my banner, and it is 8 feet long. SAVING TIP: I bought my greeting cards at Dollar Tree…they were only $1.00 for 2 cards!
"Halloween shadows played upon the walls of the houses.  In the sky the Halloween moon raced in and out of the clouds.  The Halloween wind was blowing, not a blasting of wind, but a right-sized swelling, falling, and gushing of wind.  It was a lovely and exciting night, exactly the kind of night Halloween should be."

~  Eleanor Estes
Instructions: (See pictures below) For my banner I used tulle and raffia, but all kinds of other things can be used…jute, twine, strips of material, ribbon…use your imagination and whatever materials you have.
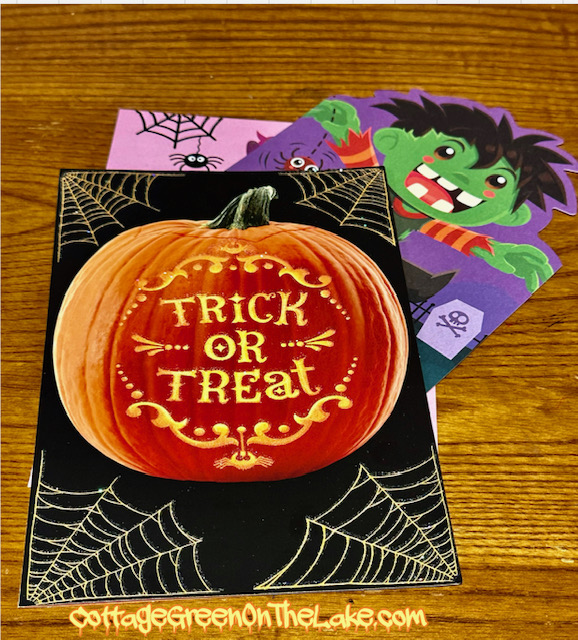
- Gather up the greeting cards you want to use in your banner
- Using a hole puncher, punch 1 hole in the top, left side of each card…approximately 1/4 inch from the top, and approximately 1/4 inch away from the left edge of the card
- Punch another hole in the top, right side of each card…approximately 1/4 inch from the top …and approximately 1/4 inch away from the right edge of the card
- Continue punching 2 holes in the top of each greeting card until all cards are punched
- Lay out all your greeting cards in the sequence you want them to hang
- Unroll enough tulle (or your choice of cording) to string and hang all your cards on…allow an extra foot of tulle/cording on each end for hanging
- Grasping the length of tulle (or your choice of cording) in your hand, thread cards pushing the tulle/or cording through the left hole on the front side of the card
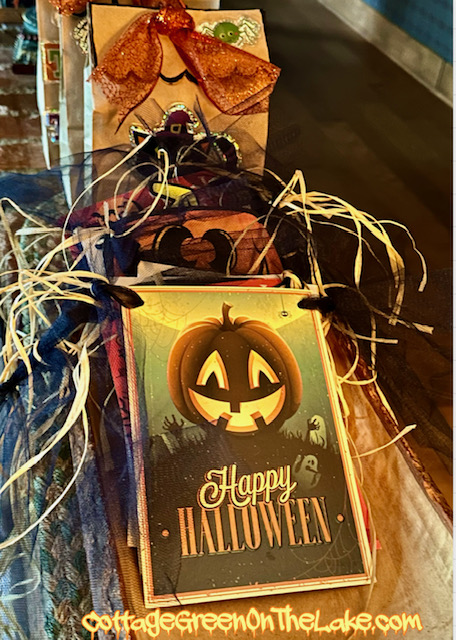
- Pull the tulle across the back of the card and thread tulle/cording through the right hole, up to the front of the card *(See picture below)
- Slide card down the tulle/cording and thread the next card the same way, until all cards are on the length of tulle/cording
- After all your cards are on the tulle, or cord, adjust the spacing of your cards by sliding them on the tulle/cording until you are satisfied with how the cards are spaced (I threaded my cards 1 1/2 inches apart from each other on my banner)
- Remember to leave enough tulle/cording on each end for tying
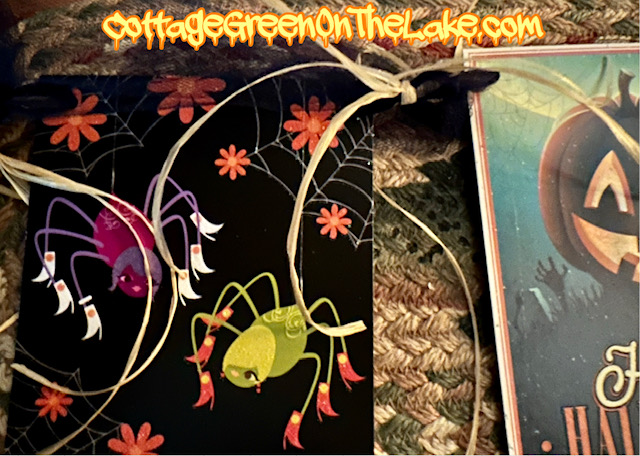
- Cut strips of tulle and raffia, or whatever materials you have chosen, approximately 12-15 inches long, then tie both the strips together into a simple knot in between each hanging card (these tied strips keep the cards spaced correctly (**See picture below)
- Be sure and tie one of these 12-15 inch strips right next to your first card and your last card to keep your entire banner together and spaced evenly
- Hang your banner and admire your handiwork! (:
*

**
Sticky fingers, tired feet; one last house, trick or treat!”
Rusty Fischer
Happy Halloween!
From my cottage to yours ~
Trenda

If you would like to have each new post I write delivered directly to your email address, click FOLLOW in the post above and follow the prompts.
PLUS…Follow me on Pinterest: Trenda@cottagegreenonthelake.com
on Twitter: Trenda@4theseasons
on Instagram: cottagegreenonthelake.com

Discover more from Cottage Green on the Lake
Subscribe to get the latest posts sent to your email.

